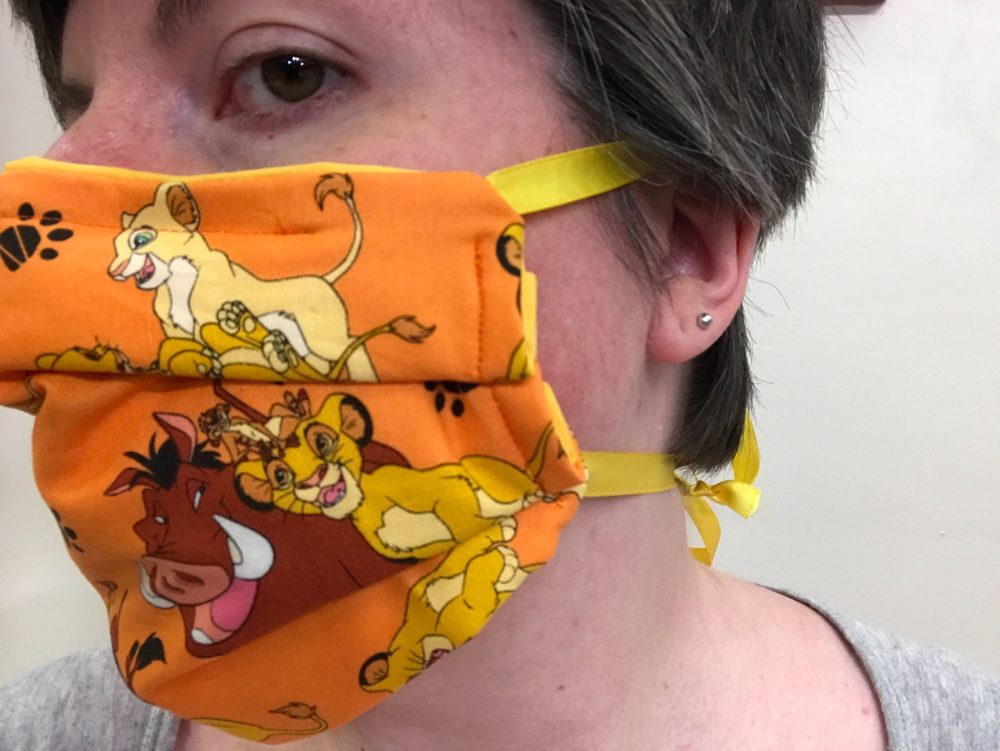
The CDC has recommended that everyone wear face masks when they go out in public. You can make your own with a little sewing, fabric, and ribbon. Use this as an opportunity to show off your love of Disney with fun fabric! This mask pattern includes a filter pocket made with two overlapping folded pieces of fabric.
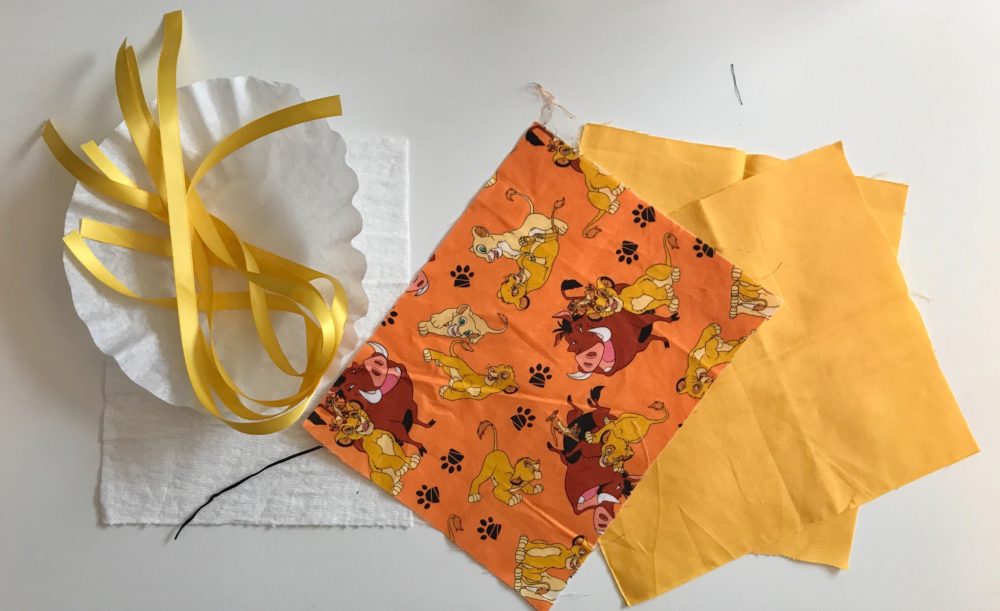
Supplies
- 2 different swatches of fabric
- Sewing machine or needle and thread
- Ribbon
- Twist Tie
- Iron
- Optional: coffee filter, shop towel, or interfacing
Step 1: Cut Your Fabric
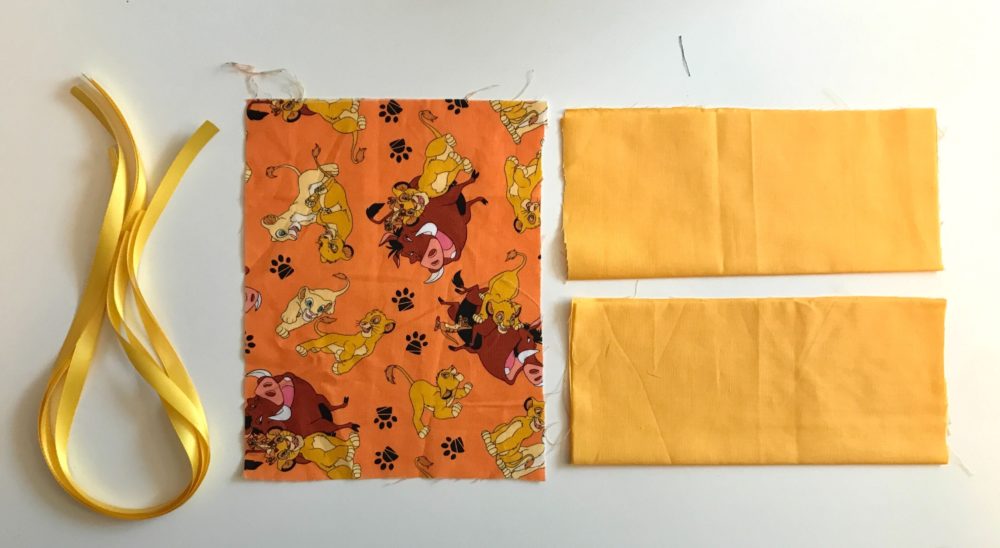
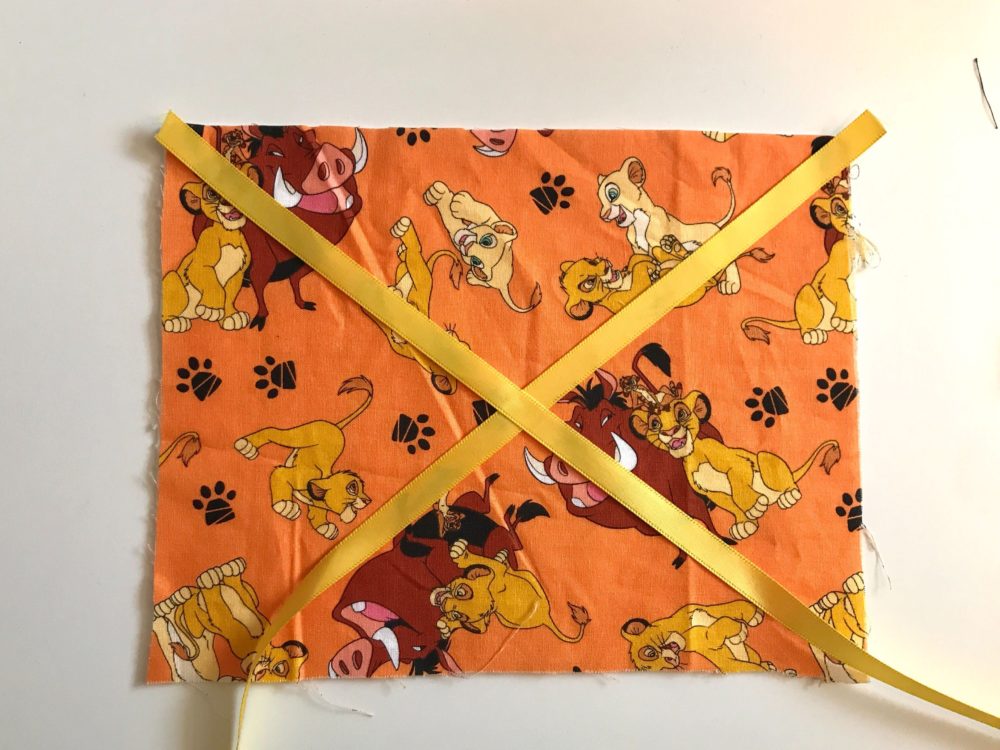
First, cut the fabric you want to be the front of your mask into a 9″ x 7″ rectangle. Then cut the fabric for the back into two 9″ x 8″ rectangles. Cut four 18″ pieces of ribbon.
Step 2: Fold the Back Pieces
Fold your two back pieces in half lengthwise (making them 9″ x 4″ rectangles). I suggest ironing them to create a hard crease.
Optional Step: Filter
If you want to add an extra layer to your mask, use interfacing, a blue shop towel, or a coffee filter. Cut this layer into a 9″ x 7″ rectangle
Step 3: Pin Pieces together
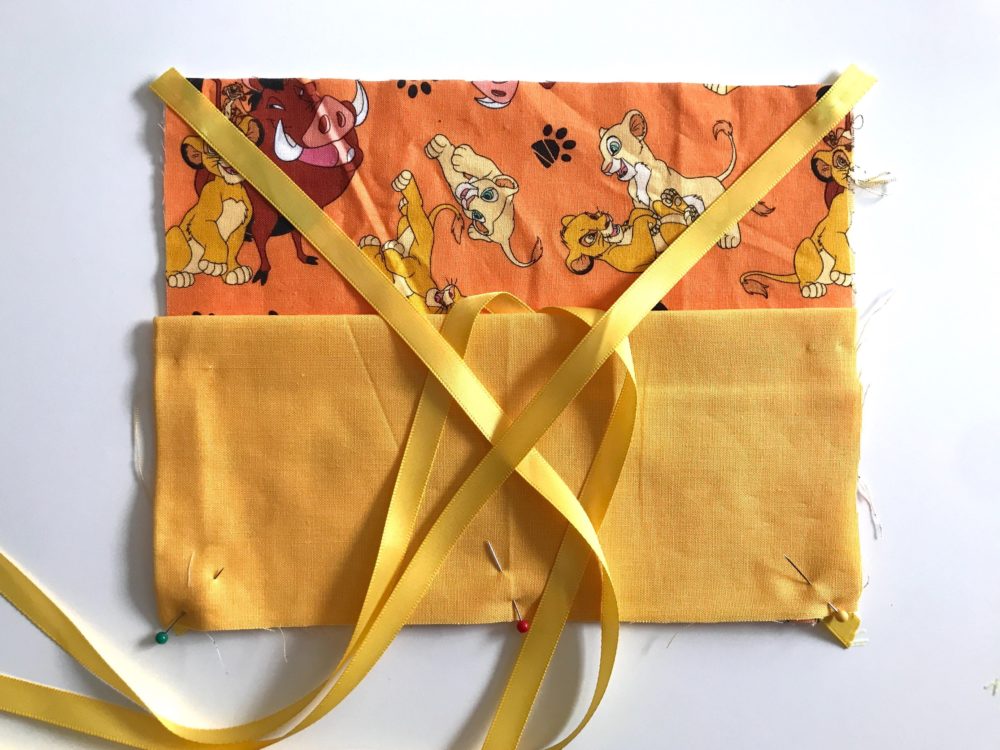
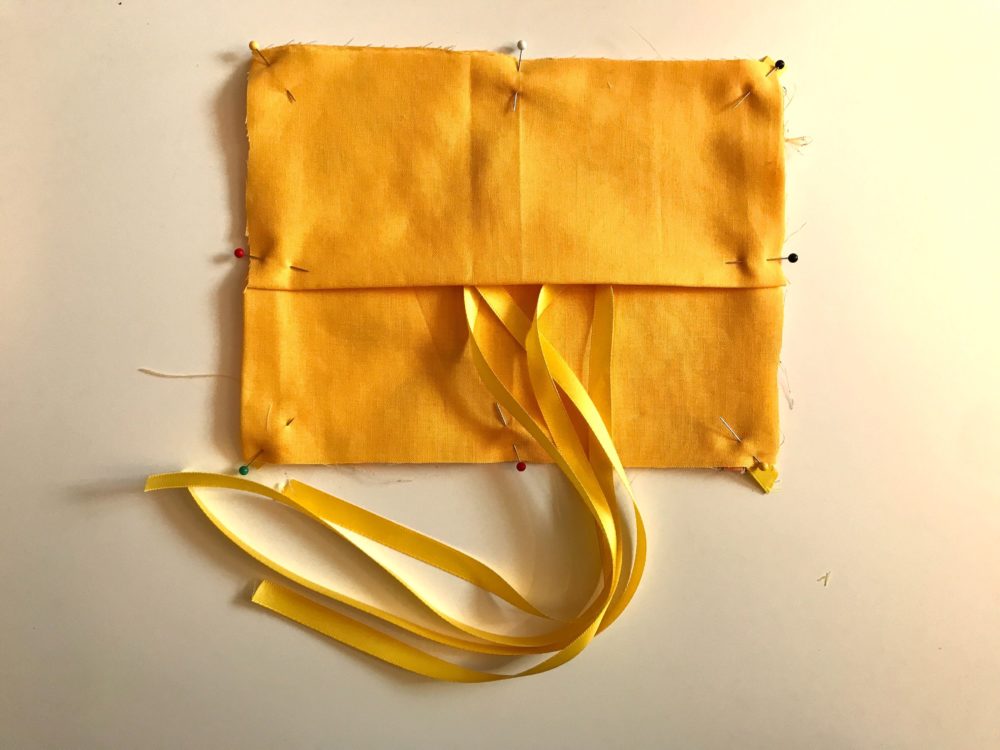
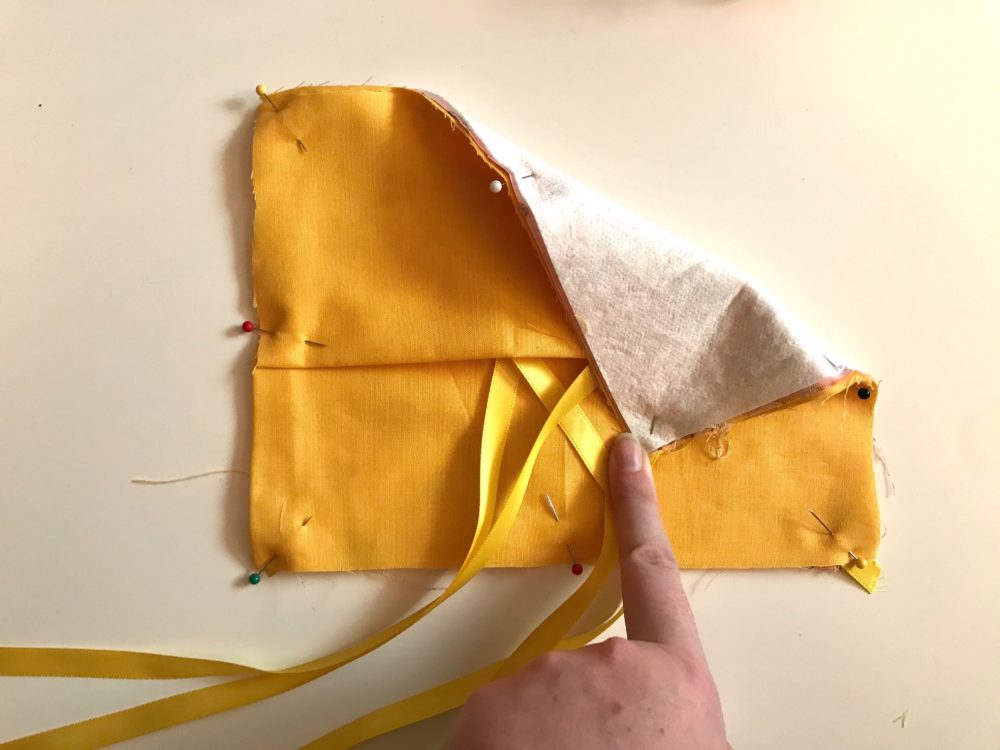
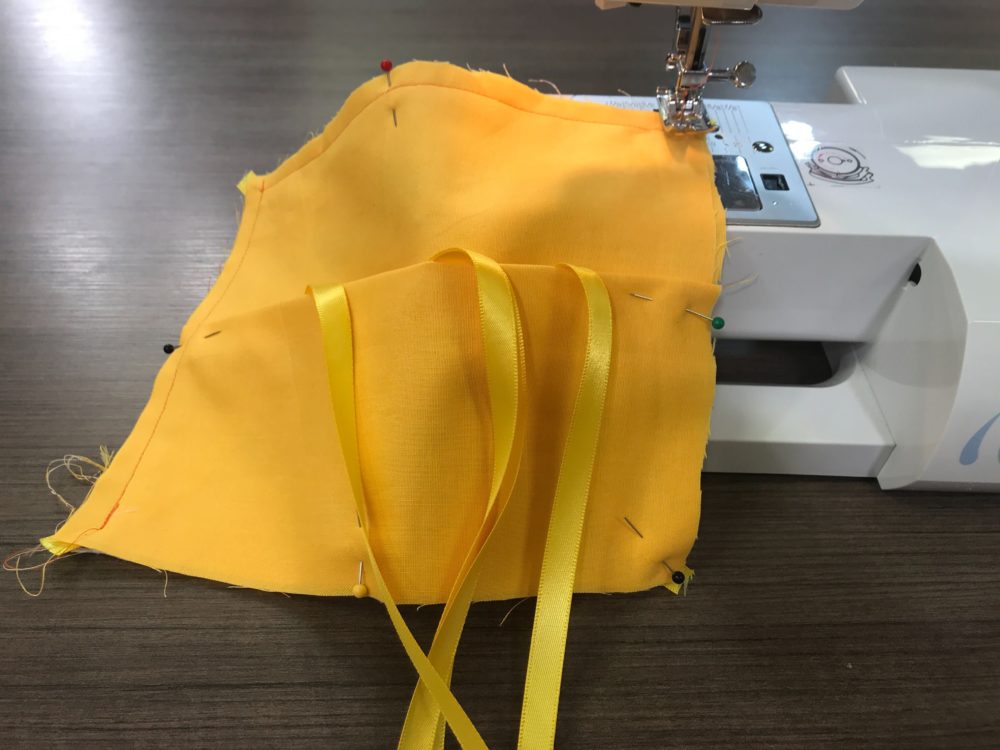
Lay your front piece face up then place a ribbon on each corner, POINTING IN! Pin the folded back pieces to the right side of the front piece. Match up the raw edges at the top and bottom of the mask. The fold edge of the back pieces will overlap about 1″, creating a pocket. Pull the ribbons out of the pocket so you don’t accidentally sew the ribbons into the seams. Pin all of the sides together, make sure to pin the ribbons in the corners. The mask should be pinned together inside out. If you are adding a filter, pin that to the backside of the front piece.
Step 4: Sew Pieces Together
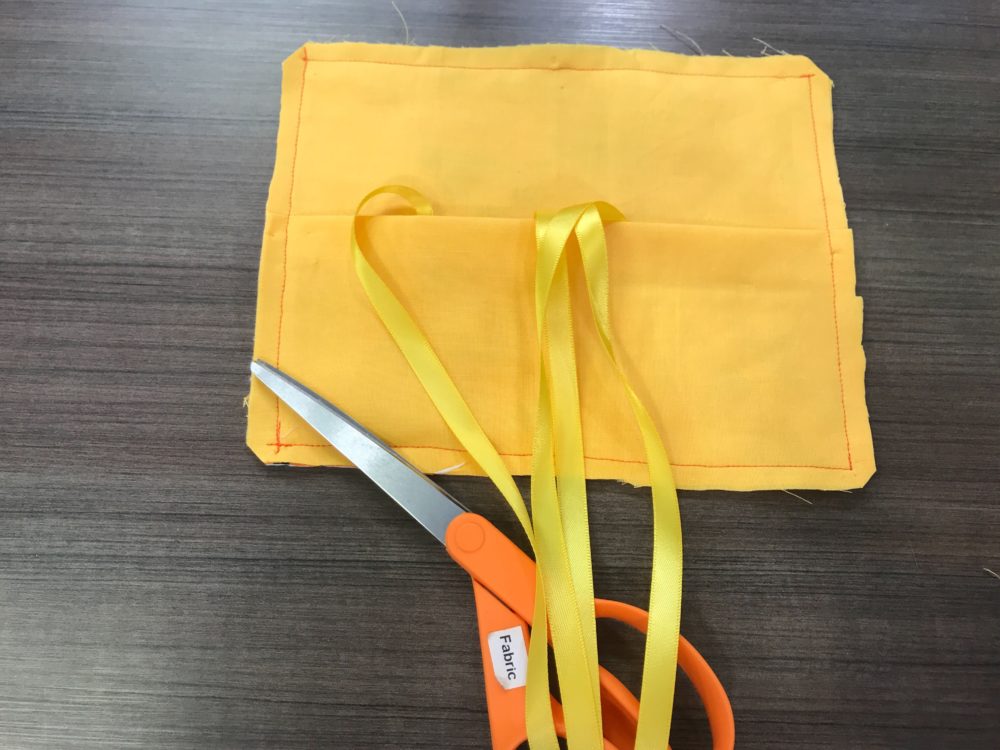
Sew along all four edges with a 1/4″ seam allowance. Then turn the mask right side out and iron it.
Step 5: Add Nose Wire
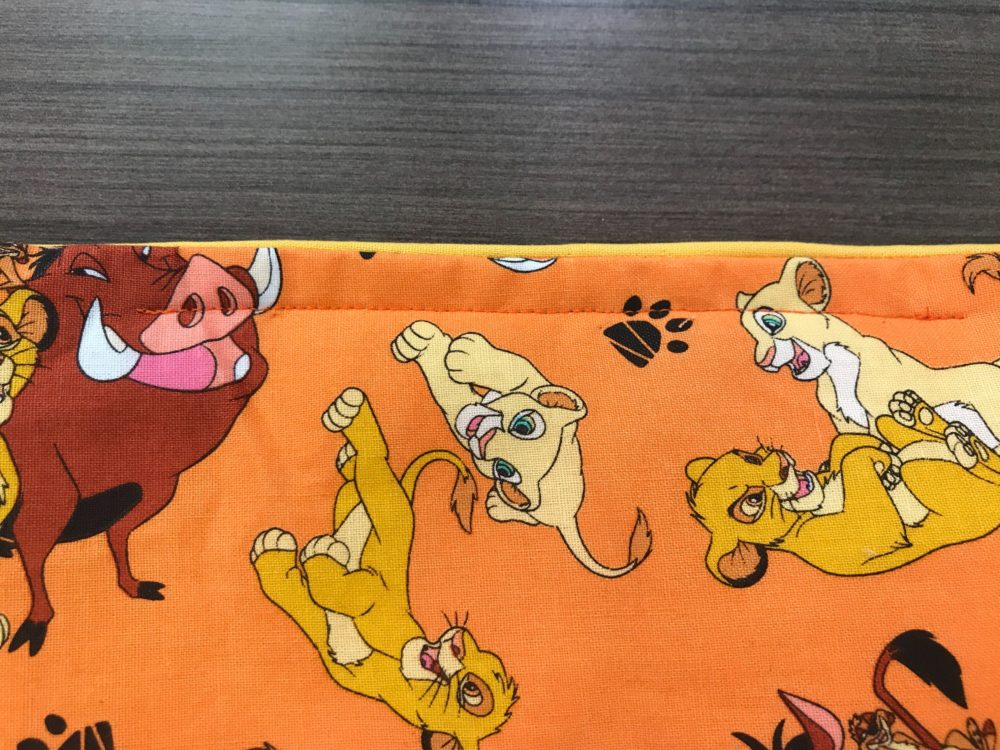
Use a twist tie or a piece of wire to create a nose wire. It should be less than 8″ long. Put the twist tie inside the mask, along the top edge. Sew a line under the twist tie, keeping it at the top of the mask.
Step 6: Pleat
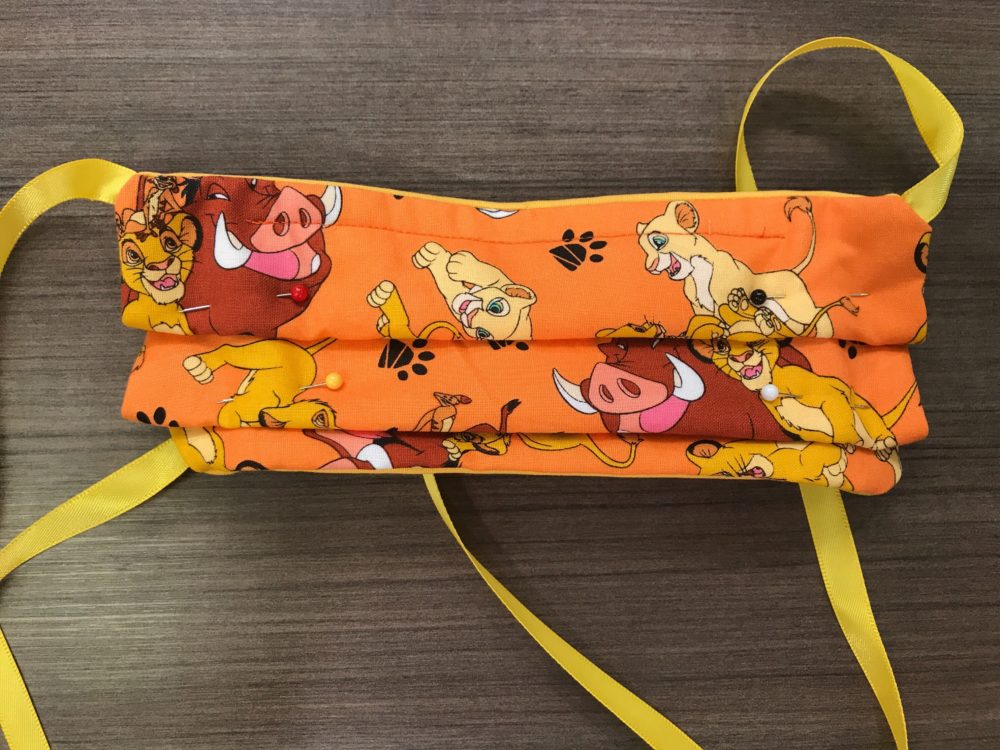
Create 2 or 3 pleats about 1/2″ each, all facing downward. Pin them in place and sew along the sides, remember to backstitch.
Step 7: Finishing Touches
Tie the ends of your ribbons in knots to prevent unraveling. Wash and dry your mask on the delicate setting. Iron your mask back into place, make sure your pleats are in place.
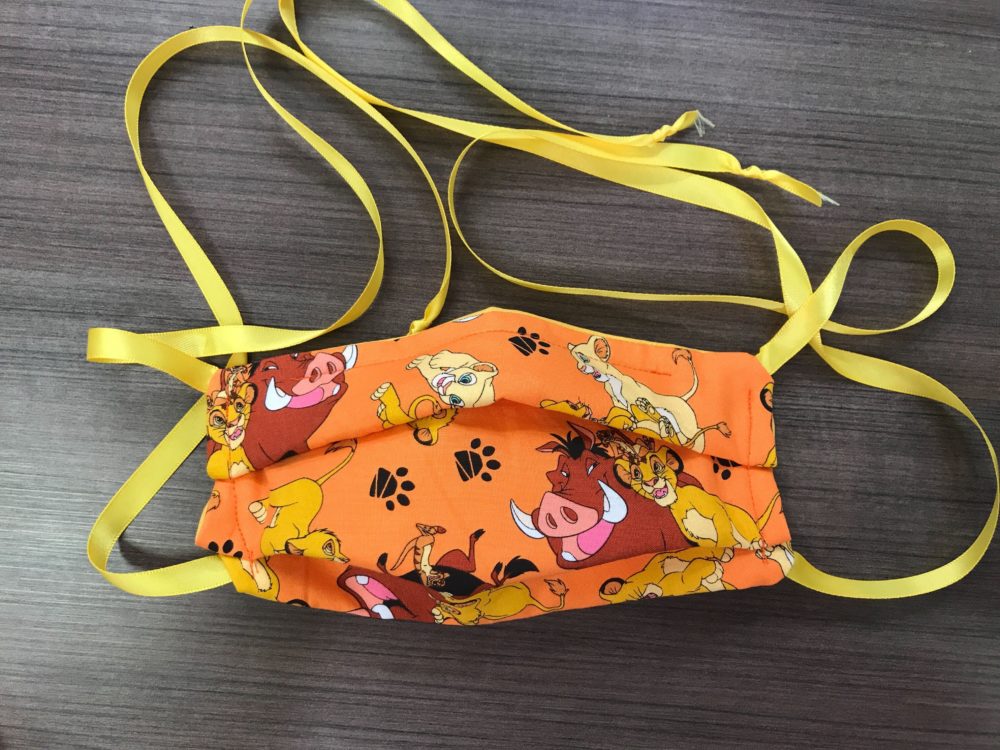
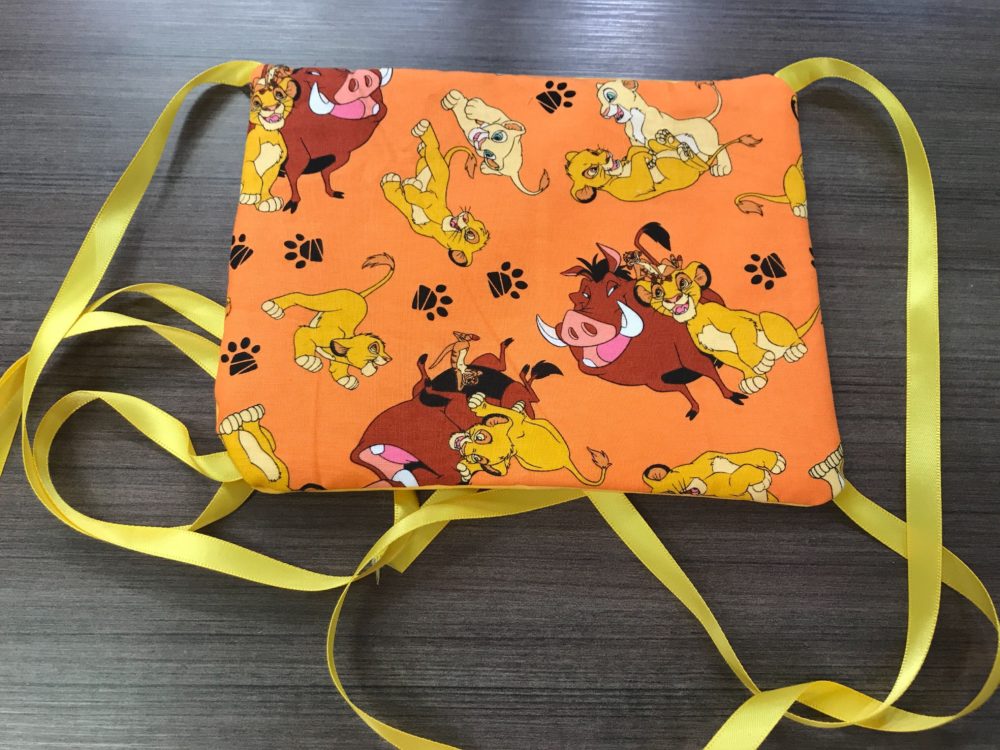
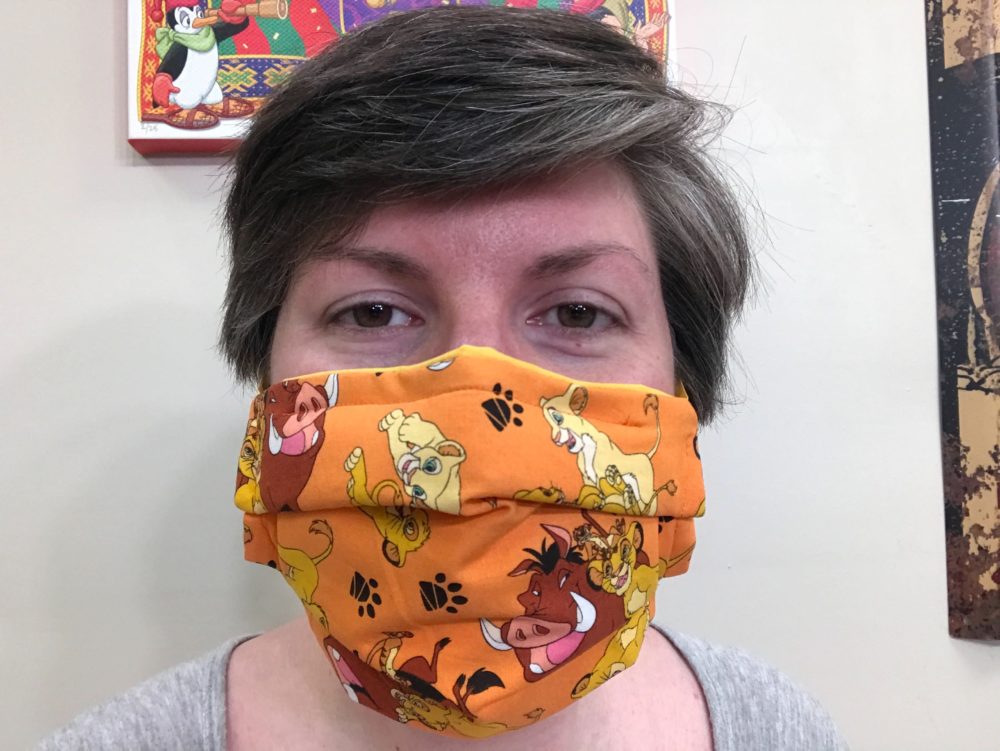
Now you have your own mask! You can add a mask filter, like this one on Amazon, or use another coffee filter.
Video Tutorial
In need of additional visual guides? You can watch the full tutorial video below and follow step by step on YouTube:
Stay safe!


