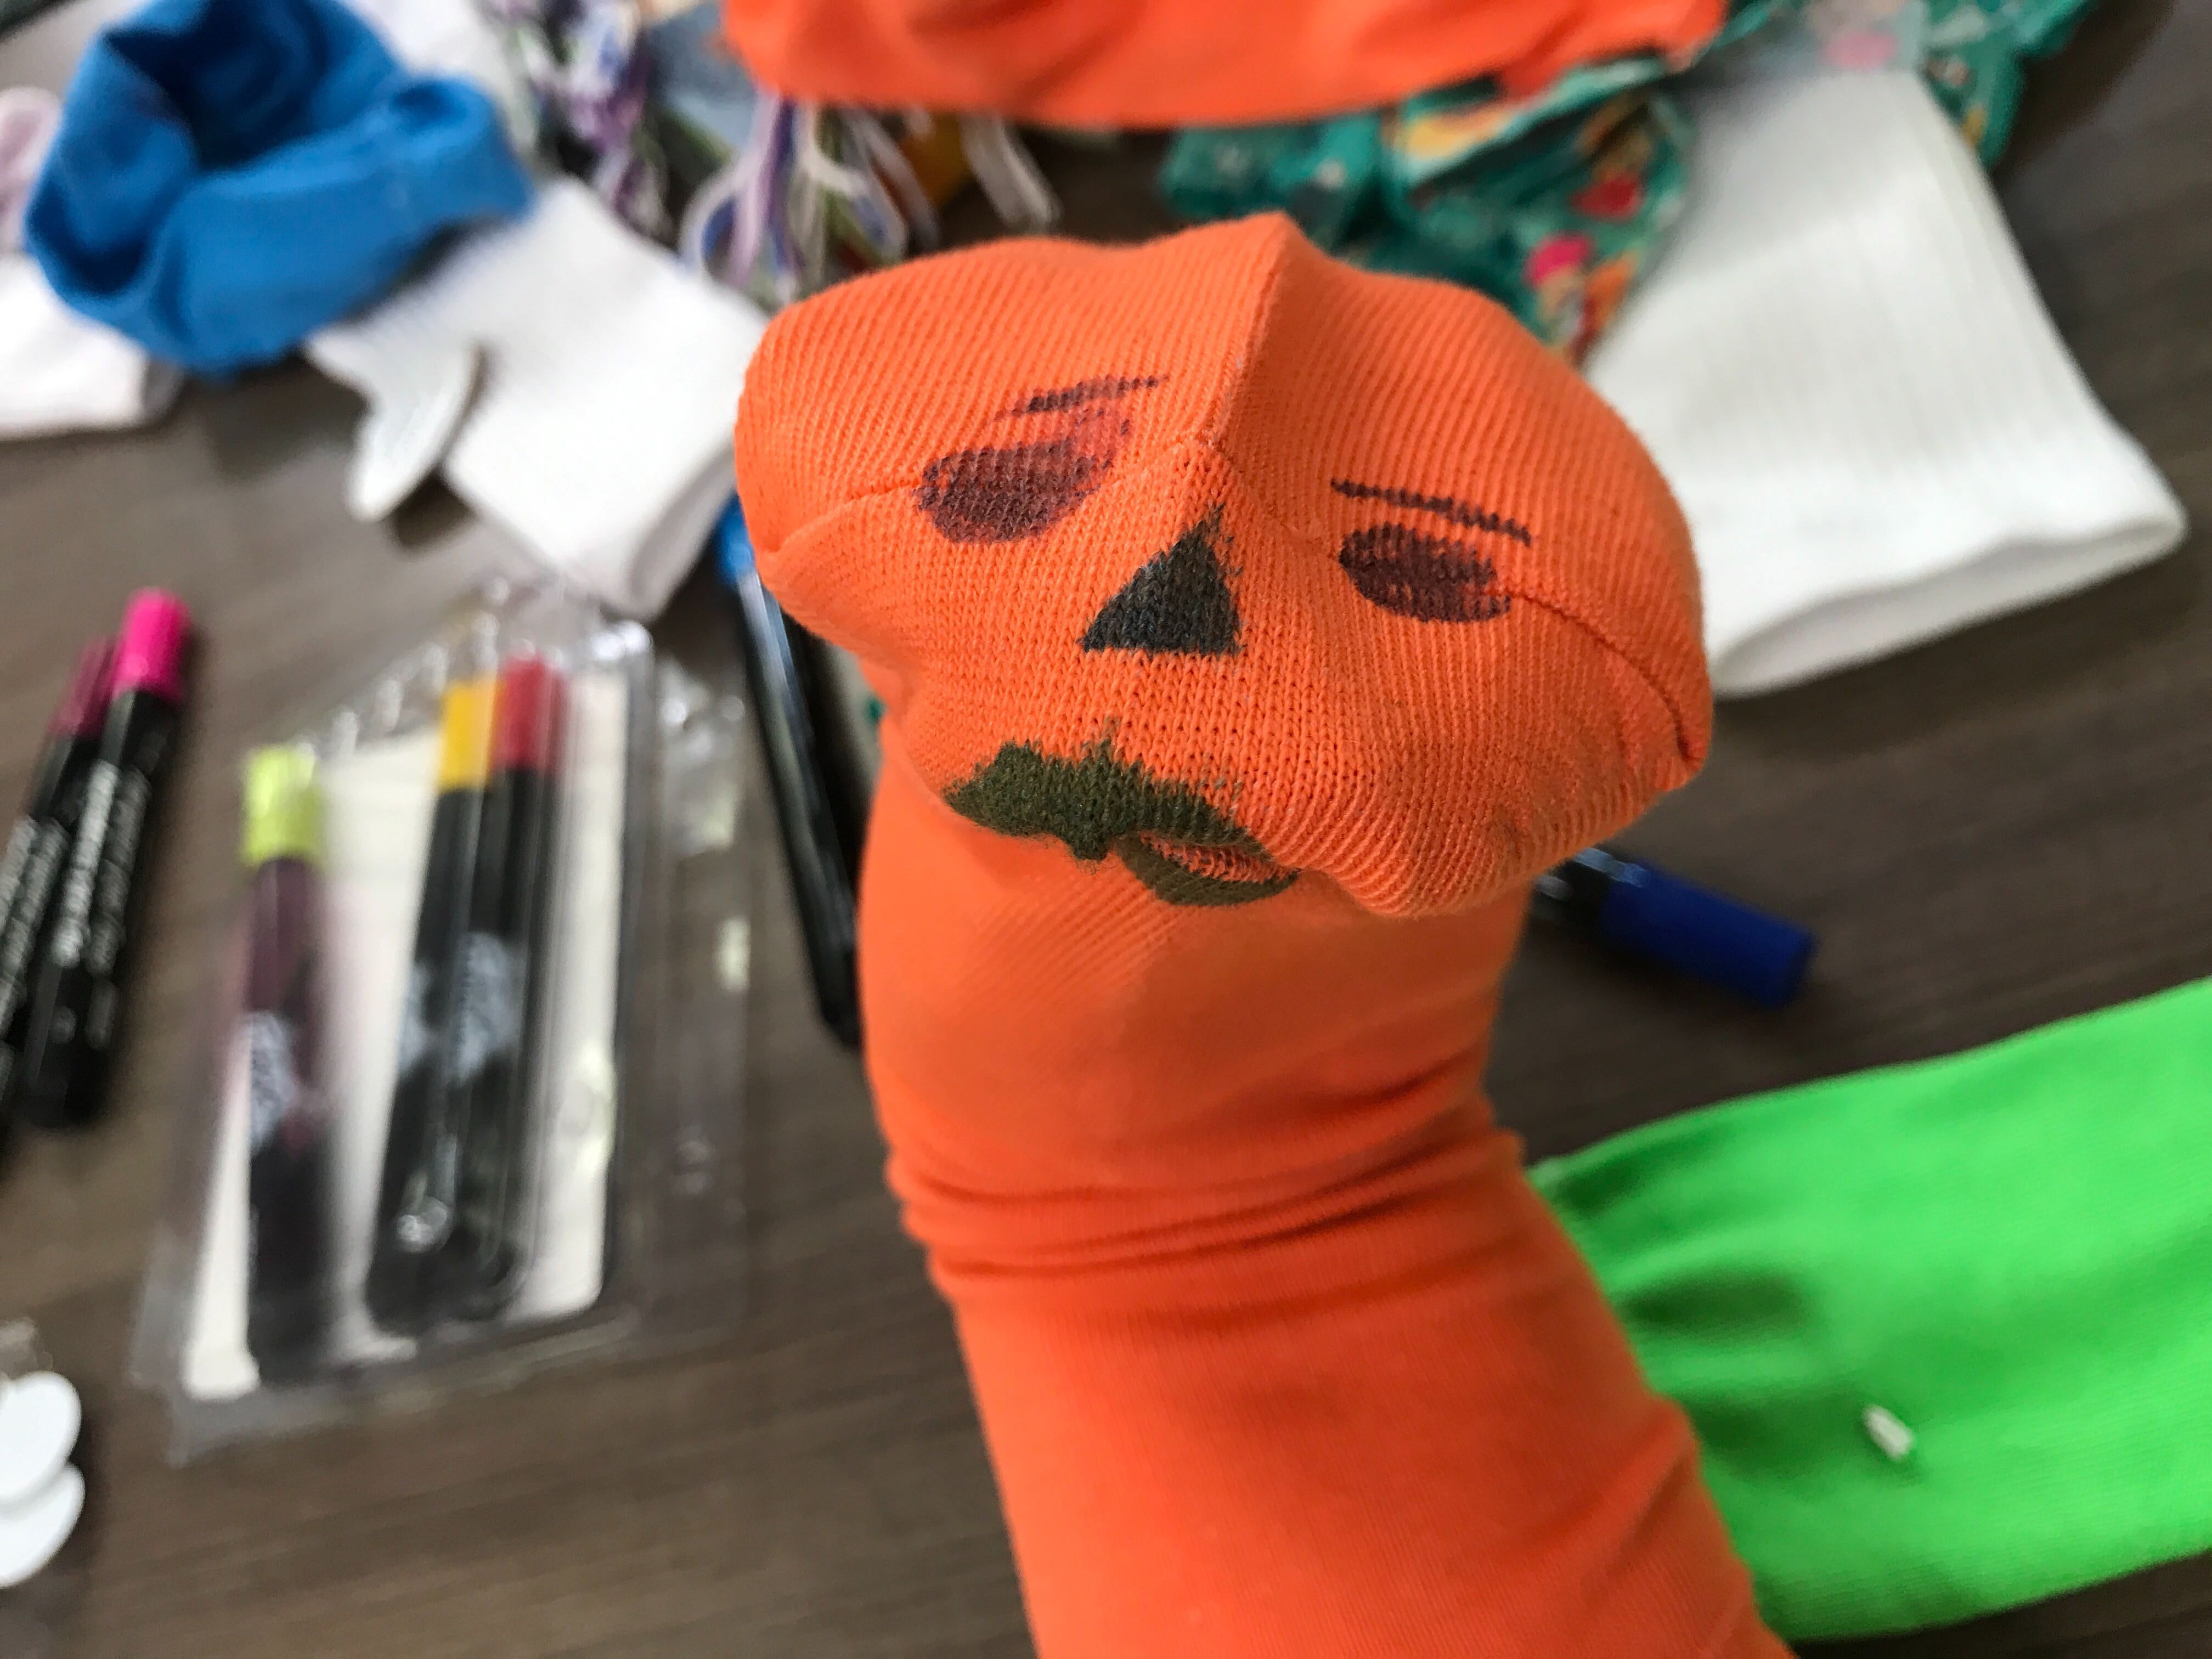
Create your own “Great Moments in History” with a WDW News Tonight sock puppet! Use the tutorial below to create a simple sock puppet or even your own Tom Corless puppet.
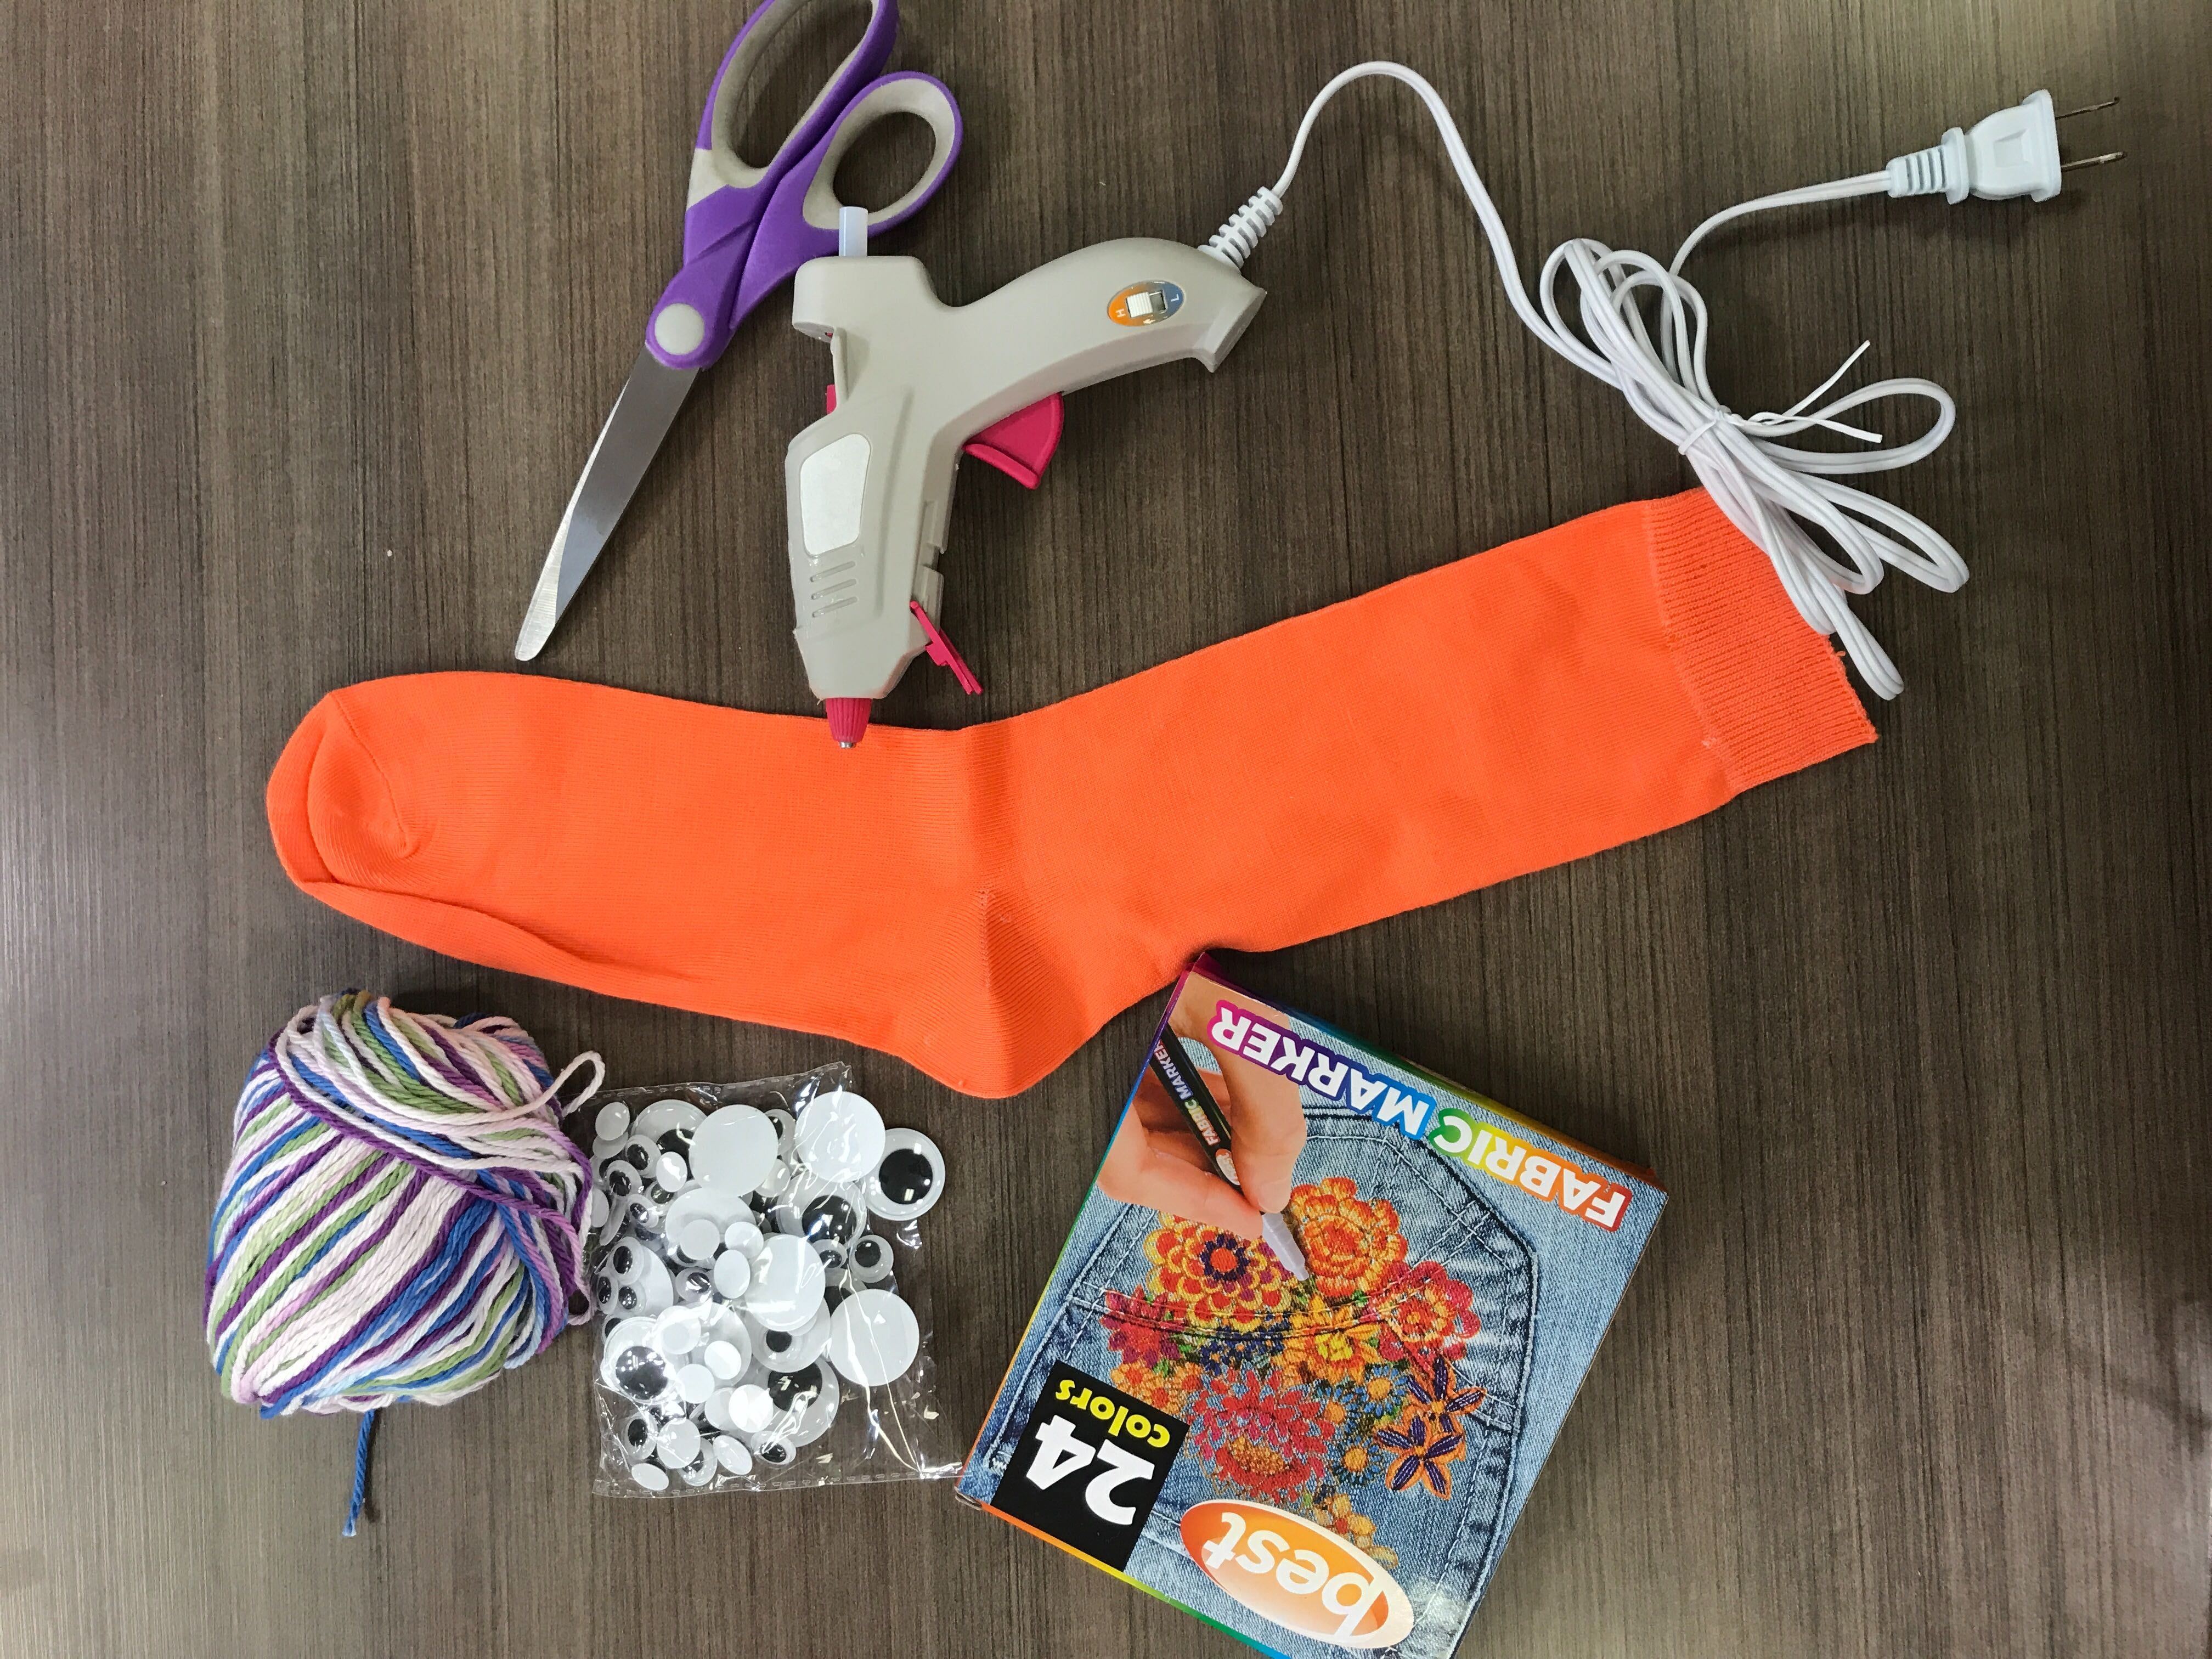
Supplies:
- Socks
- Sharpies or Fabric Markers
- Optional: Googly Eyes and Yarn
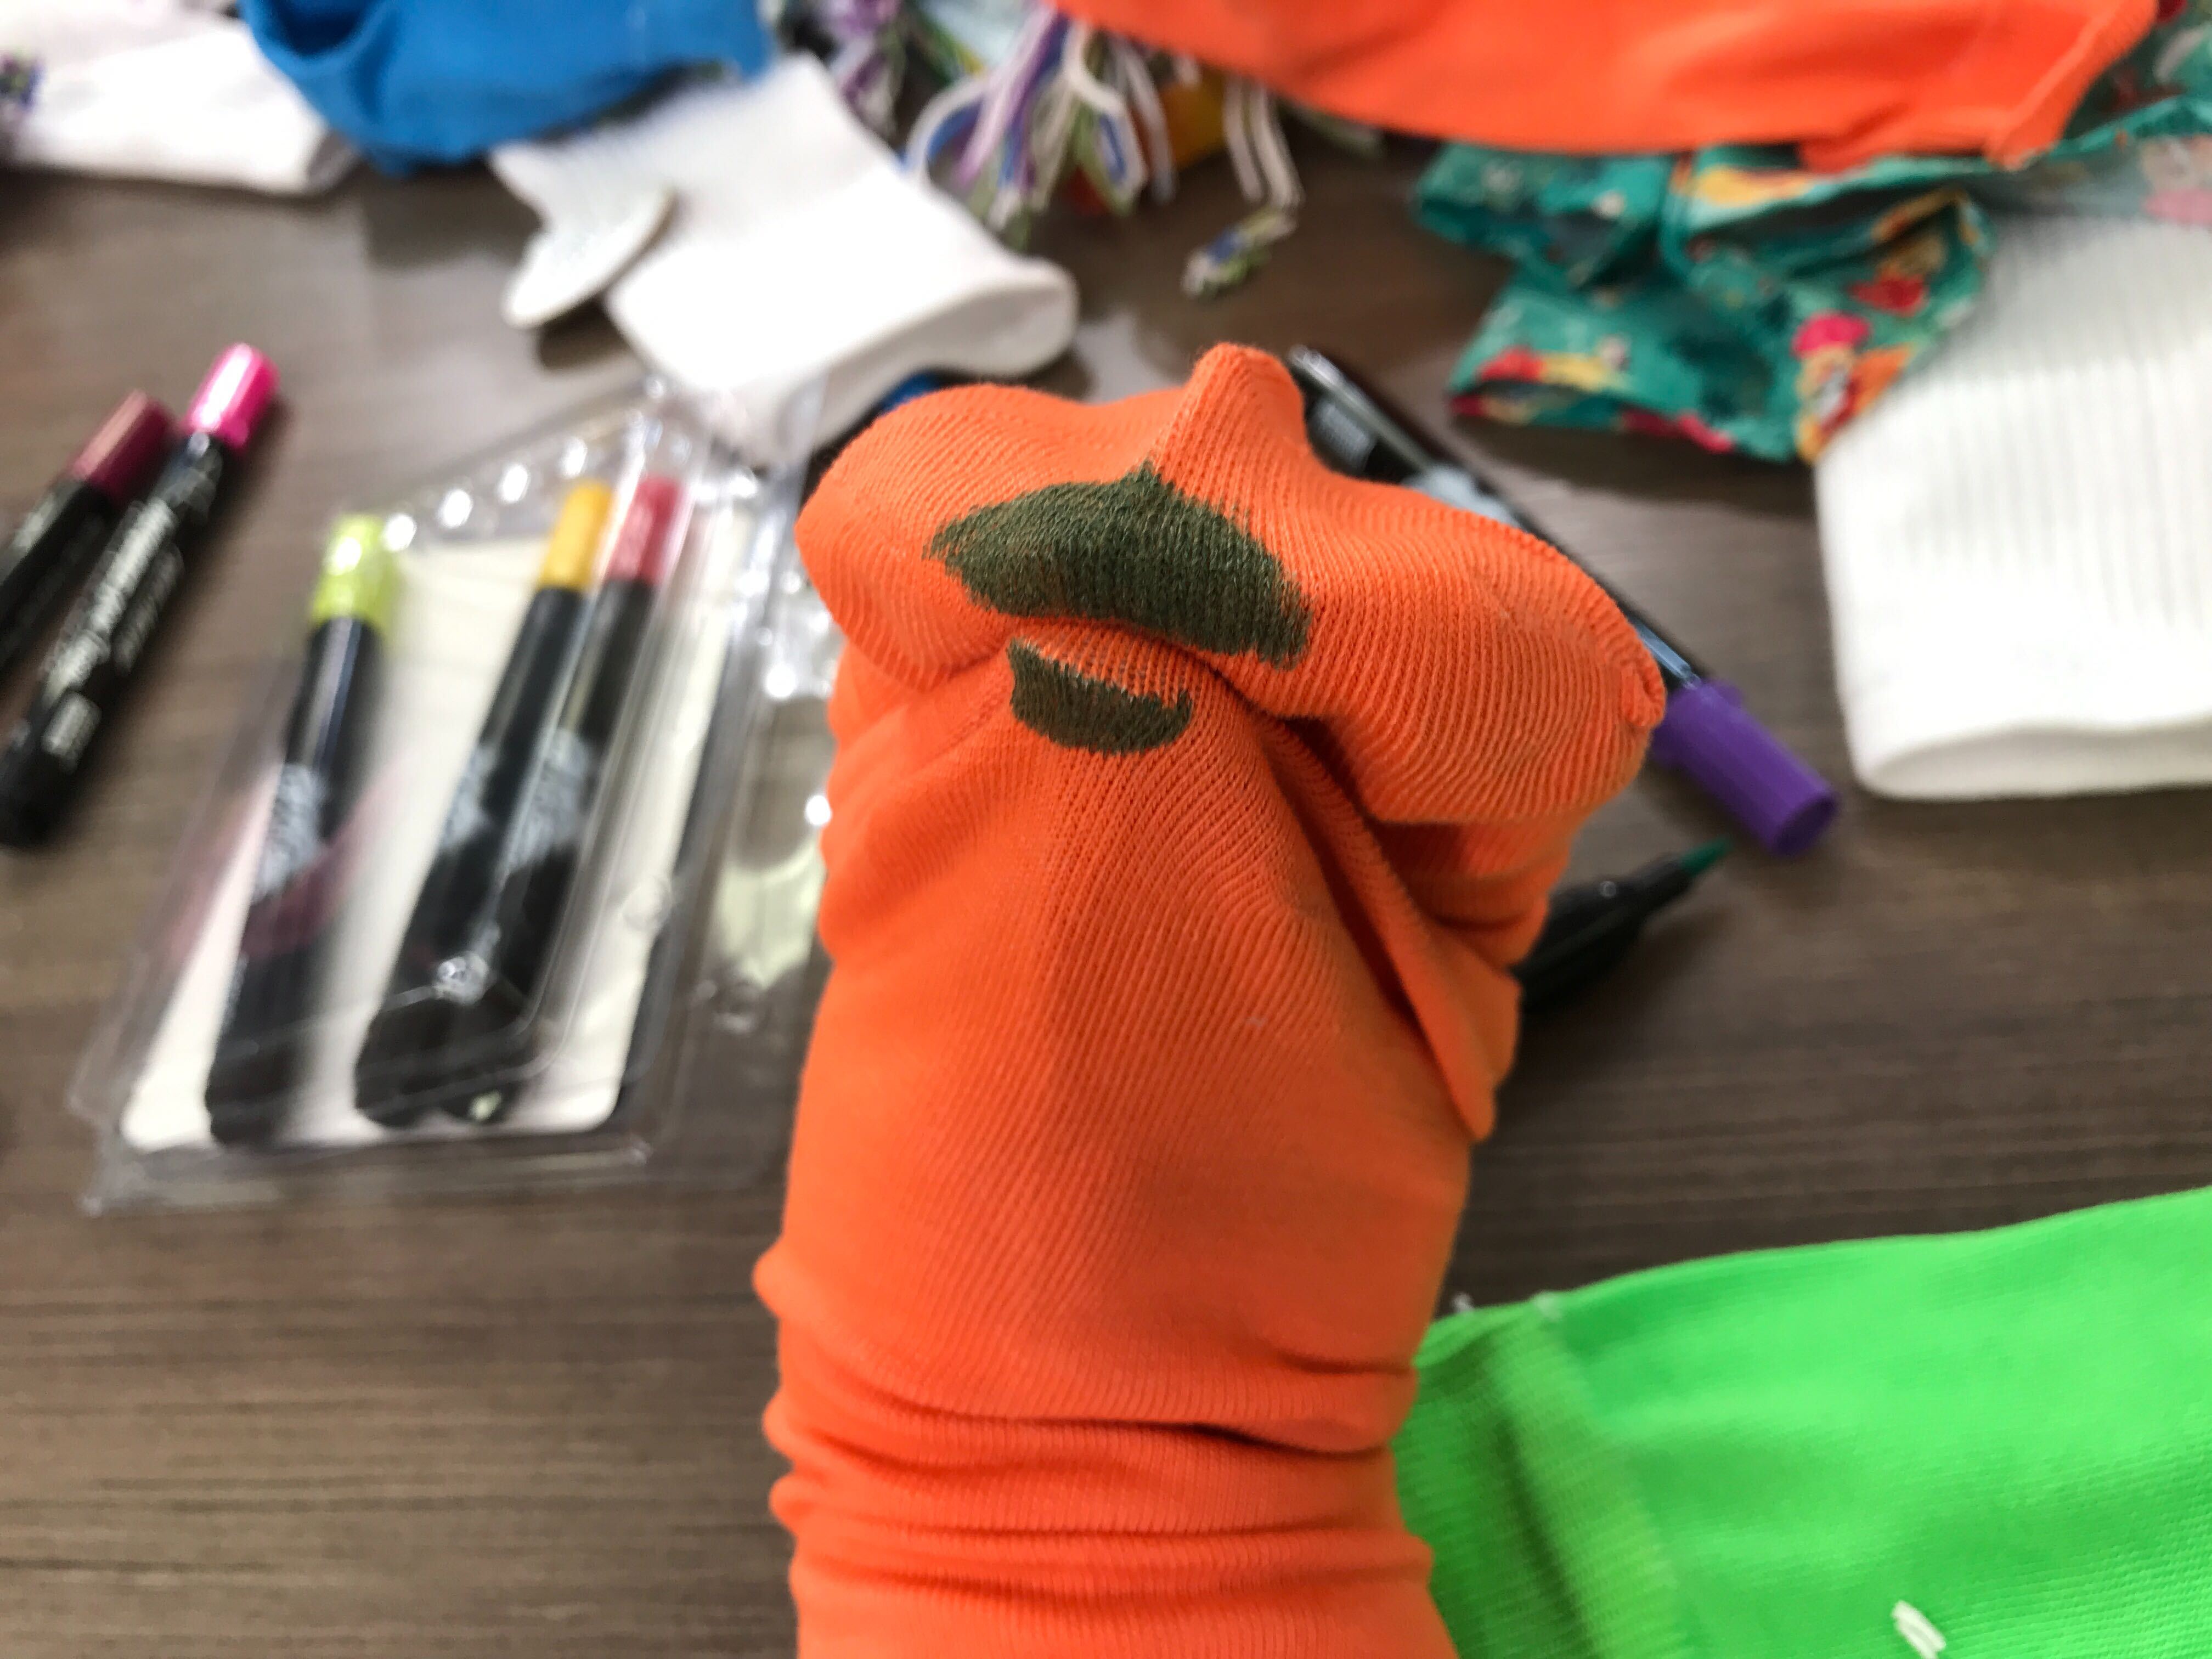
Step 1: Place Sock
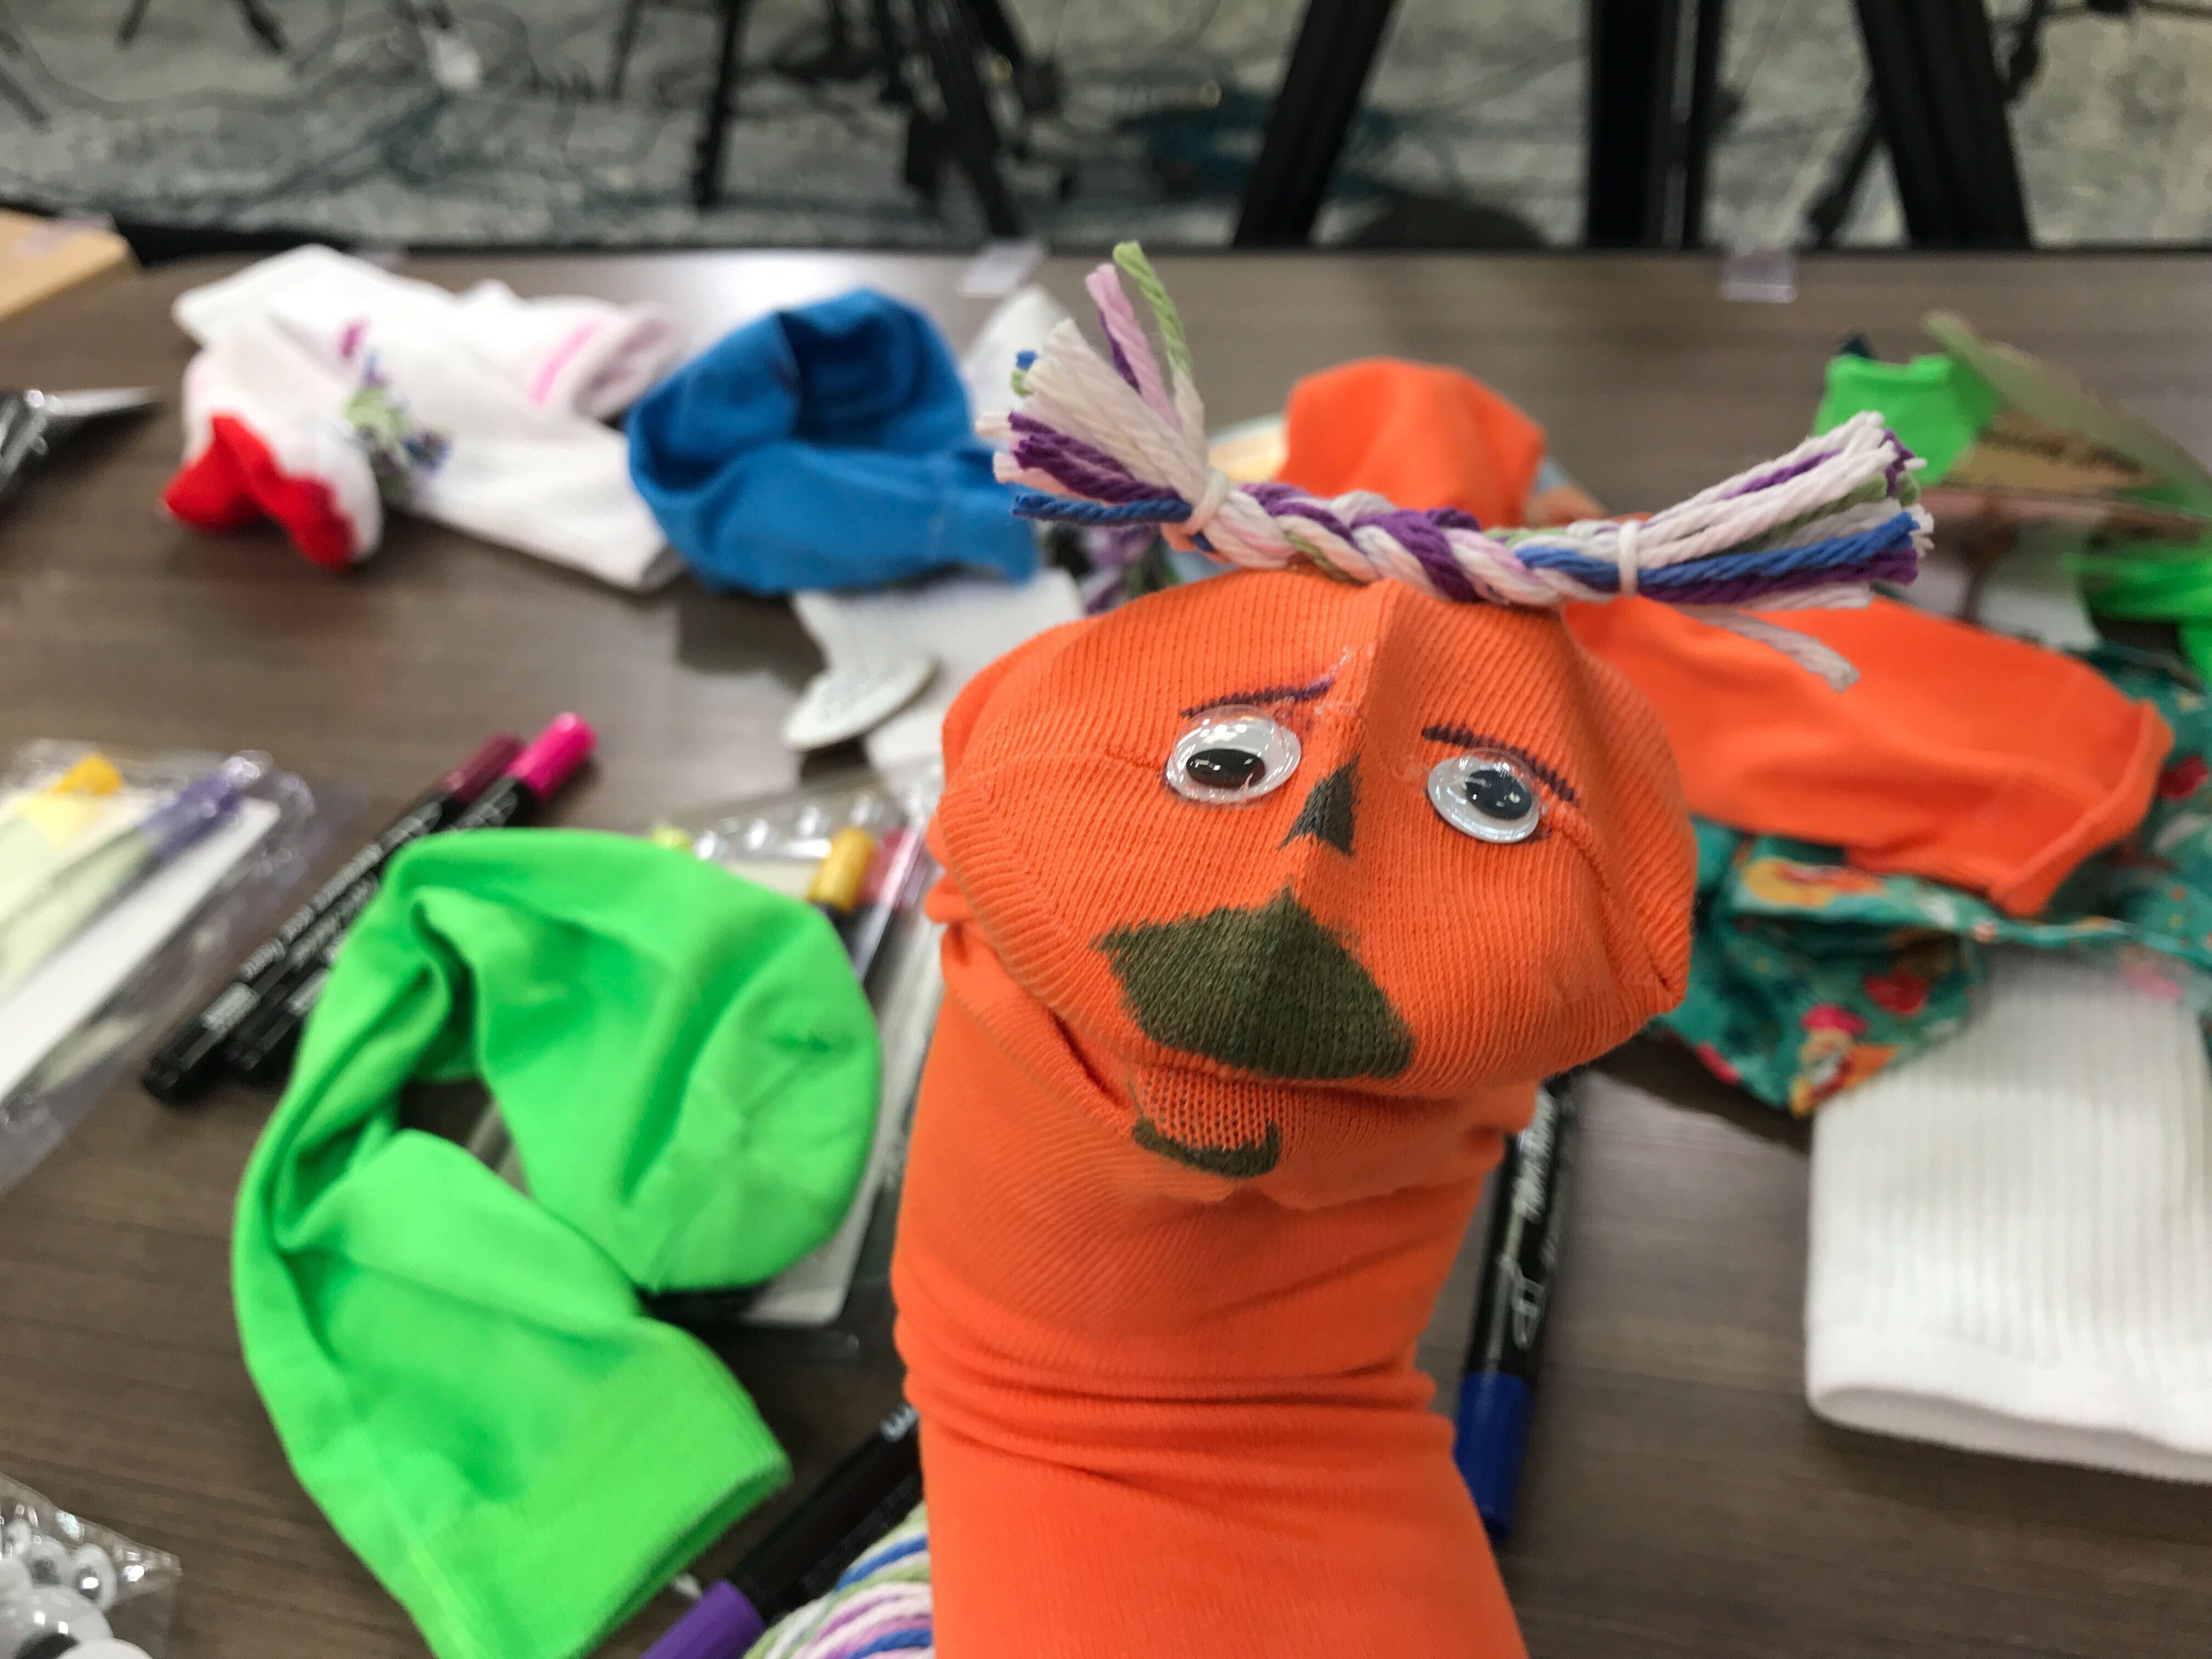
Pull your sock onto your hand. Put your thumb in the heel and your fingers into the toes. Scrunch the extra fabric into your palm. Optional: cut off the extra fabric and sew the two pieces back together.
Step 2: Draw Face
With your hand in the sock creating the mouth, draw on lips, eyes, eyebrows, and a nose.
Optional Step: Googly Eyes and Hair
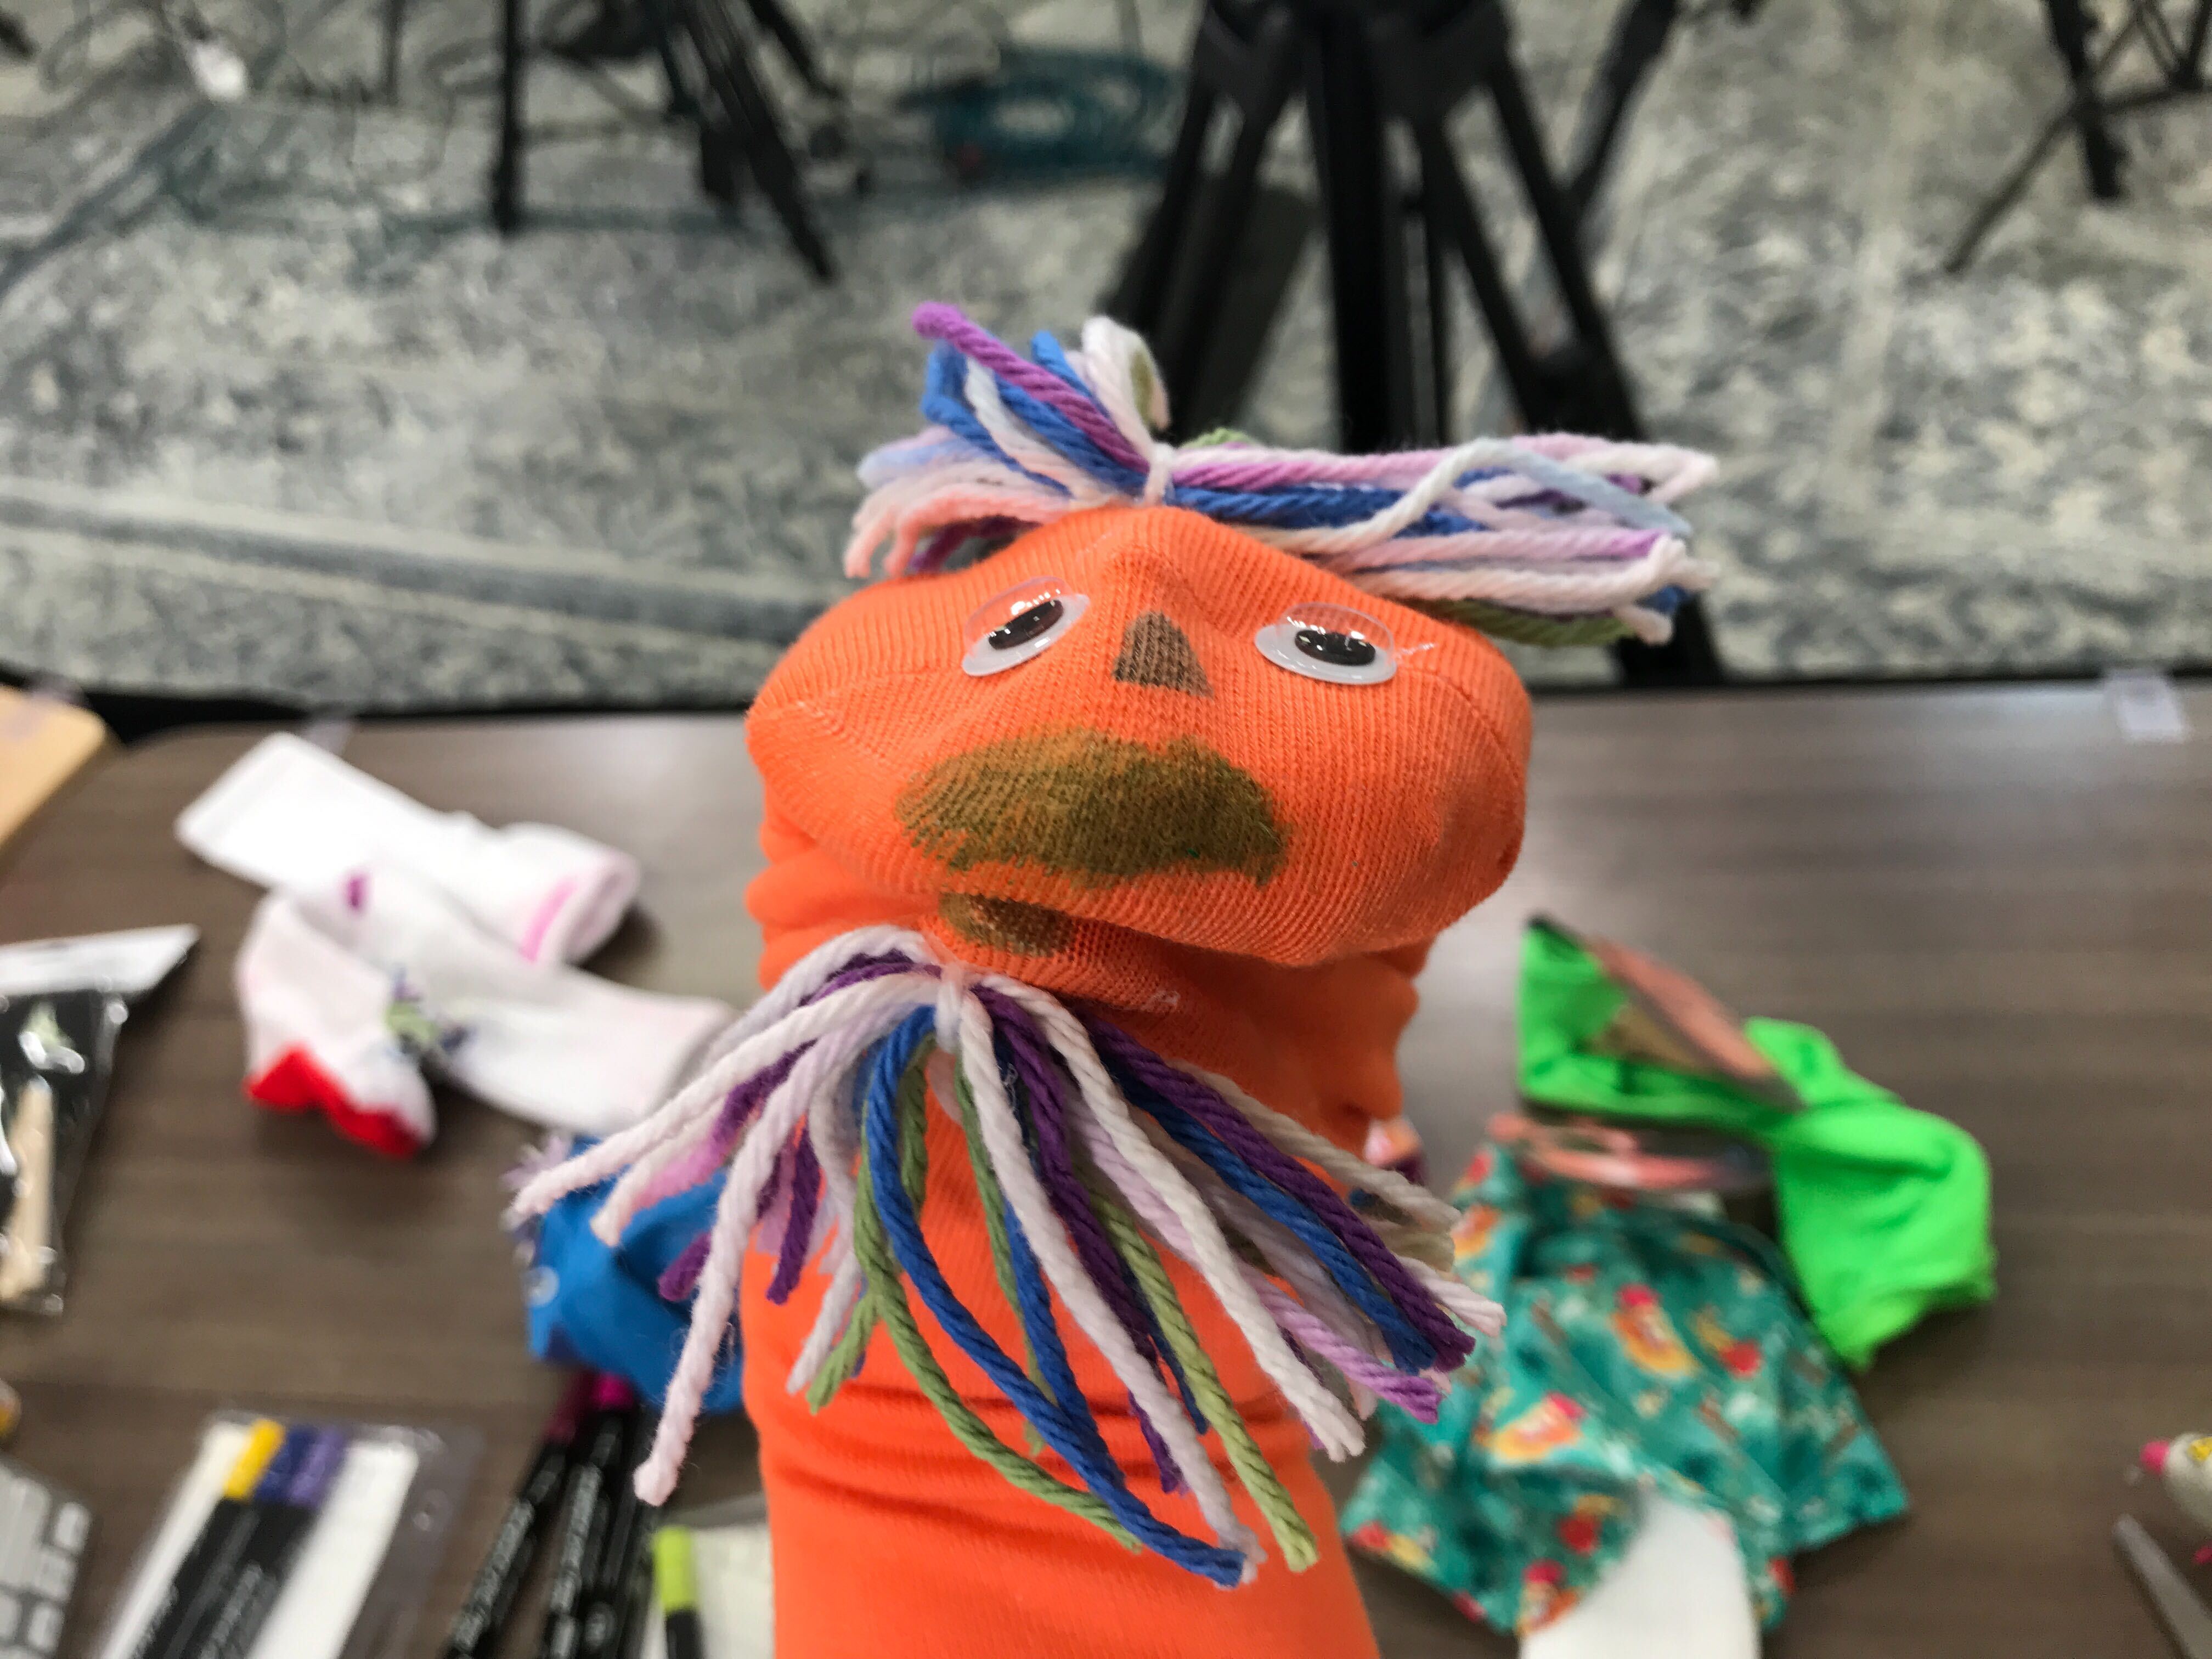
Glue googly eyes on. Cut strips of yarn and glue onto the sock to create hair.
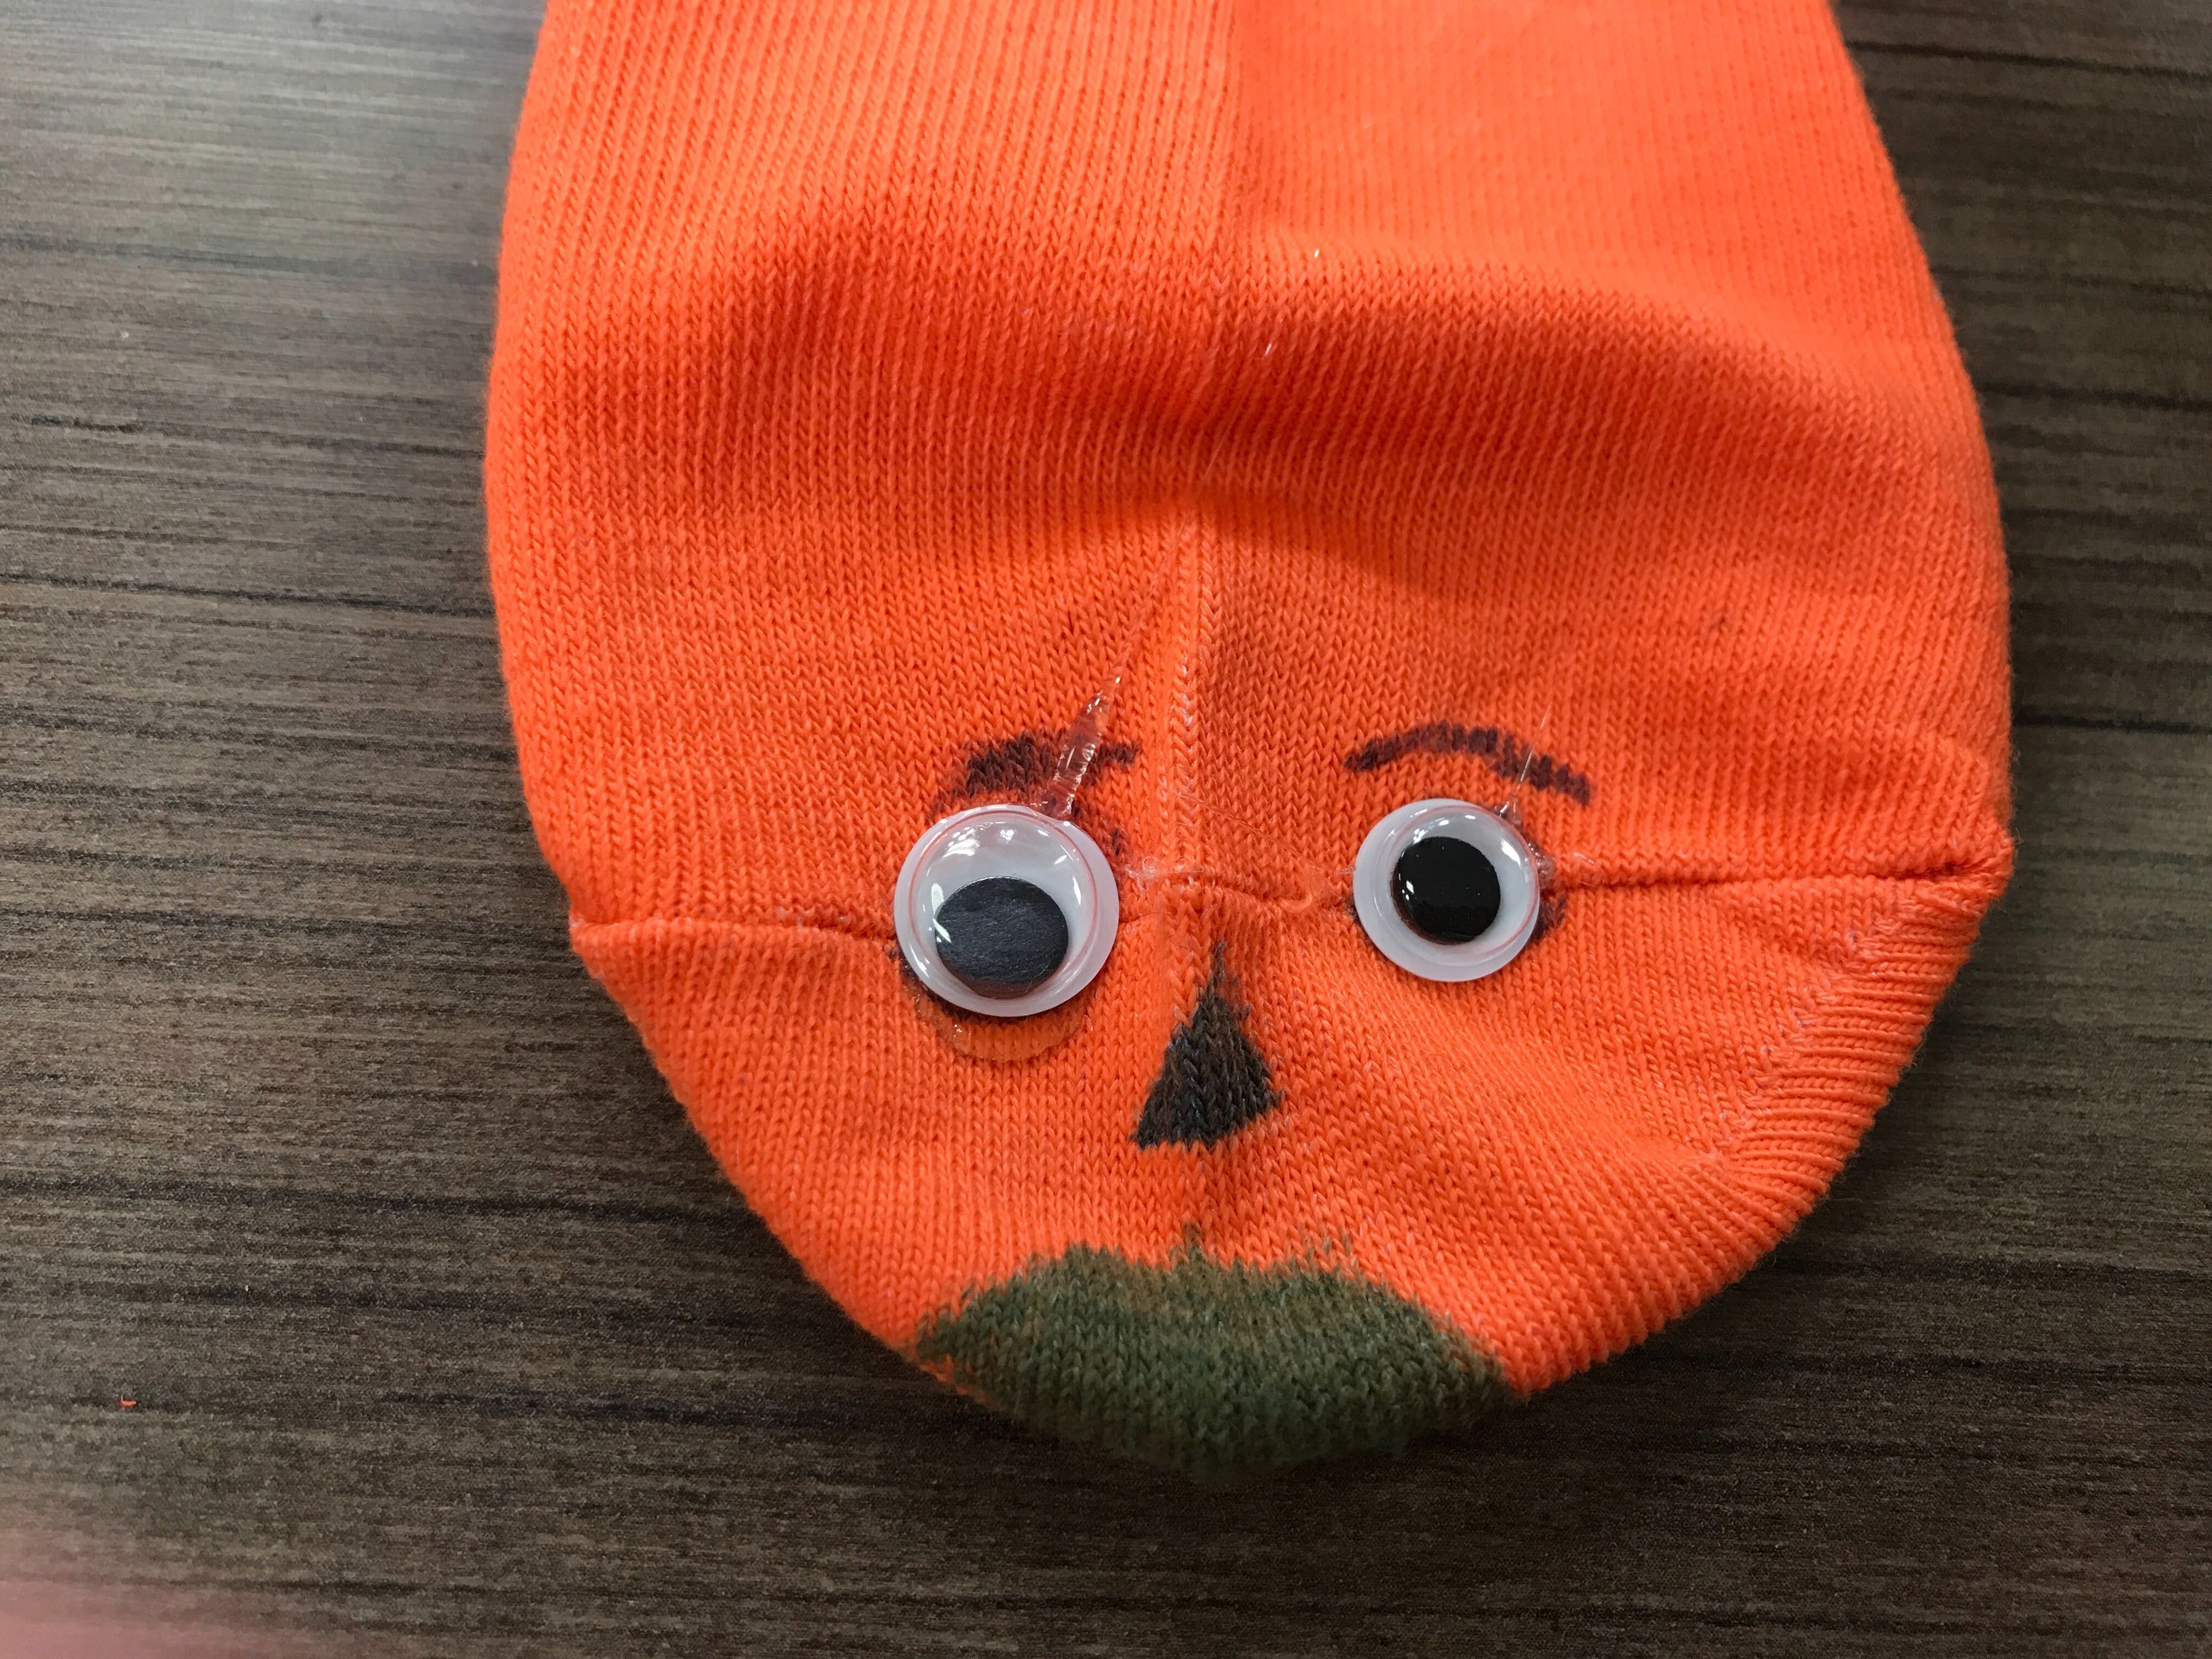
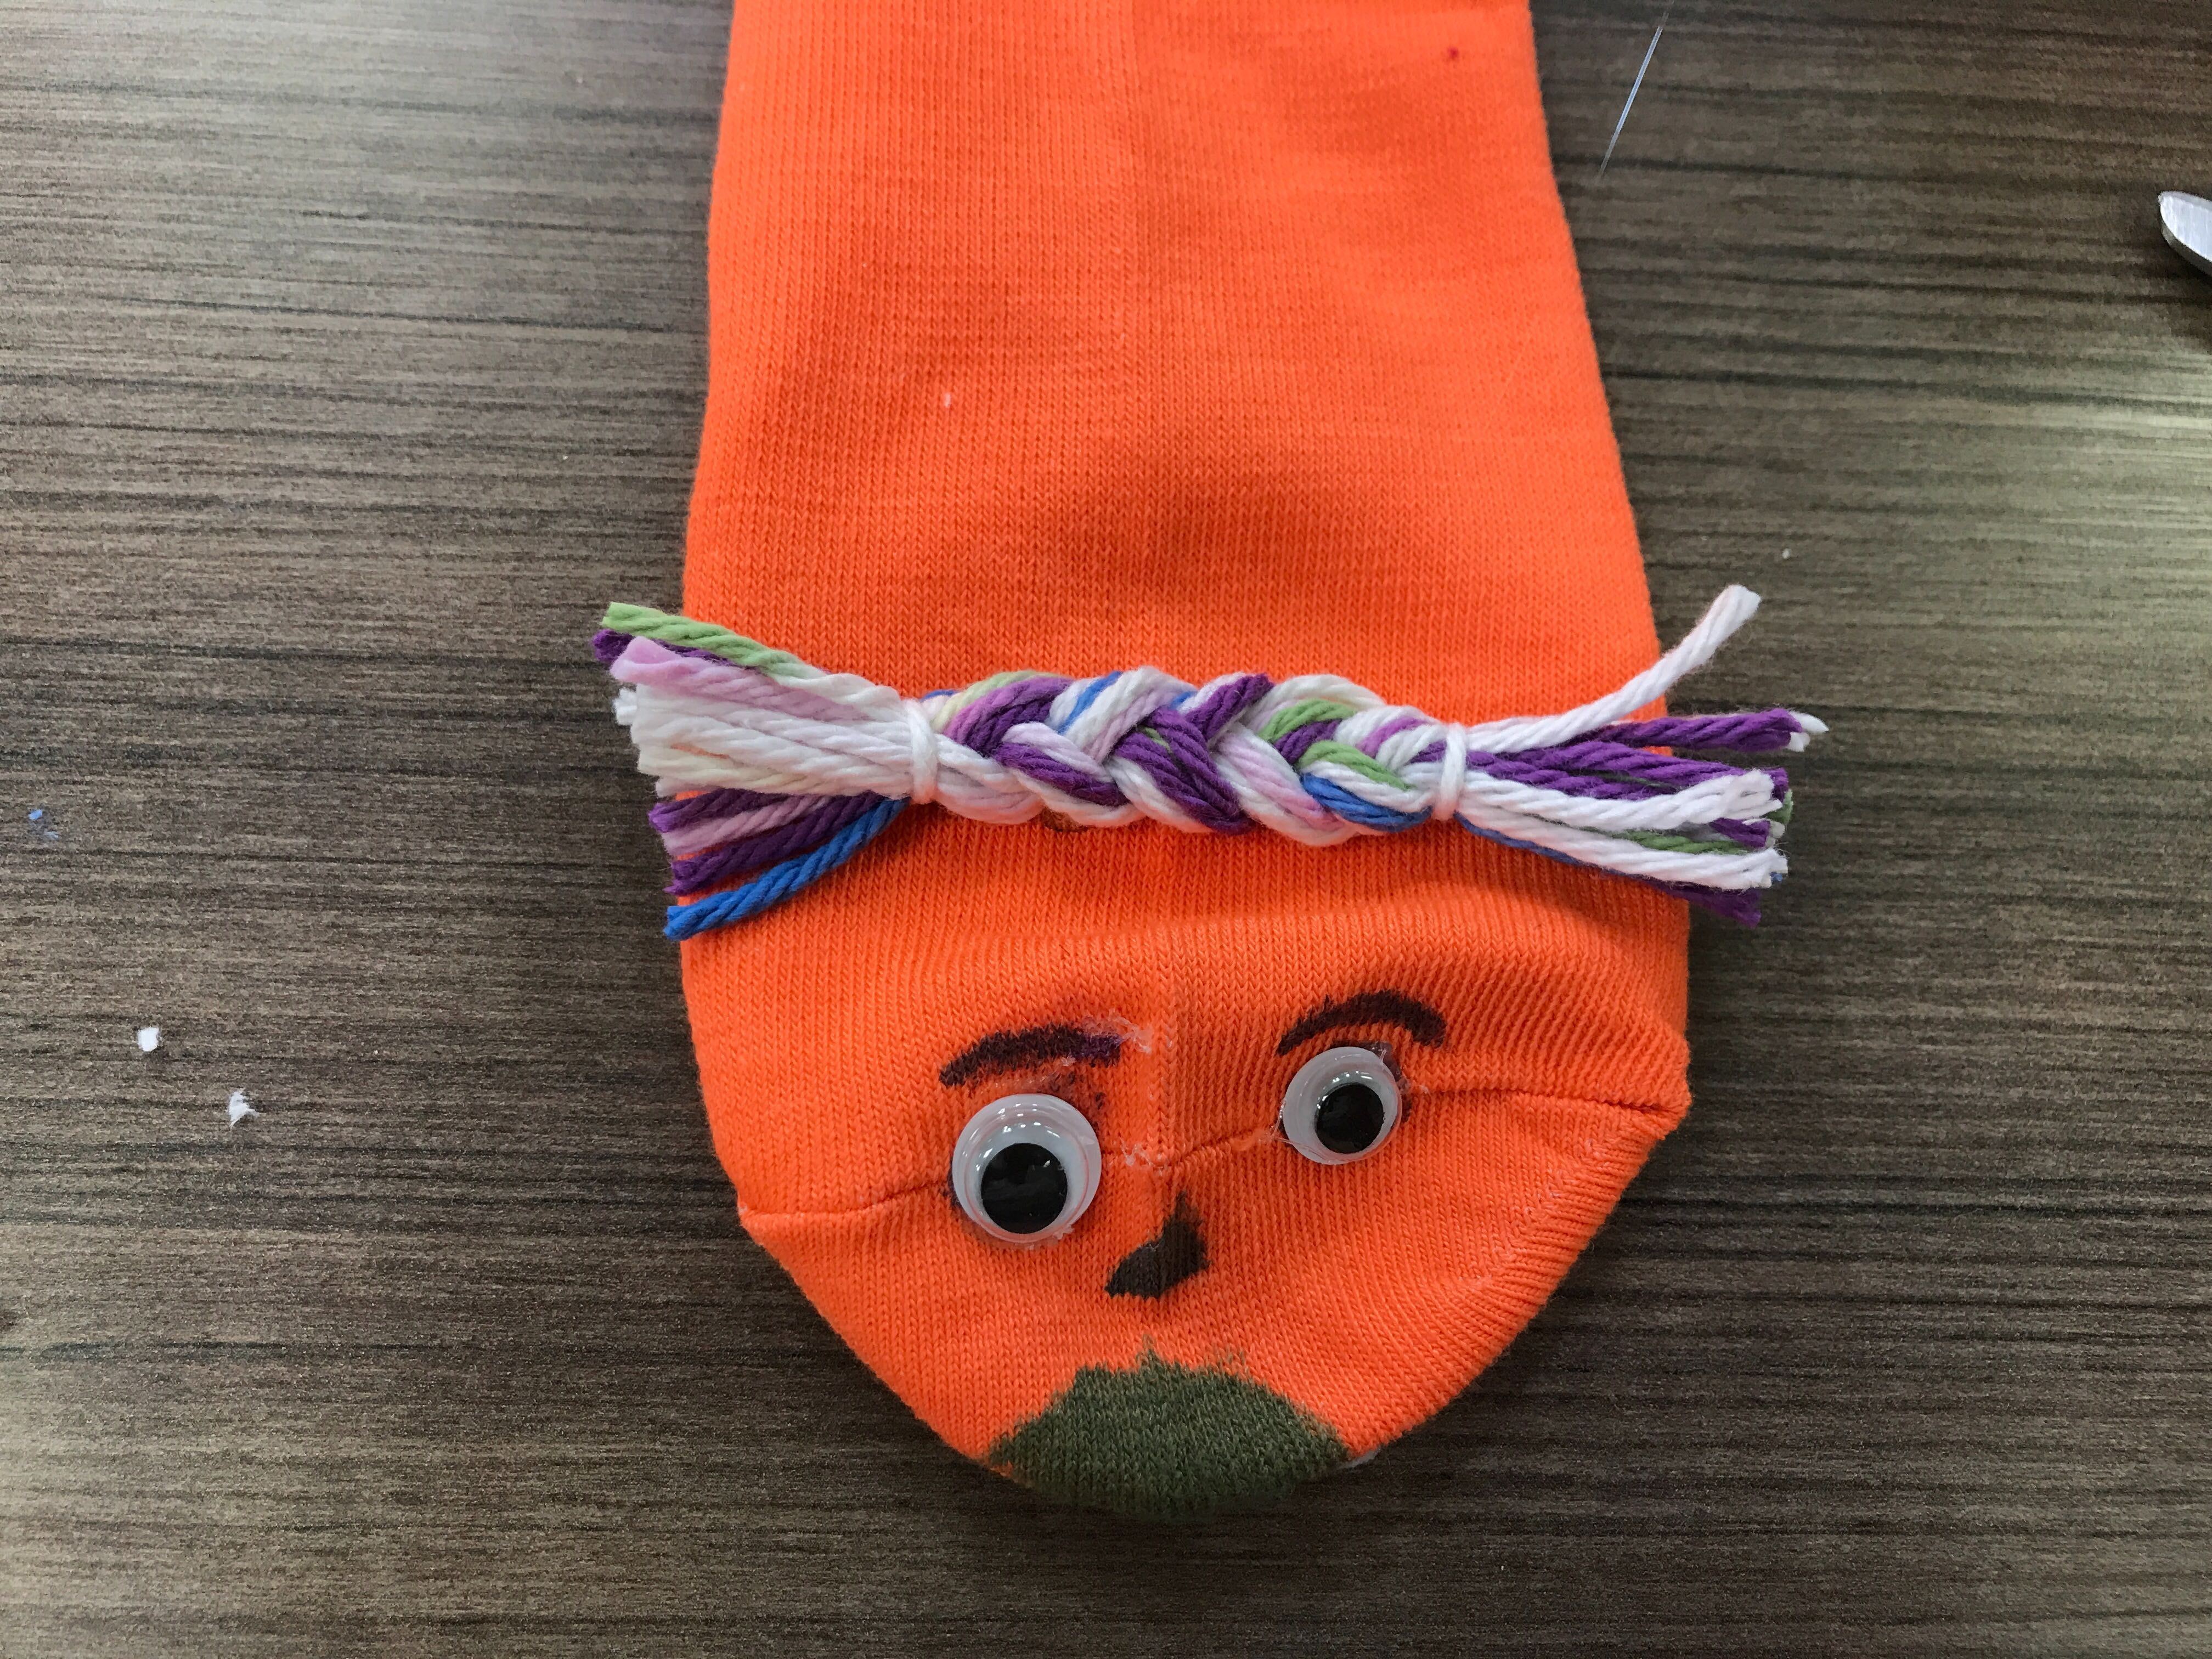
And now you have your very own sock puppet! You can draw on bowties or necklaces. Or create extra accessories like a cast member nametag.
Tom Corless Puppet
- Socks
- Scissors
- Hot Glue Gun
- Cardboard
- Printed Photo of a Face
- Glue Stick
- Modpodge
- Optional: Build-a-Bear shirt
Step 1: Create Mouth
Cut off the toes of your sock. Cut a small rectangle of cardboard and fold it in half to create a mouth. Put the piece of cardboard into the hole in the sock and hot glue the end of the sock on the inside of the mouth.
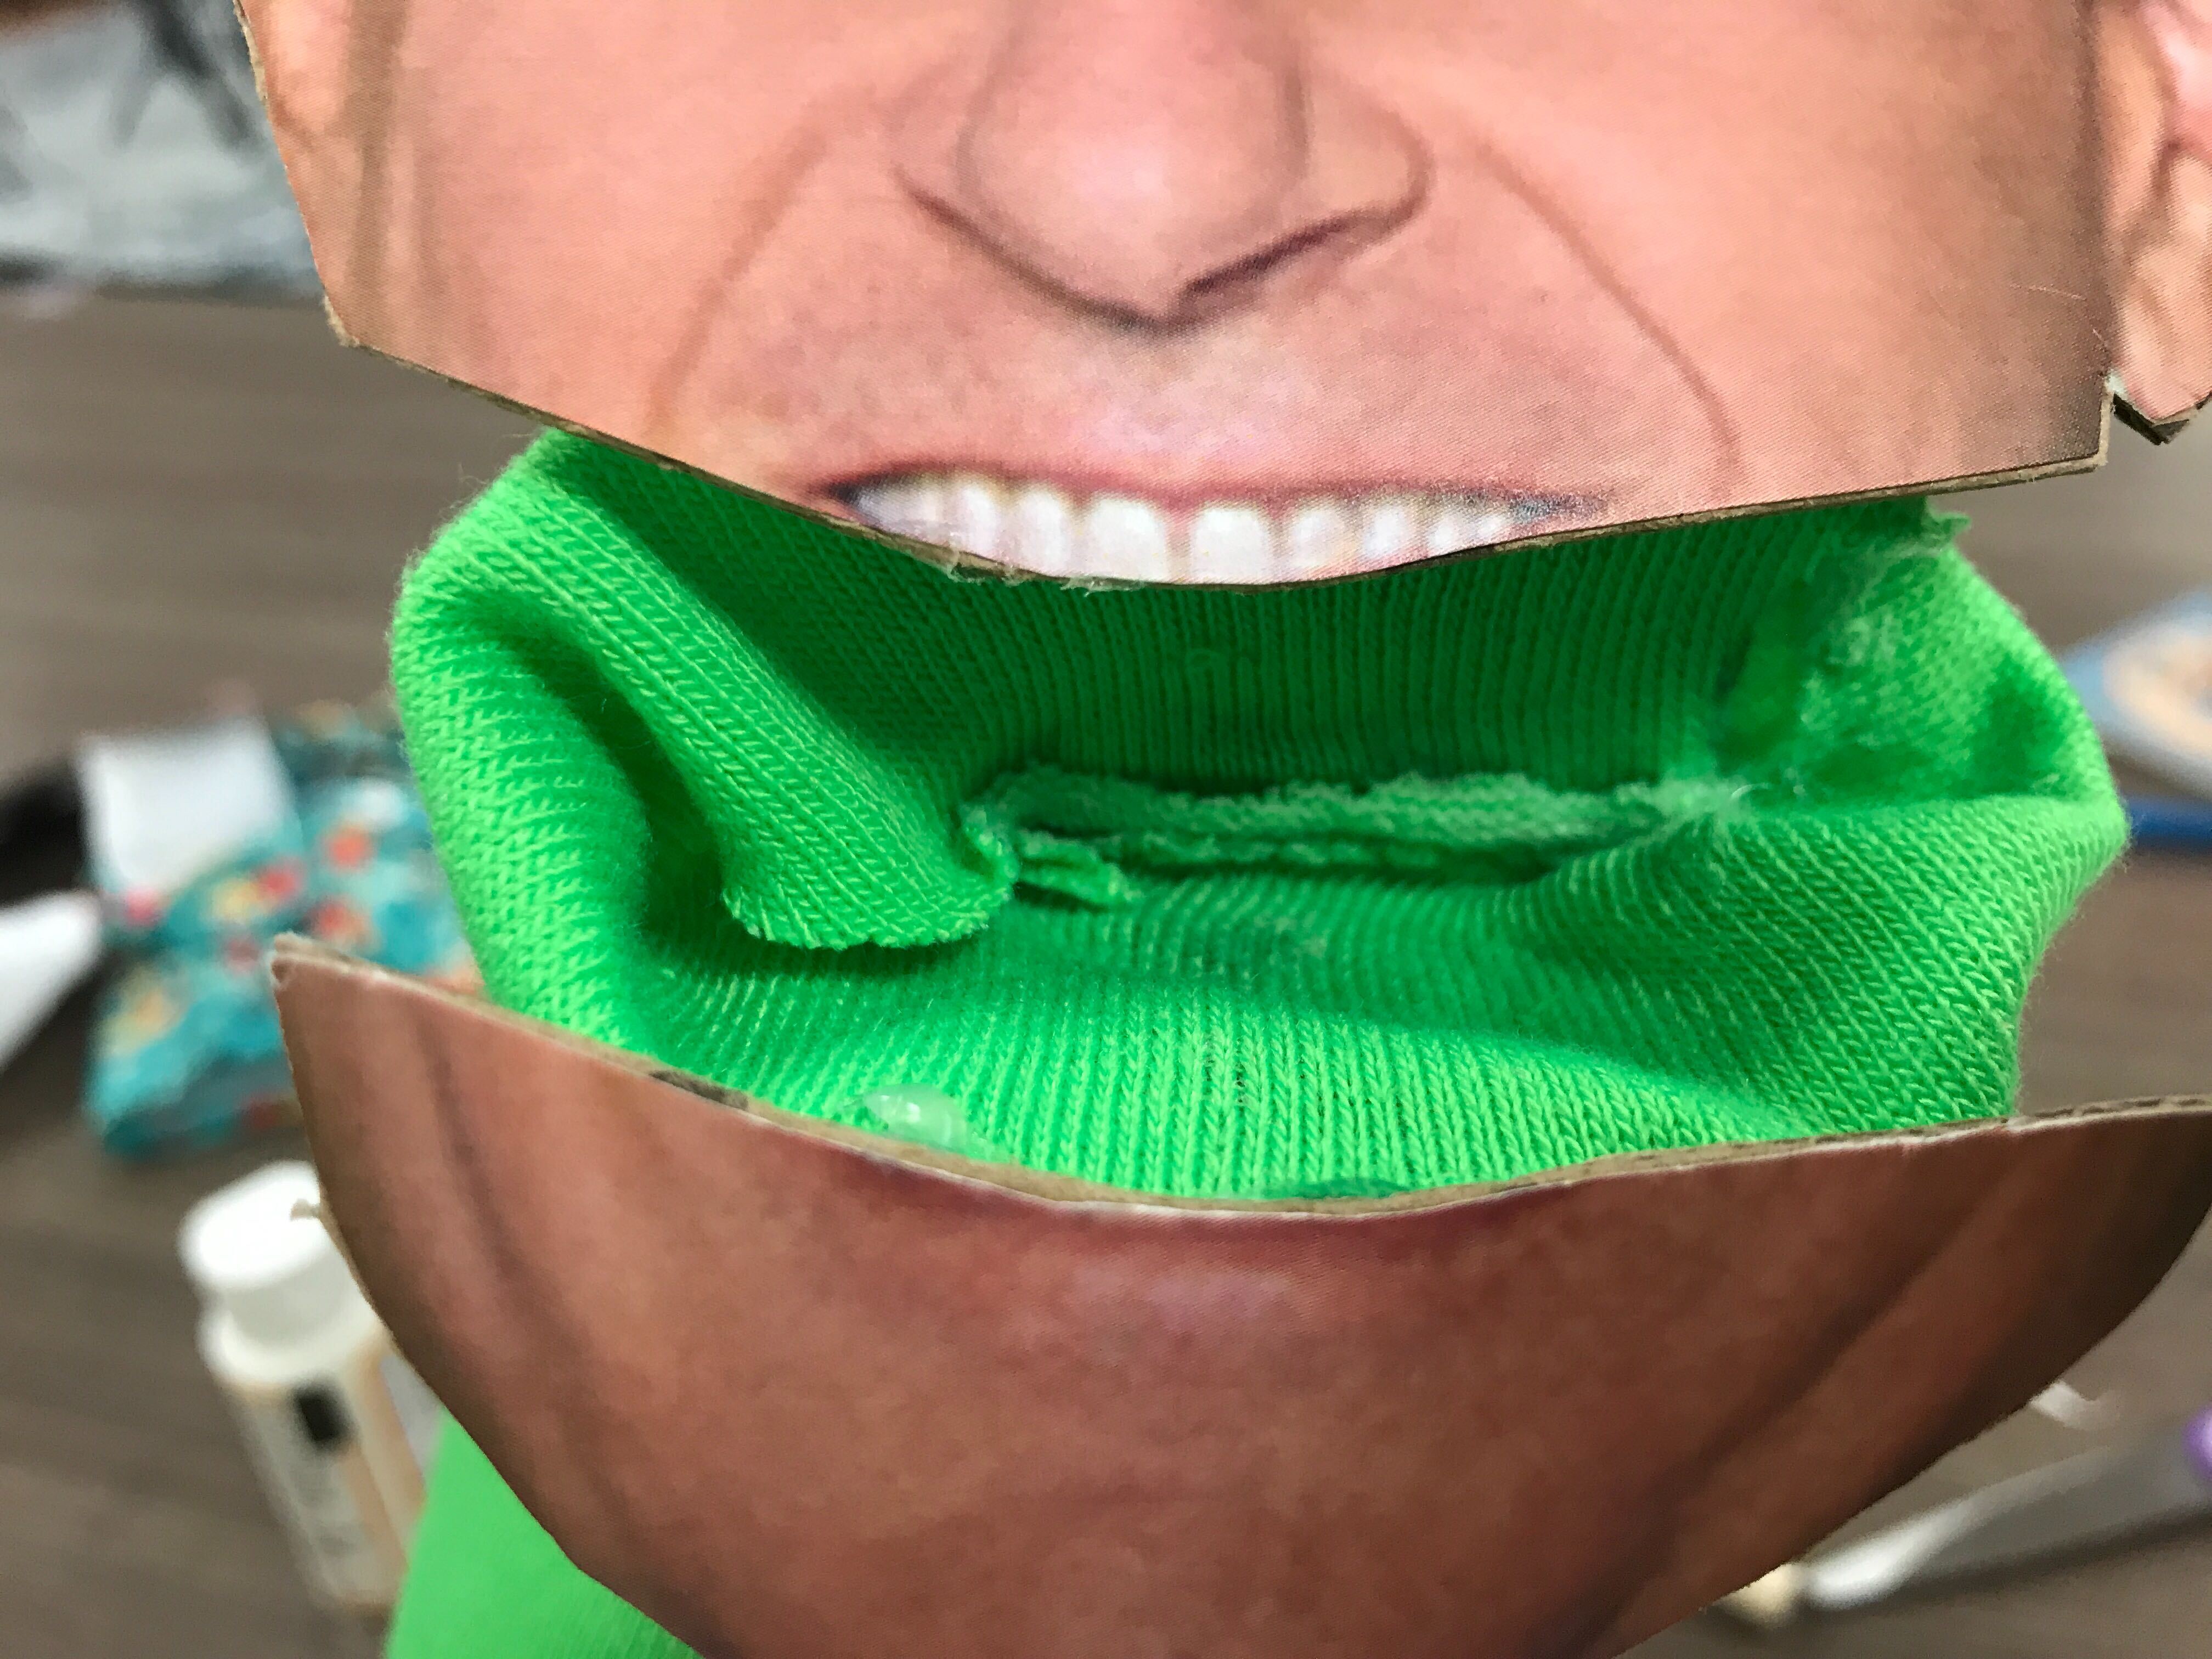
Step 2: Create Face
Print out a photo of Tom Corless’s face (or whoever you want to make a puppet of). The face should be about 4.5″ long. Cut out the face and cut along the lips to make the bottom jaw into a separate piece. Use the glue stick to glue the pieces onto cardboard and then cut them out. Cover the face with Modpodge and let it dry.
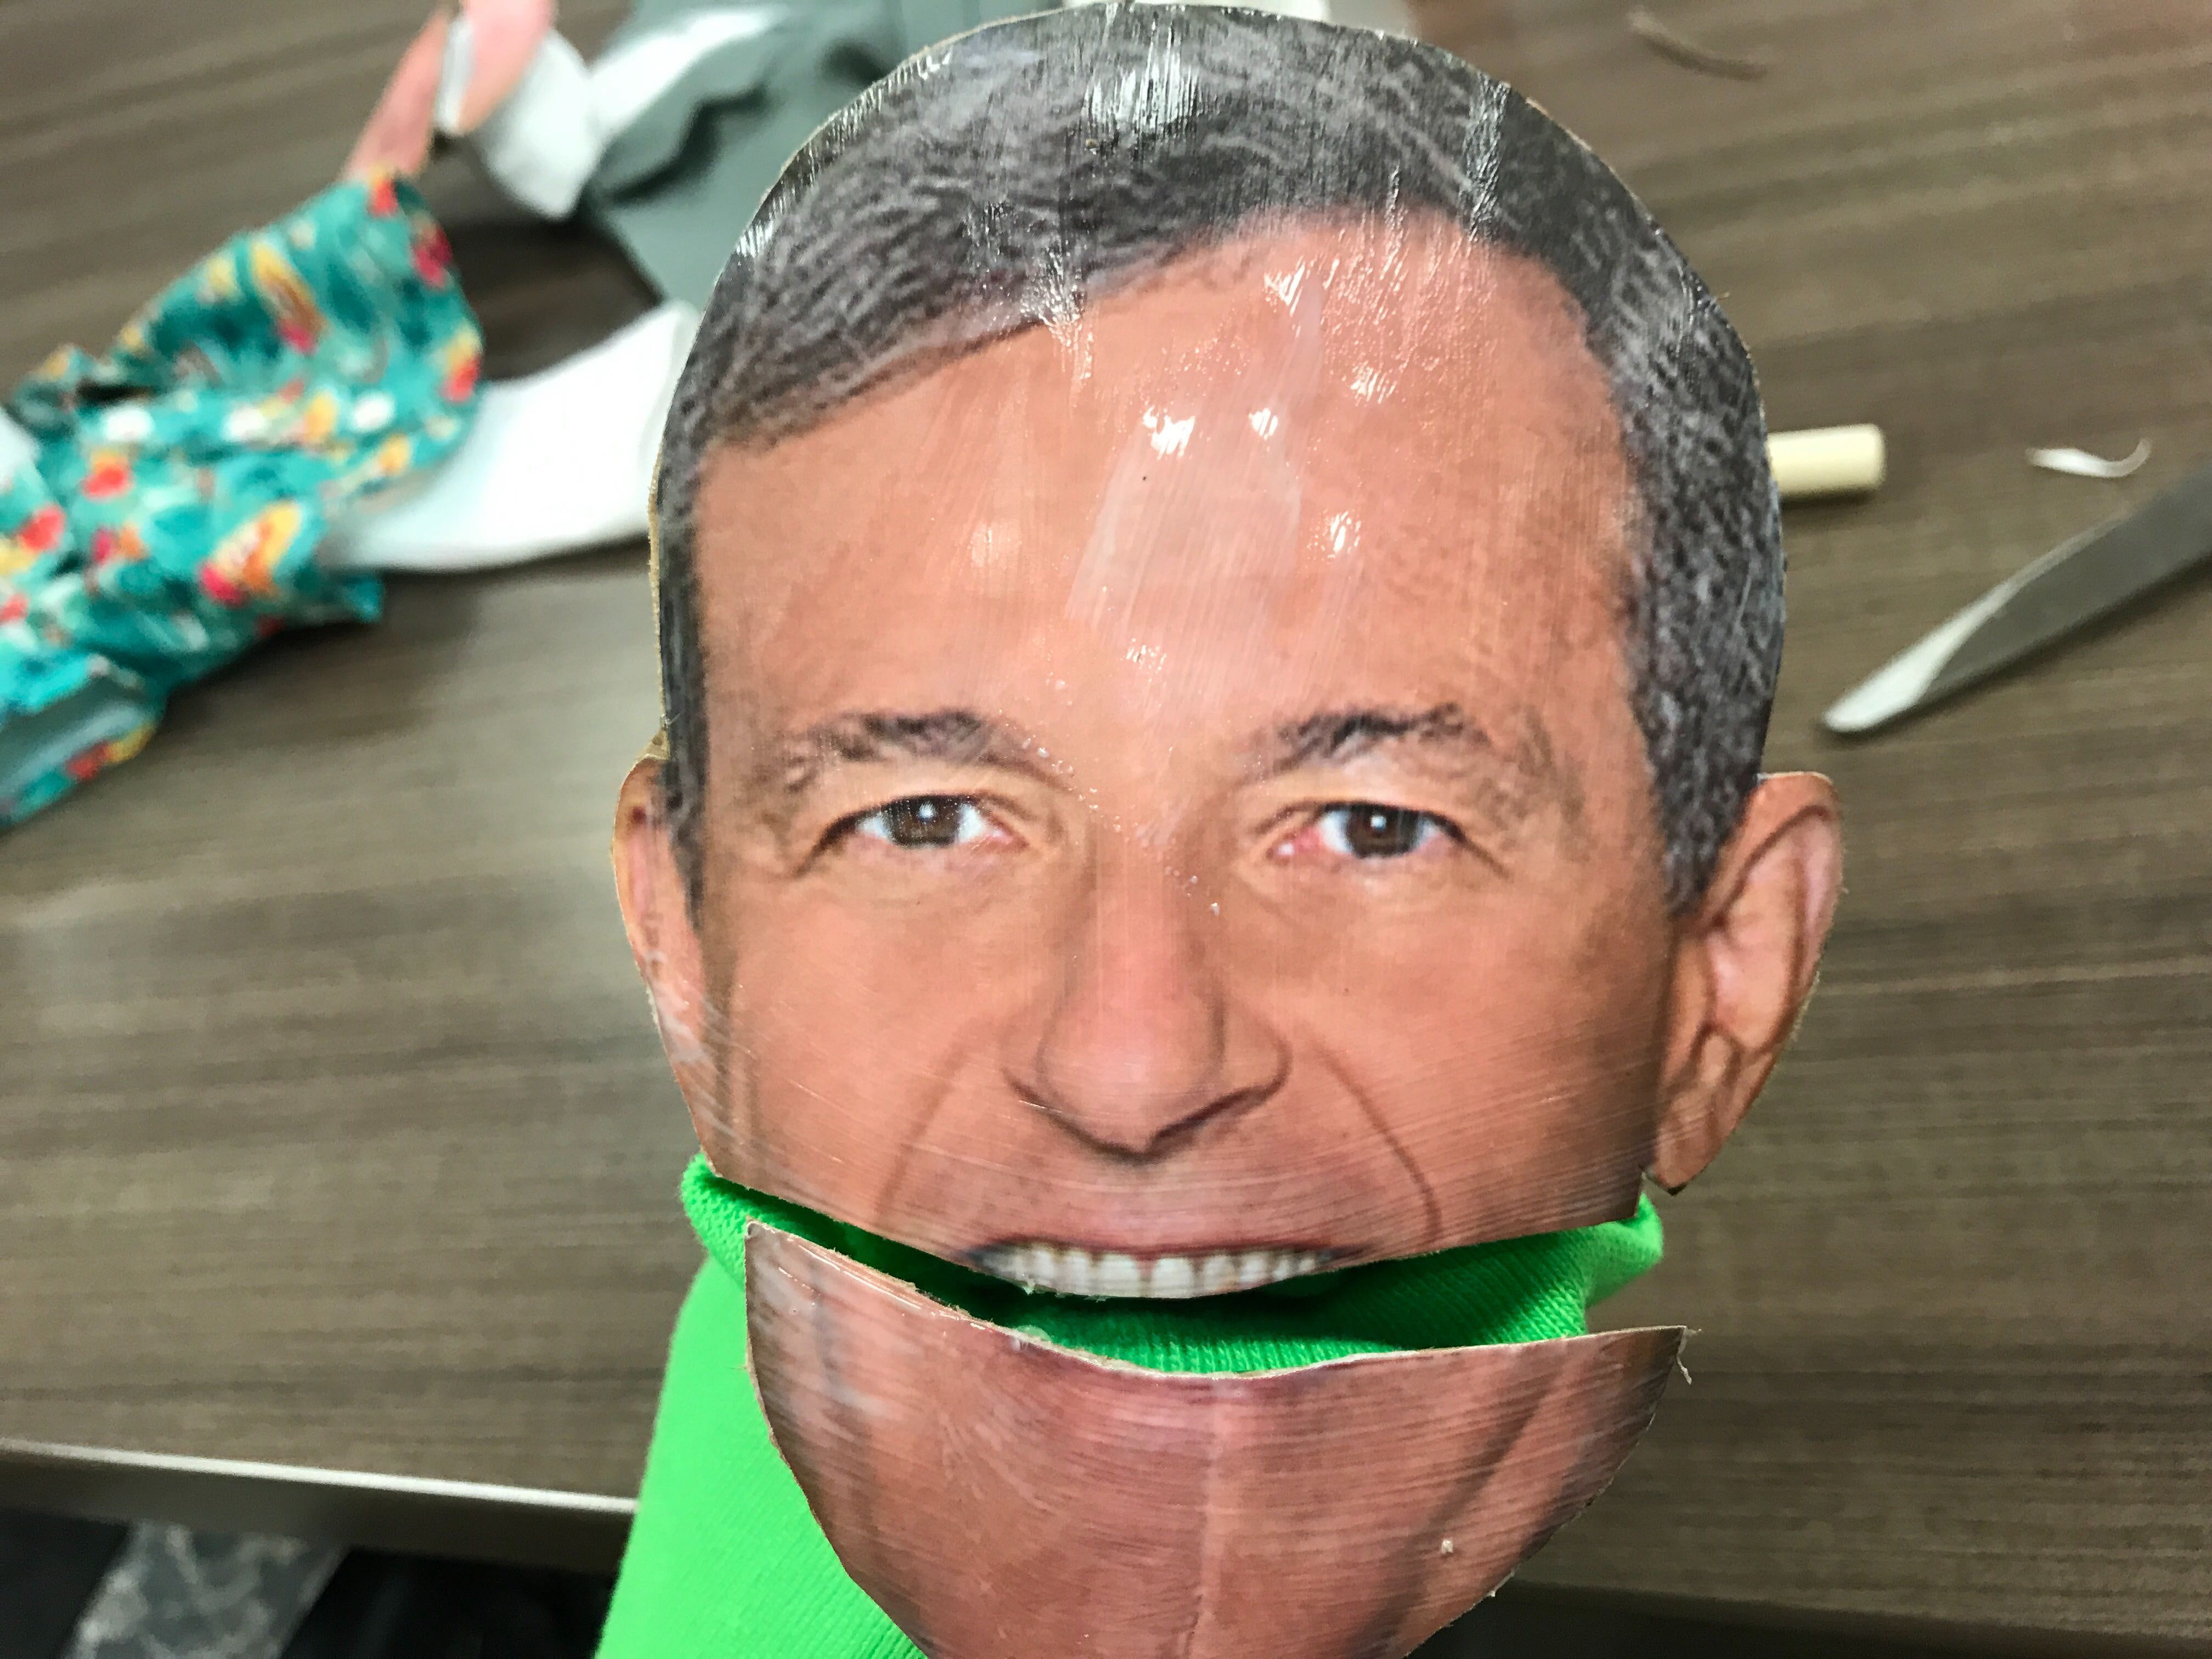
Step 3: Build Head
Glue the face onto the top and bottom of the mouth. Make sure the mouth lines up correctly. Next, cut a small triangle out of cardboard. Glue one side on the back of the head and glue the other side onto the sock. This stabilizes the face.
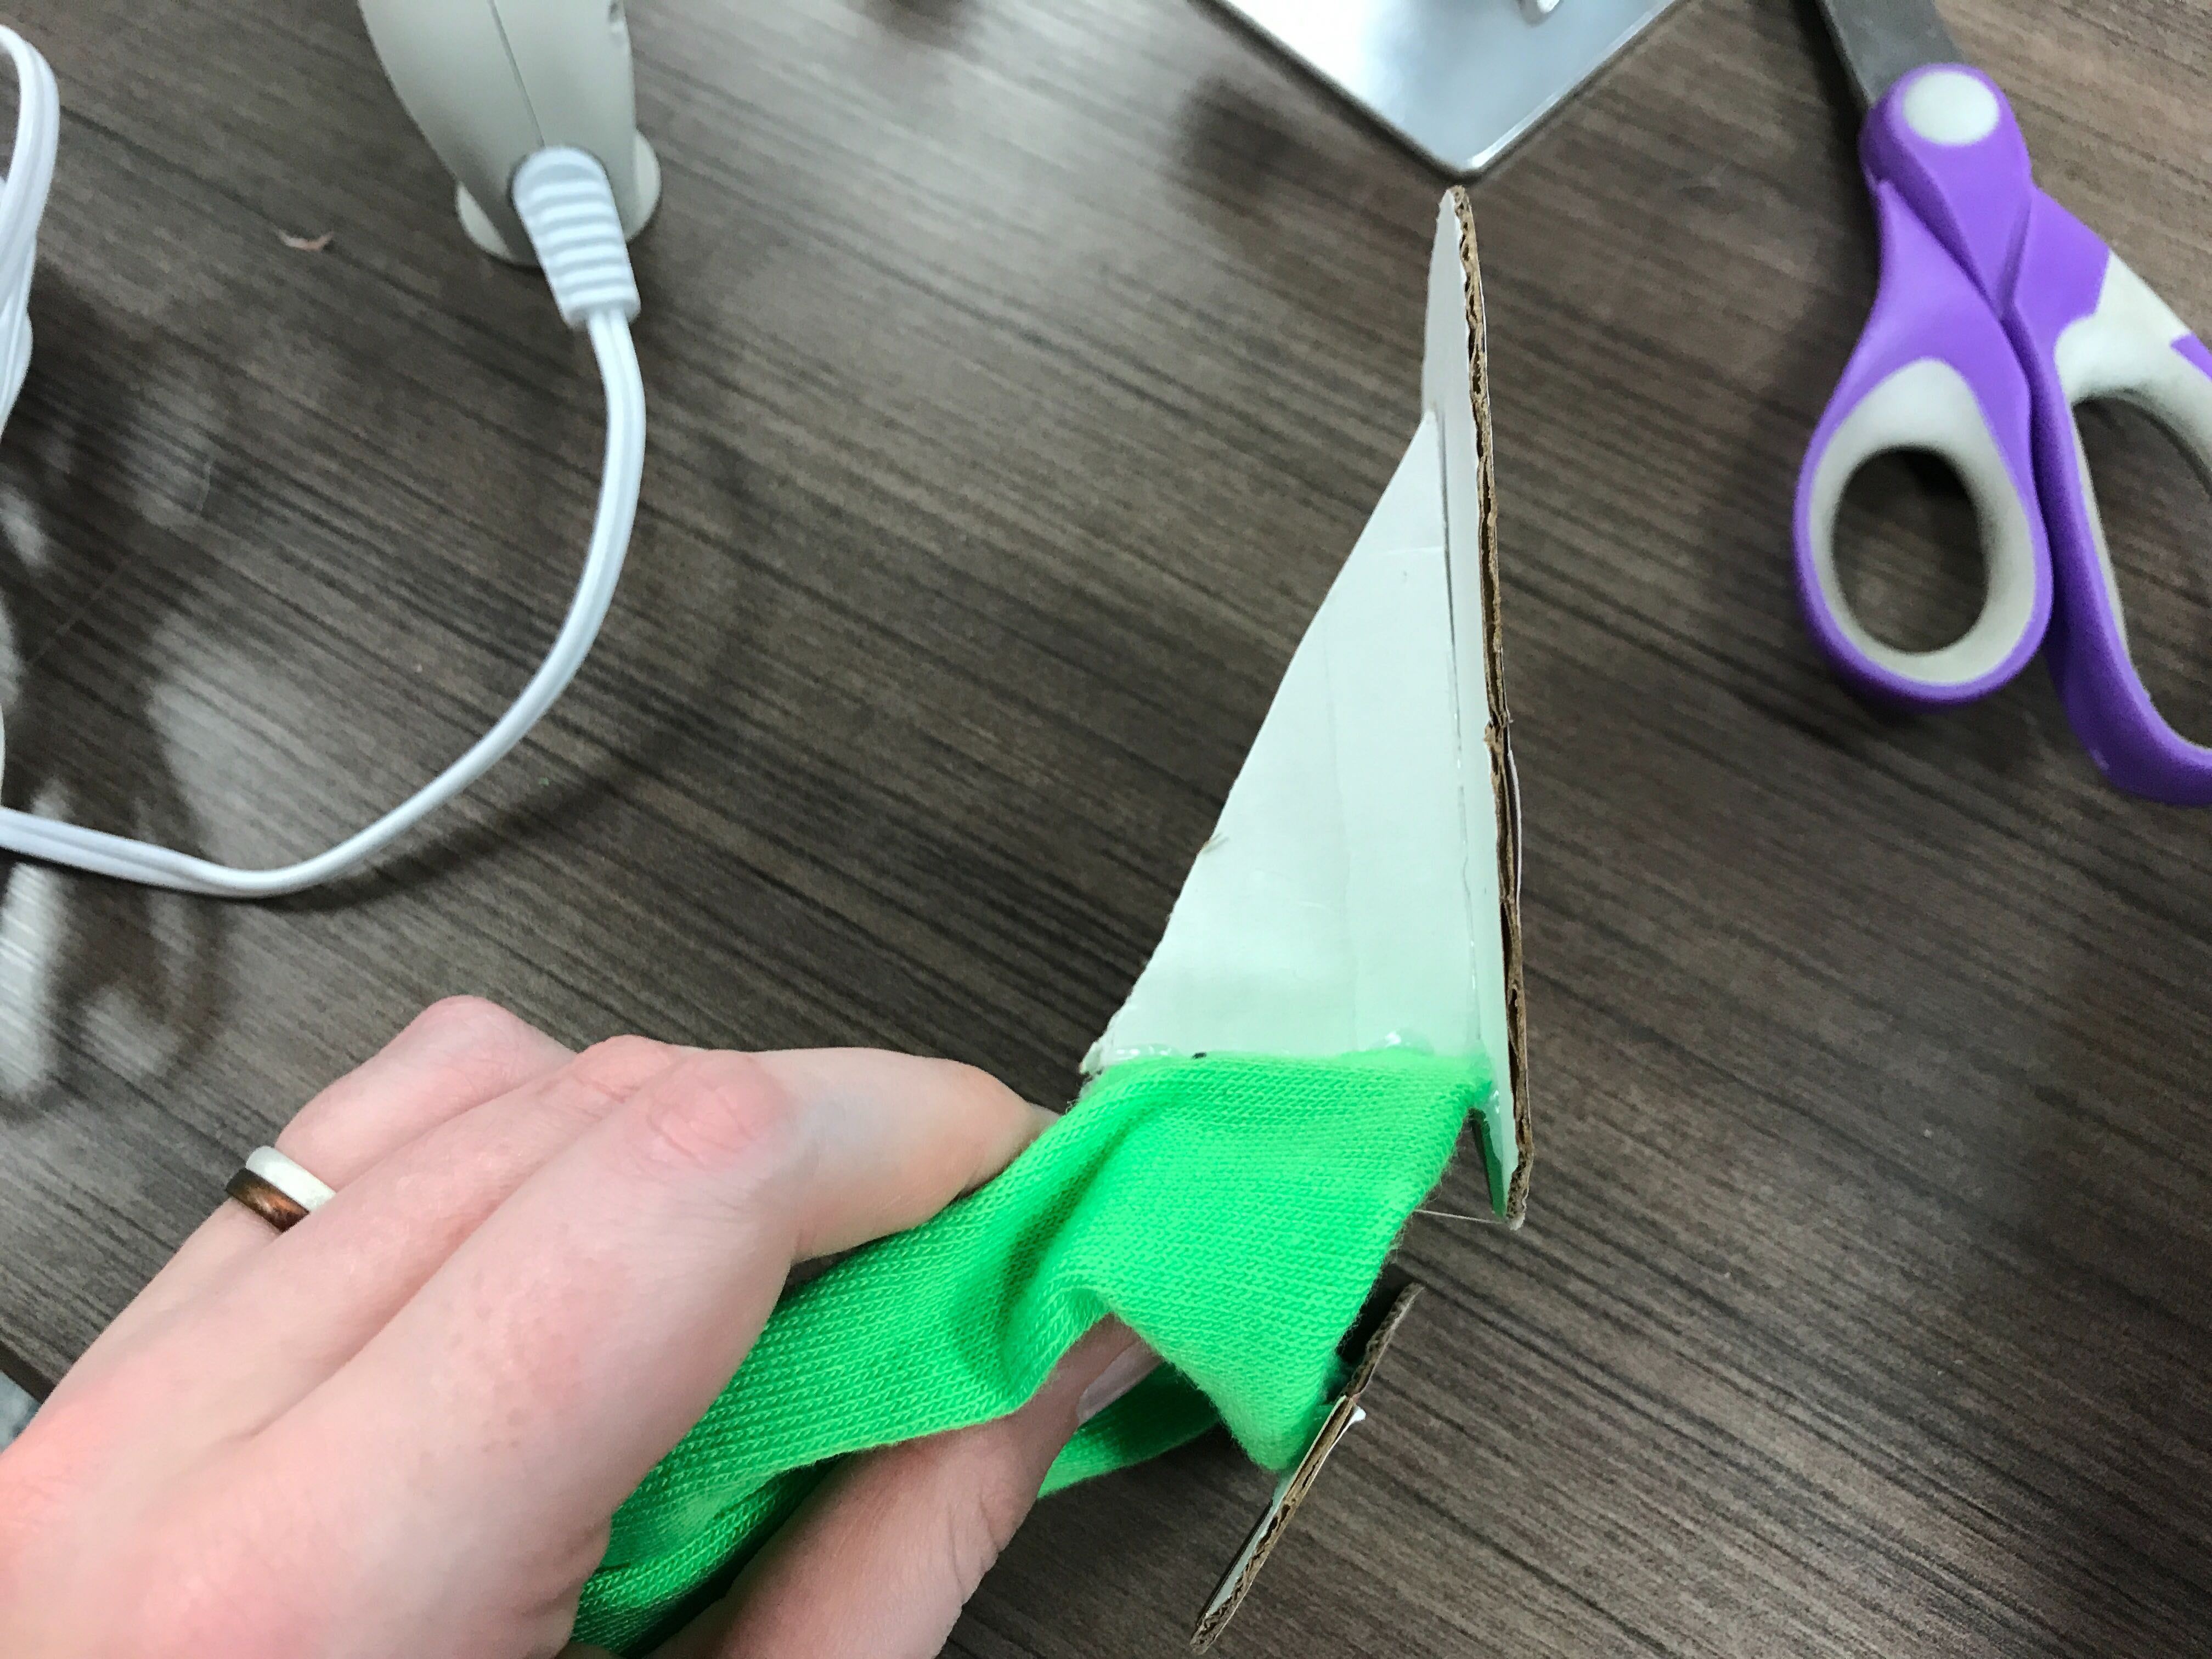
Optional Step: Dress Puppet
Use a Build-a-Bear shirt to dress up your puppet. Use a safety pin to pin the back of your shirt onto the puppet.
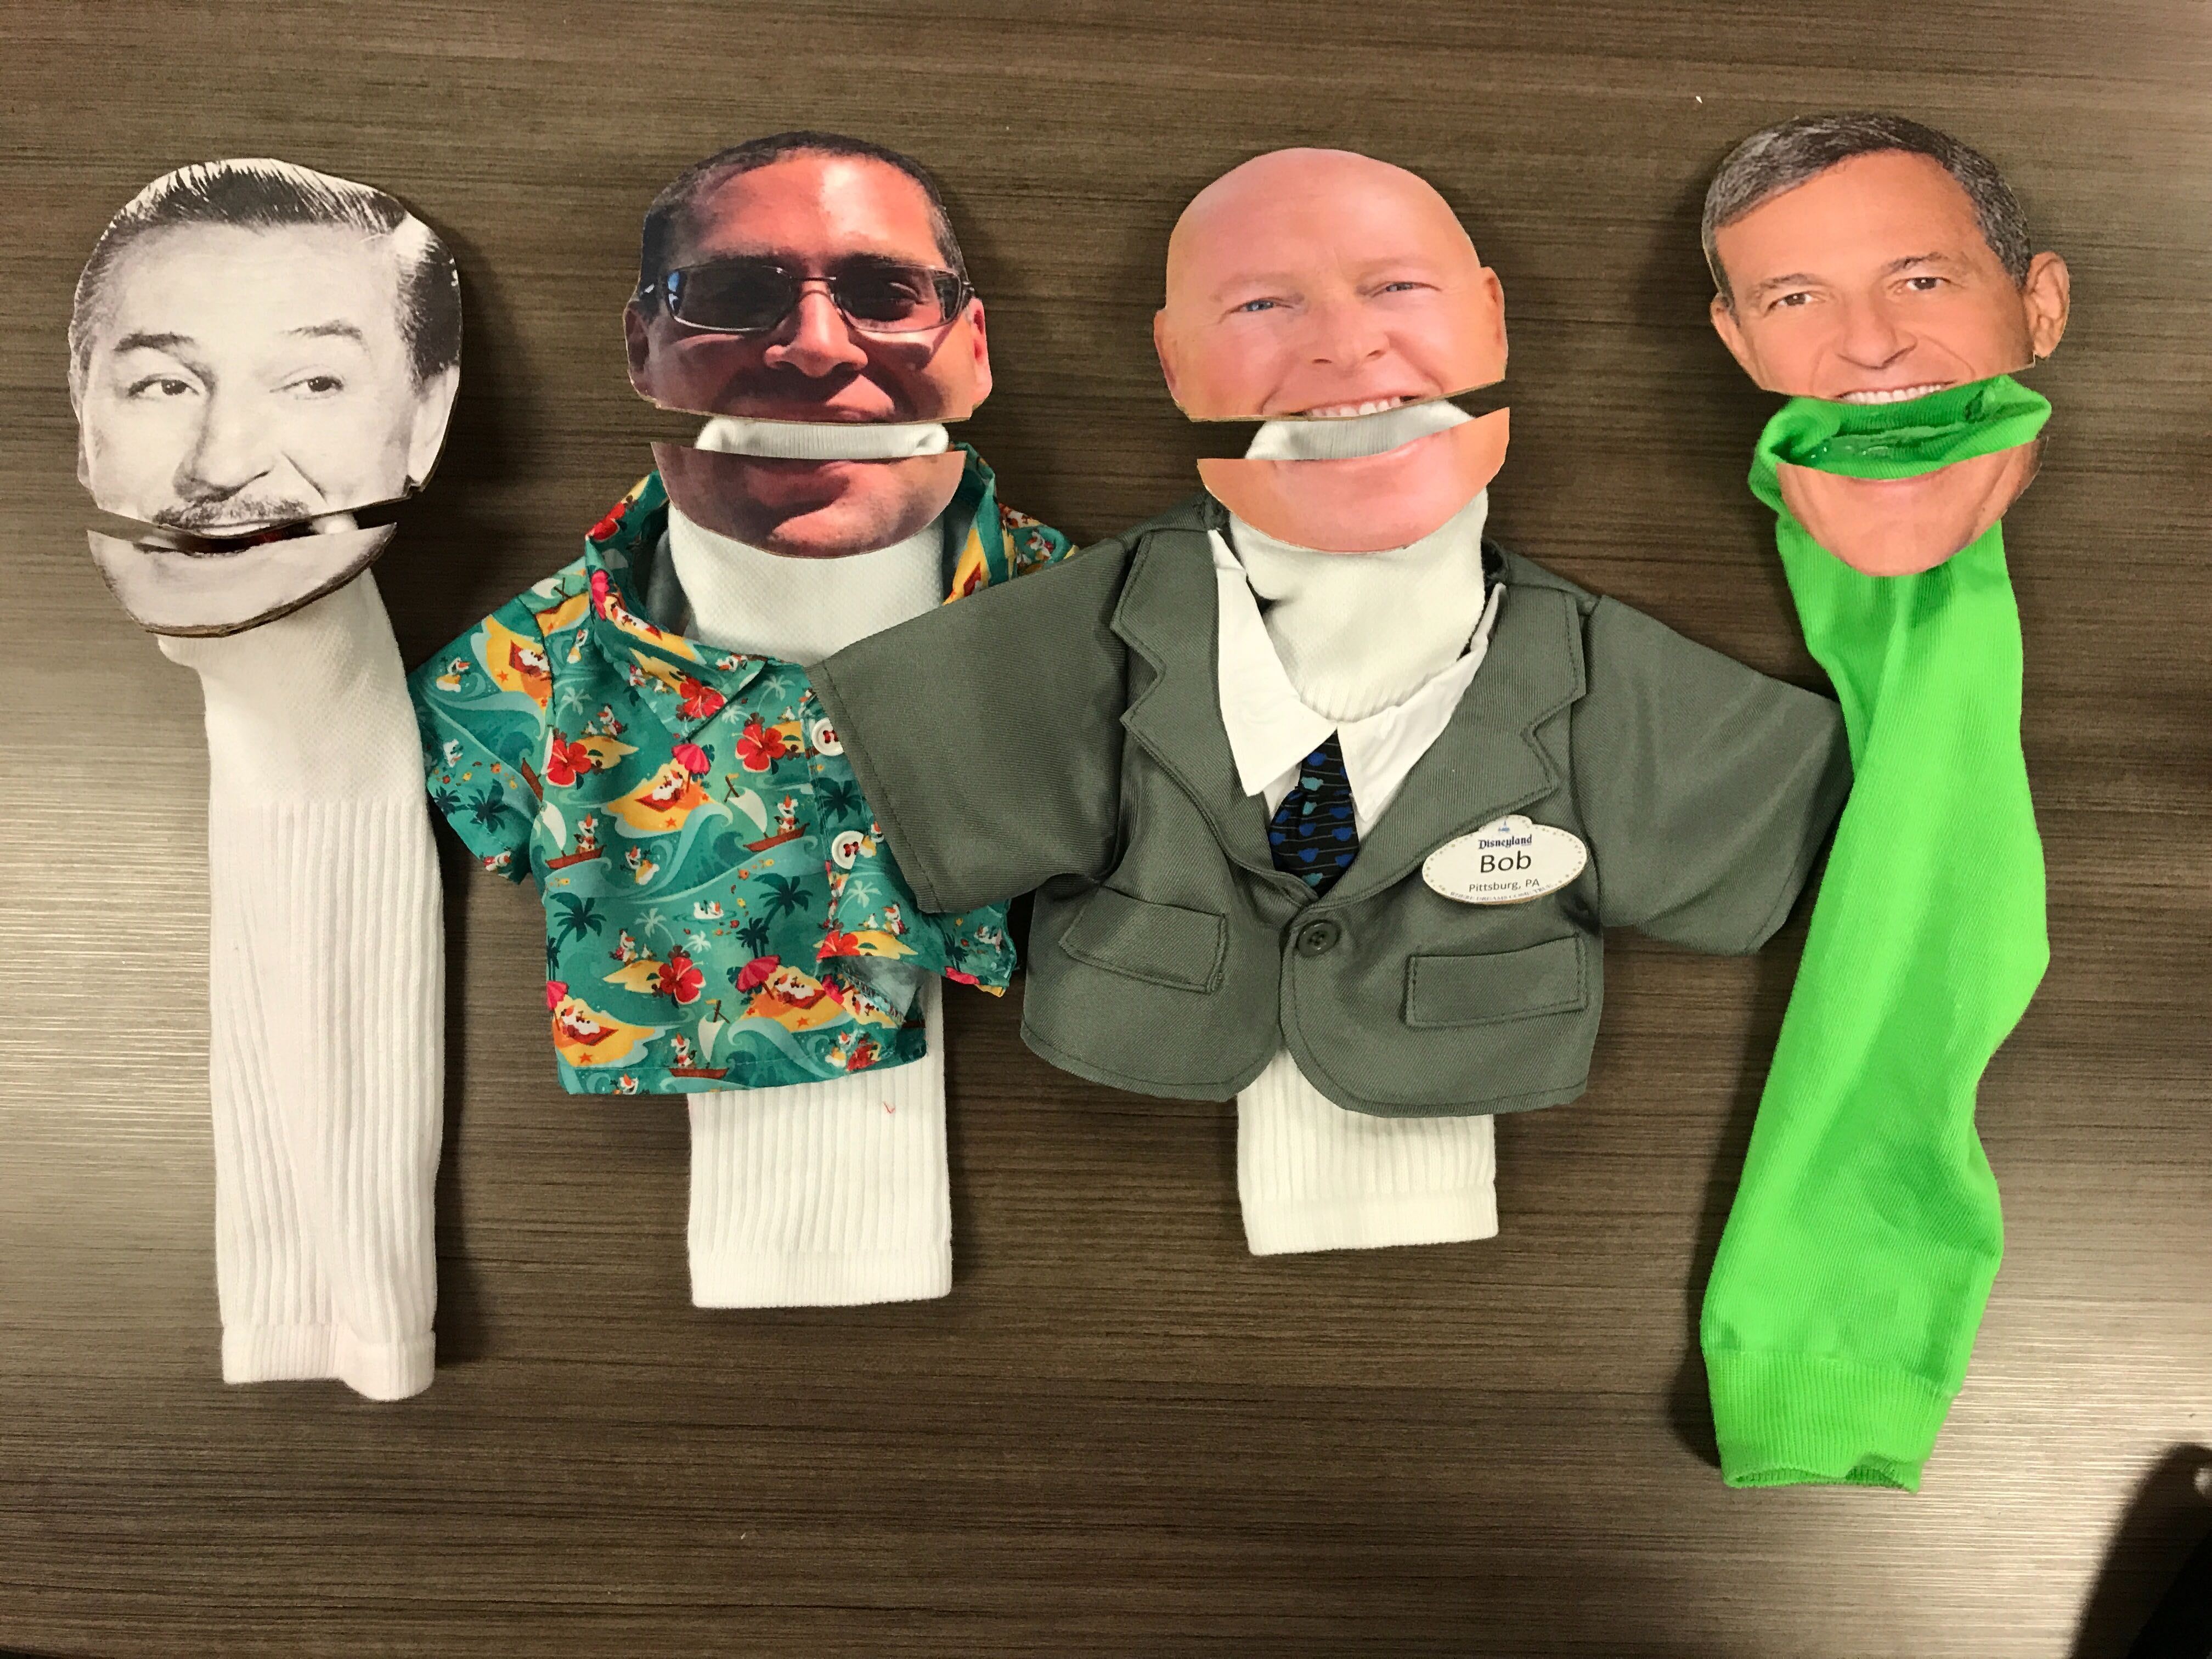
And now you have a fancy face puppet!
Video Tutorial
In need of additional visual guides? You can watch the full tutorial video below and follow step by step on YouTube:
If you want to do more crafting, you can check out the tutorial for DIY Mouse Ears or Scrapbook pages.


