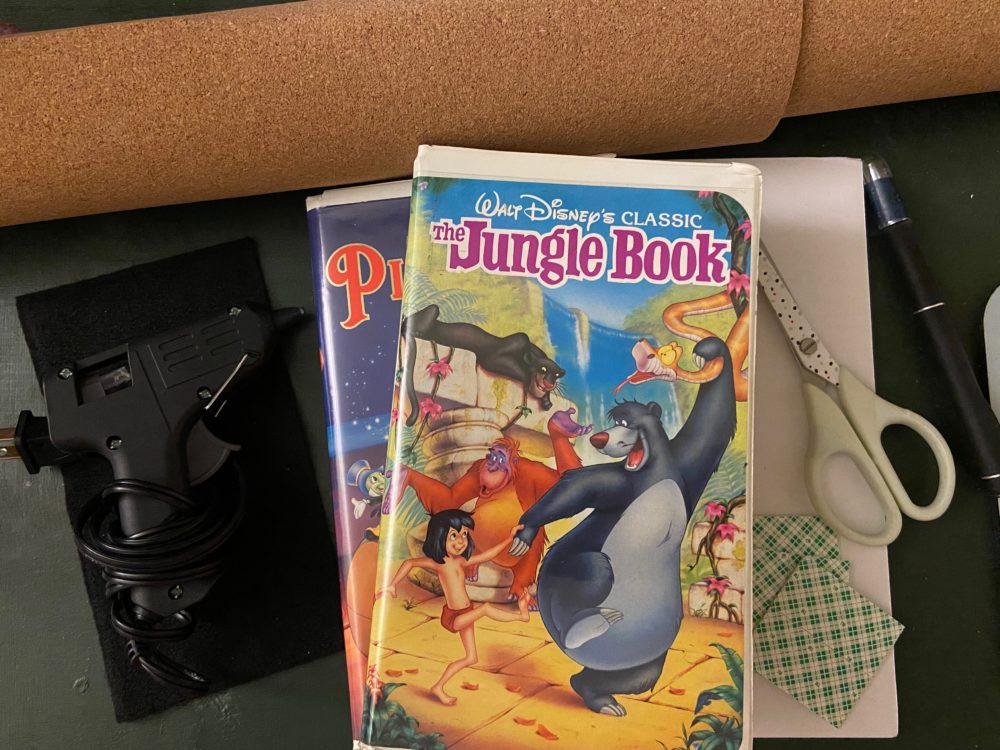
If you’re a pin collector, I’m sure you’re always looking for new ways to store your pins. One fun craft is to upcycle a VHS case into a pin book! Read our step-by-step instructions below and watch our video to learn how to make a VHS pin book.
Supplies:
- A VHS case (look at your local thrift store or on eBay)
- Foamboard
- Cork sheeting
- Felt
- Mounting squares
- Scissors and/or X-Acto knife
- Hot glue gun
Step 1: Find a VHS case
If you don’t have VHS cases lying around your house anymore, you may need to seek some out. You can look at thrift stores such as Goodwill, which will sometimes have VHS sections, or you can search online on sites like eBay. If you buy at a thrift store, you will have a limited selection of movies, but you can always print out a different cover for the case you end up buying. I’ve found blank, empty cases online, so I was able to decorate them however I wanted and I didn’t have to worry about what to do with the leftover VHS tape. If you buy a case with a VHS, then maybe hang the VHS up as a decoration or find another way to upcycle it! But for now, let’s focus on making our pin book.
Step 2: Cut out pieces
If you are using a standard piece of foam, then it will probably be about 3/16″ thick. The backs of pins are a little longer than this, so you will need to double-layer the foam in the book to properly hold the pins.
You can make your pin book double-sided or you can just place pins on one side. If you are making a double-sided book, then you will need to cut out four foam rectangles, two cork rectangles, and one felt rectangle. If you are just making a one-sided book, then you only need two foam rectangles and one cork rectangle.
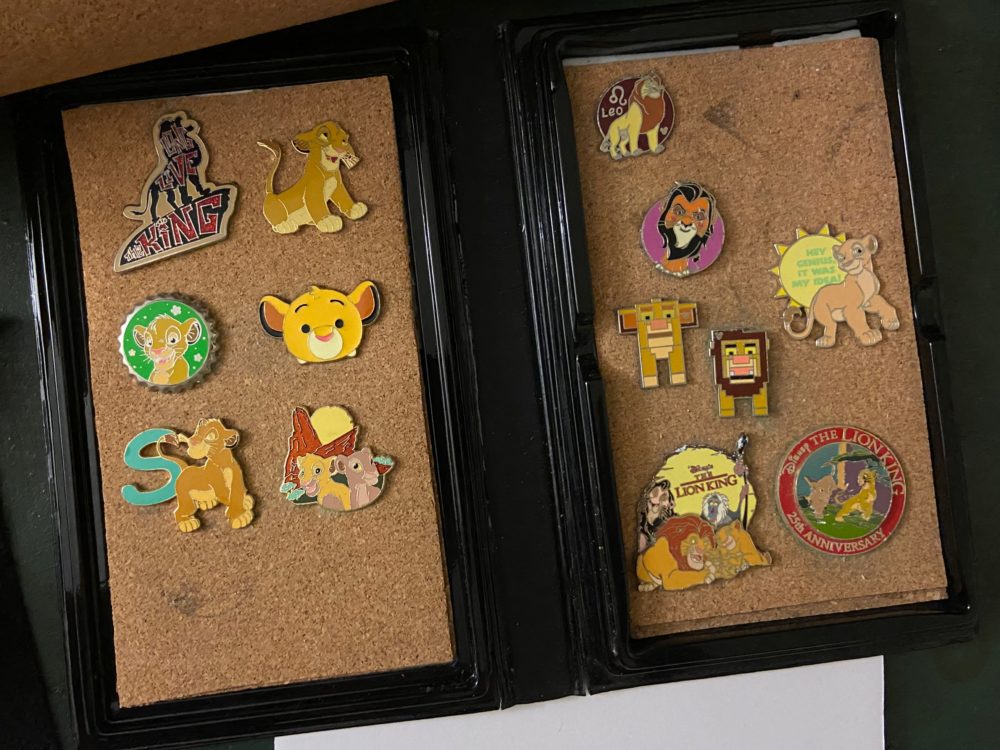
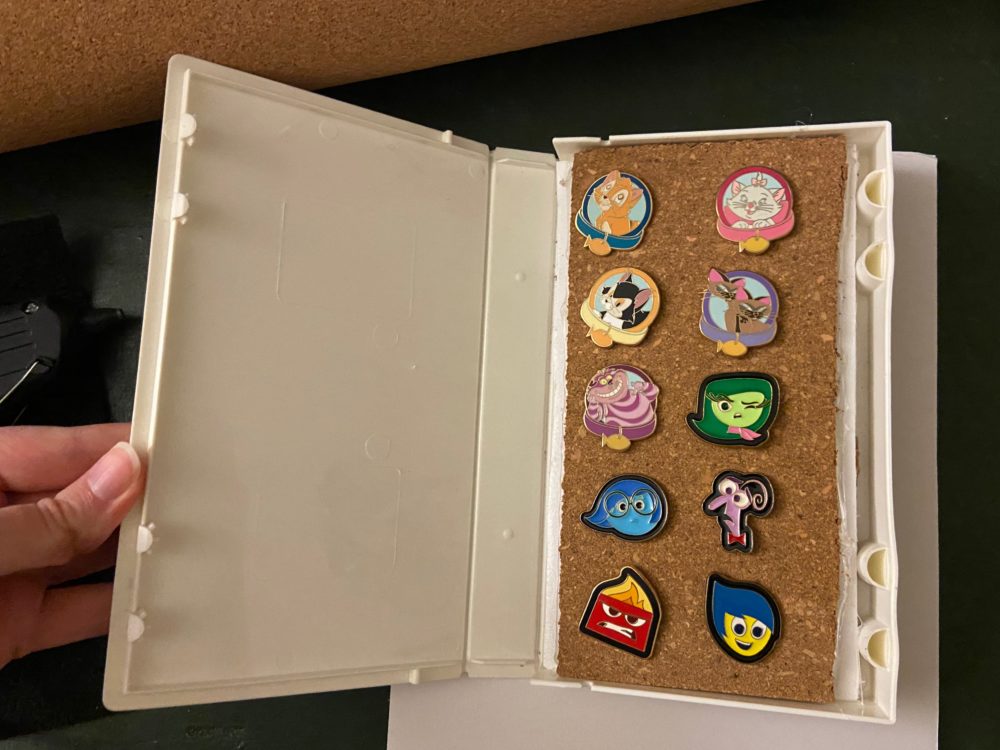
If the case you are using already has a VHS tape inside, remove that and use it to trace out your rectangles on the foam boards. If you have an empty VHS case, then use a ruler to measure the inside of the case to figure out what size rectangle you need.
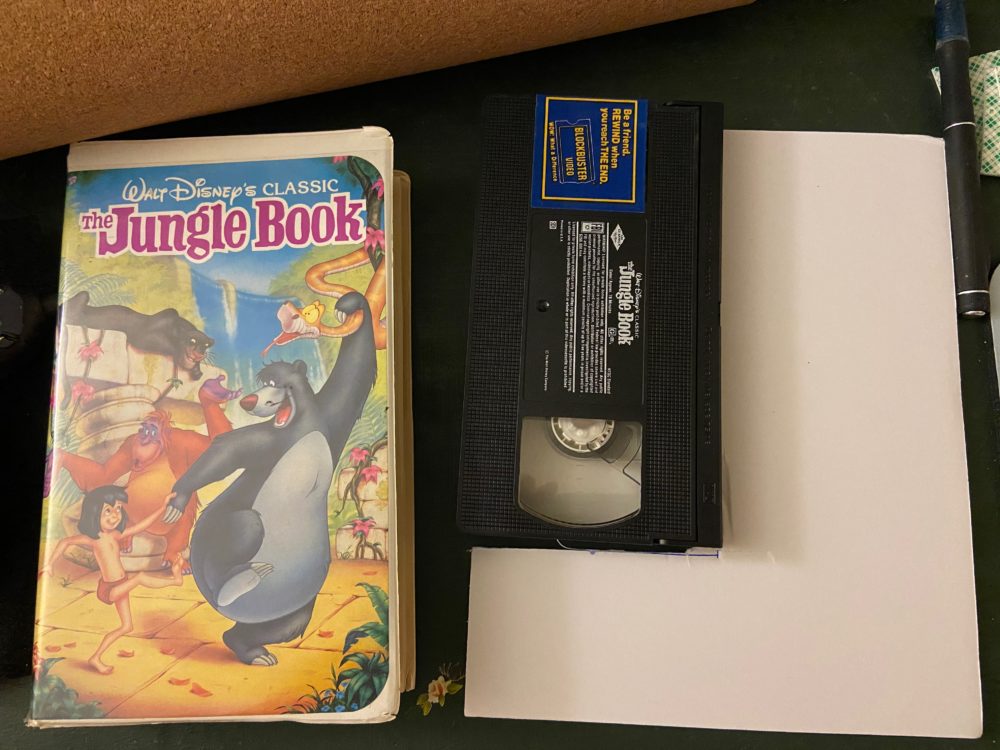
Cut out all four foam rectangles, making sure that they do fit properly into the case. It’s okay if the edges of the foam end up a little jagged and crooked, they will be covered up with the cork.
Use one of the foam rectangles or the VHS tape to trace out two rectangles on the cork sheeting. Cut these out as well, making sure you have clean edges.
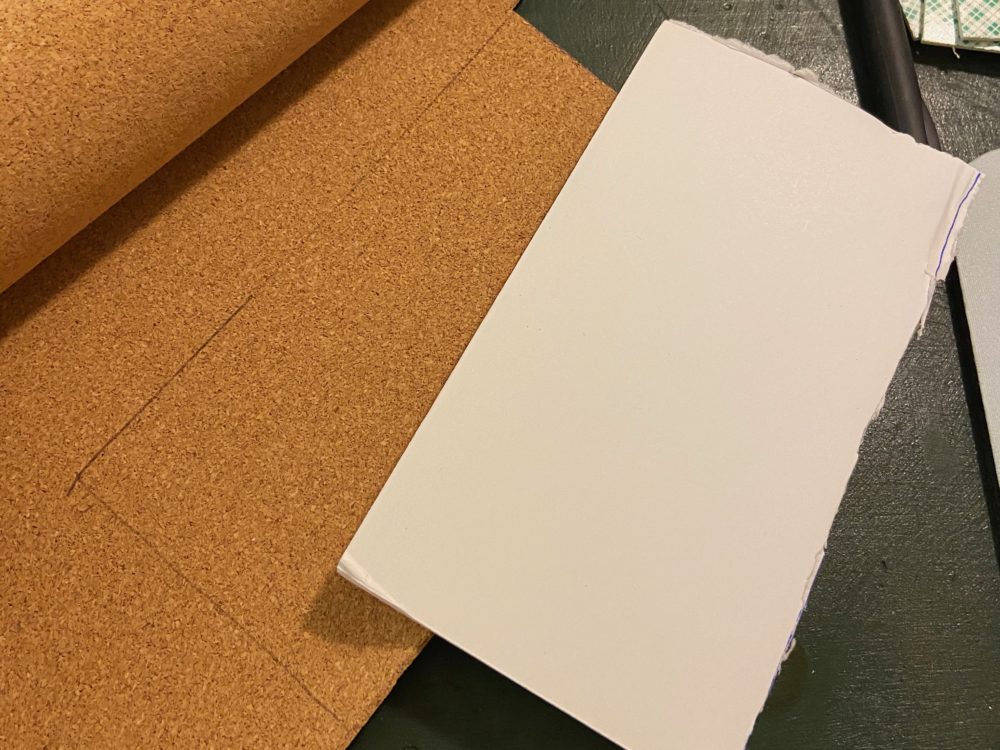
Finally, you will be cutting out a piece of felt to act as a layer between the two sides of your book. This piece of felt should be the same width as all the other rectangles but about an inch longer. You can use the VSH tape or another rectangle to measure the width and add an extra inch to the felt.
Step 3: Tape the first layer
Cut out any nodules inside the VHS case that prevent you from laying your foam flat. This is where using an X-Acto knife will probably work better than scissors.
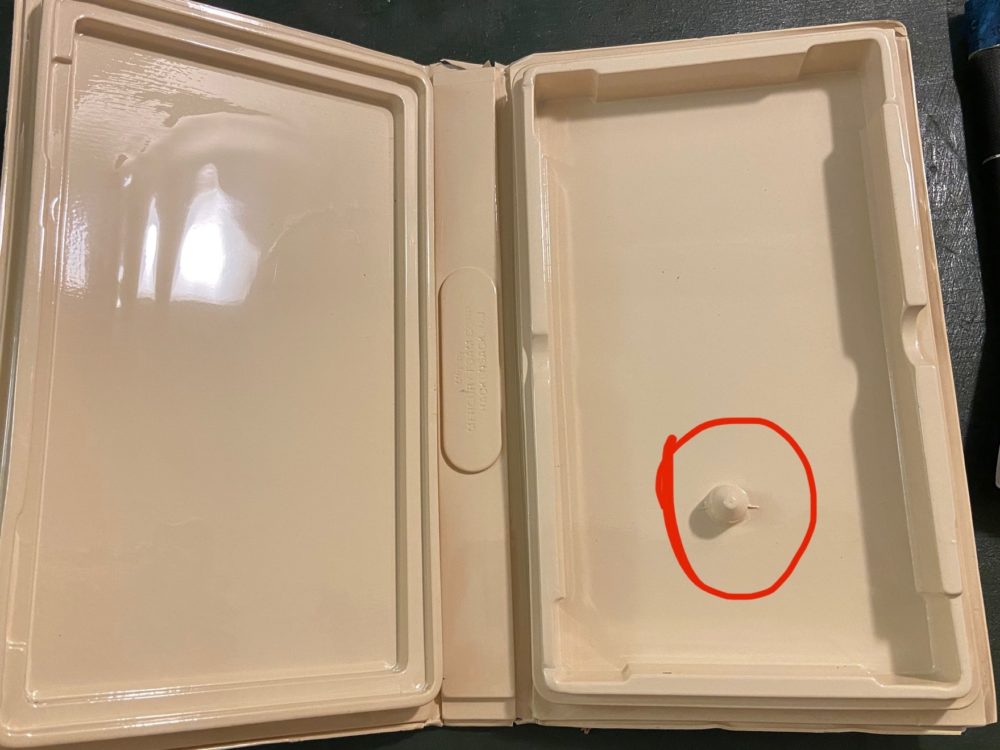
Stick four mounting squares on the back of one foam board and put it snug inside the case. Repeat the same for the other side.
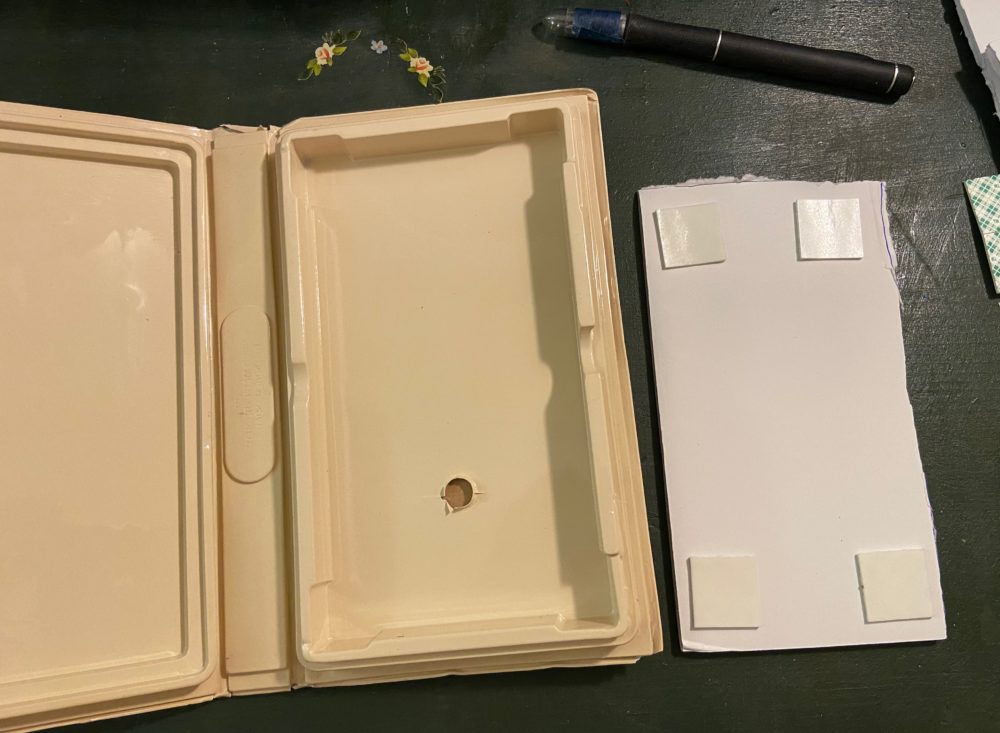
Step 4: Place your felt
Before gluing the next layer of foam, you will need to glue in the layer of felt. This will flip between the two layers of the book to keep the pins protected. You only need felt on one side of the book and don’t need it at all if you are only making your book one-sided.
Put a line of hot glue at the top of one with the already taped pieces of foam.
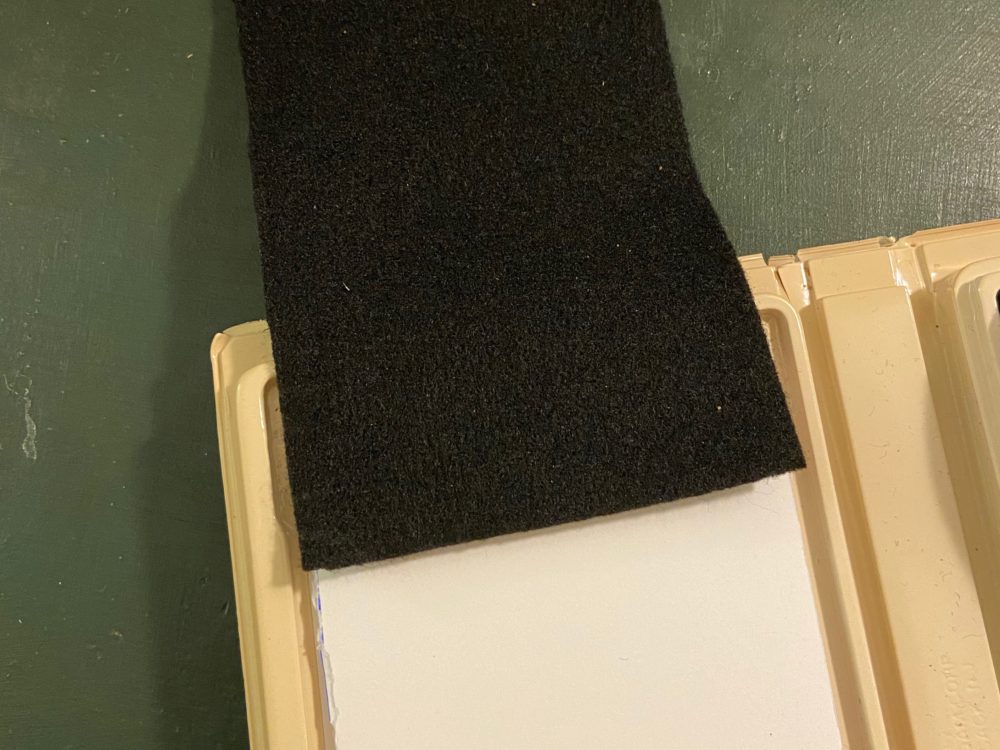
Lay the felt so that most of it is sticking out of the top of the case, and about an inch in on the line of glue. Press down to secure it. Keep the felt flipped out of the case for now.
Step 5: Glue the rest of the layers
Put hot glue on the rest of the taped foam and then lay the next layer of foam snug on top of it. The felt will now be sticking out from between the two layers on one side.
Finally, glue the cork sheets on each side of the book. The hot glue will dry quickly, and then you can flip the felt between the layers and make sure the book closes properly. Once everything is glued down, you can start placing your pins!
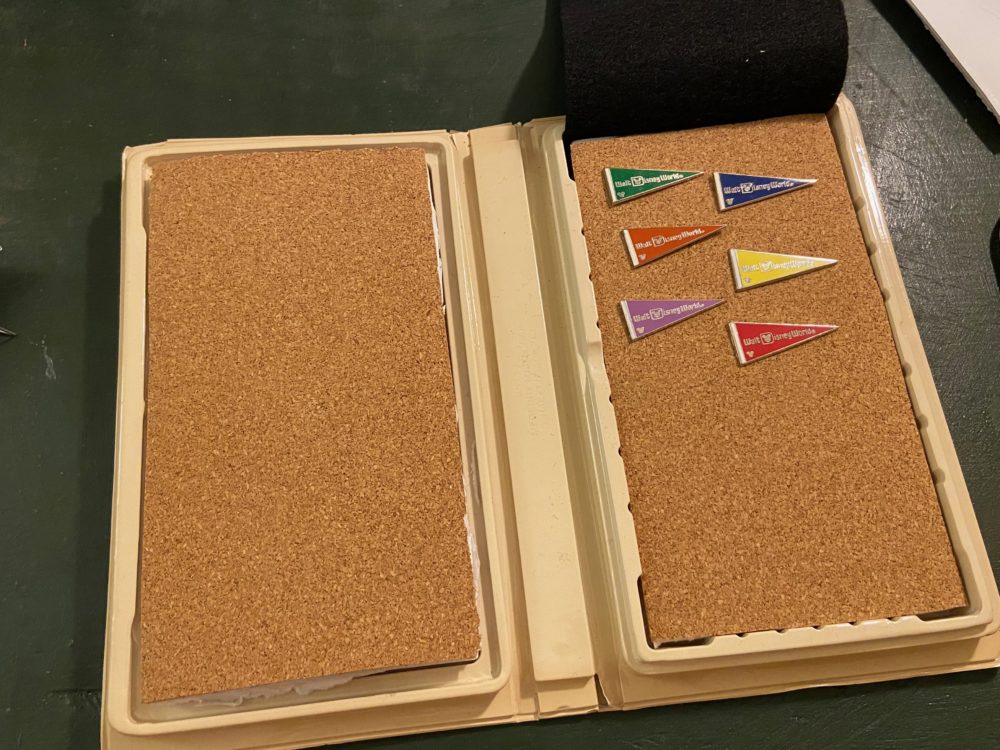
Optional Steps
If you decided to only turn one side of your case into a pin-board, you can decorate the other side with stickers, paint, or whatever you like. You could also turn that side into a bag to hold spare pins or extra pin backs. If you want to carry the case around the park for trading, you can add a strap to make it easy to carry like a purse.
Video Tutorial
For more visual guidance, you can watch our video below.
If you want to do more crafting, you can check out our tutorials for DIY Mouse Ears, Scrapbook pages, Sock Puppets, and Friendship Bracelets.


