If you didn’t wear mouse ears at the parks, did you even go? Mouse ears can be quite expensive to purchase, but with some time and supplies, you can make your own at home in just five easy steps!

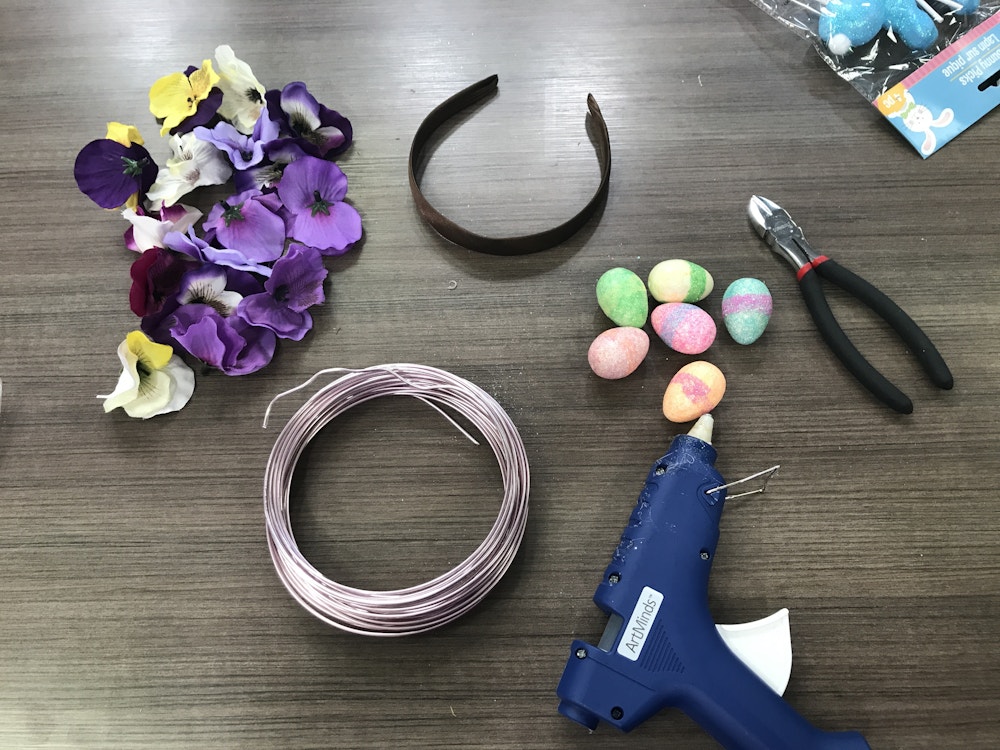
Supplies:
- Headband
- Thick craft wire
- Ribbon
- Fake flowers
- Hot glue gun
- Scissors/wire cutters
Once you can go outside, most of these supplies can be purchased at a dollar store. But you can also order them on Amazon or from any craft store online.
Steps 1-3: Wire Ear Shapes
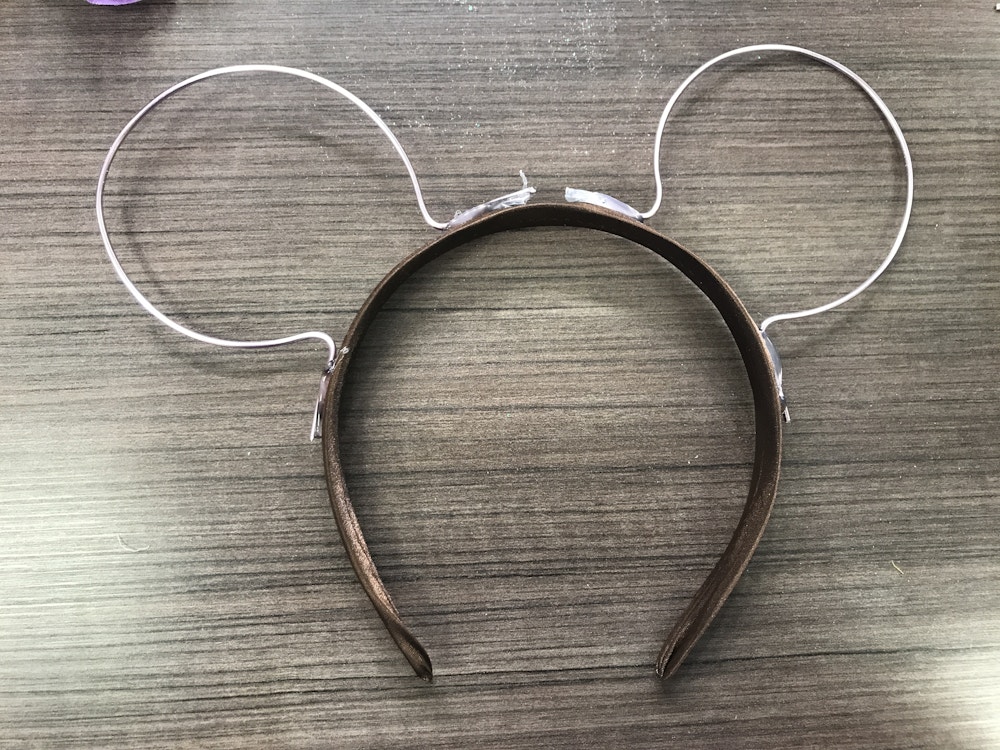
First, you need to shape your wire into mouse ear shapes. You can use another pair of ears to trace the shape or wrap the wire around a cup. You want to create ¾ of a circle, with an inch sticking out on each side. Cut. Repeat.
Next, place your ears on your headband. Again, you might want to use a current pair of ears for placement or put the headband on your head and see where you want the ears to go. Use the hot glue gun to glue the wire ears to your headband.
NOTE: Hot glue is very hot! Be careful, and supervise children.
Once the hot glue has dried, use the ribbon to wrap around the wire ends that are glued to the headband.
Step 4: Decorate!
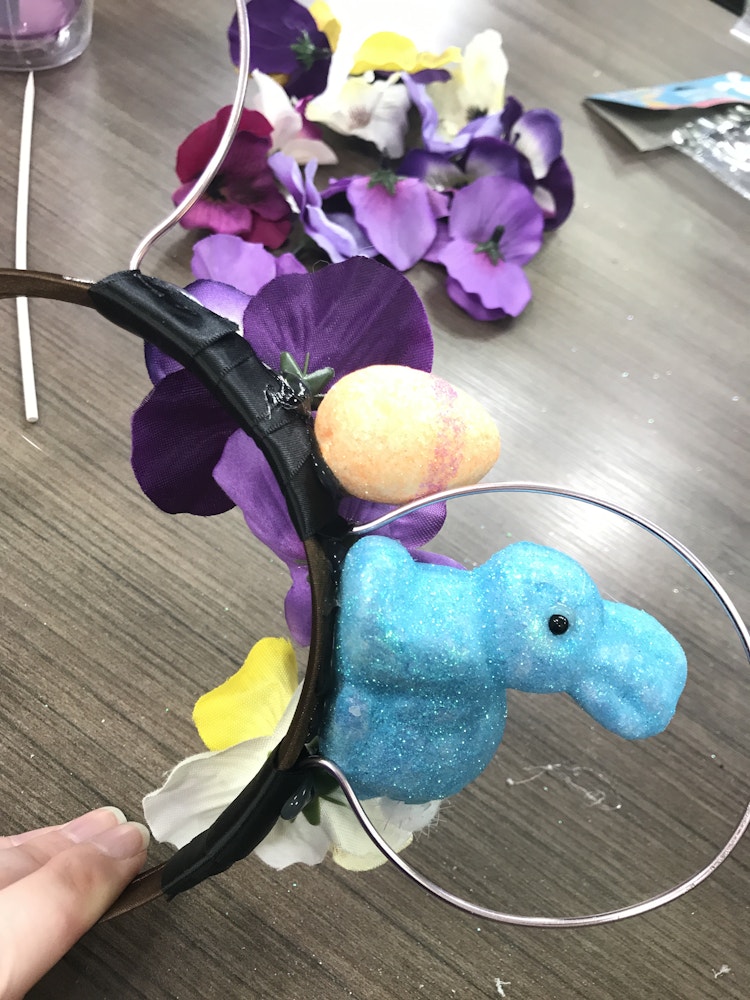
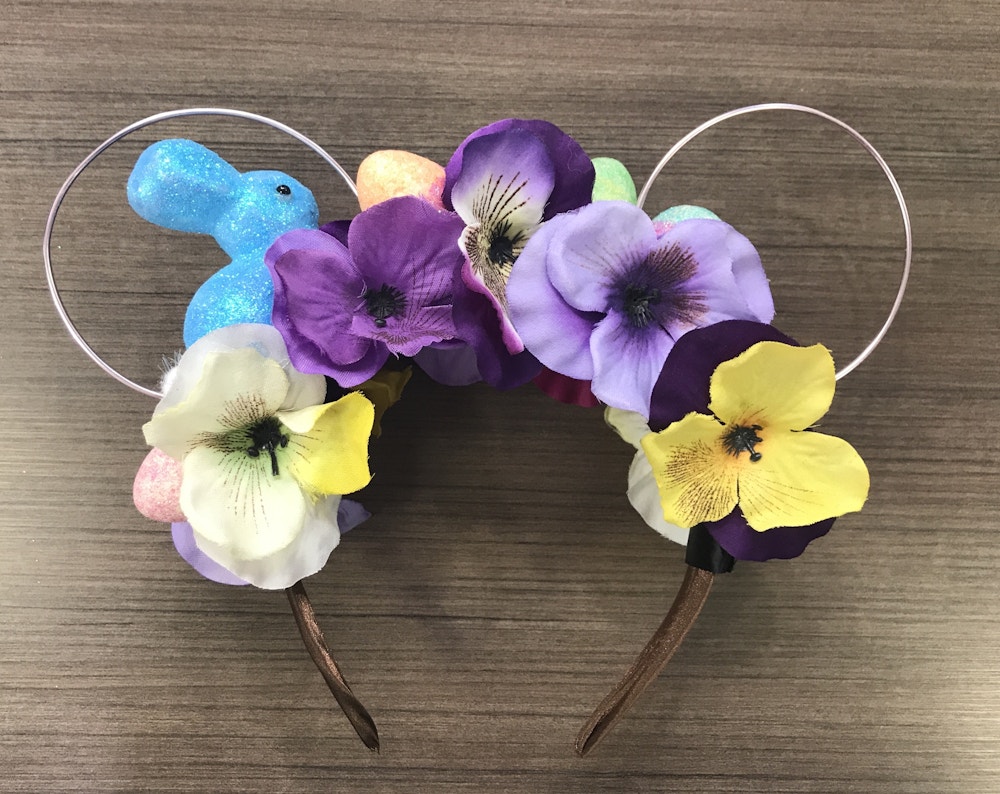
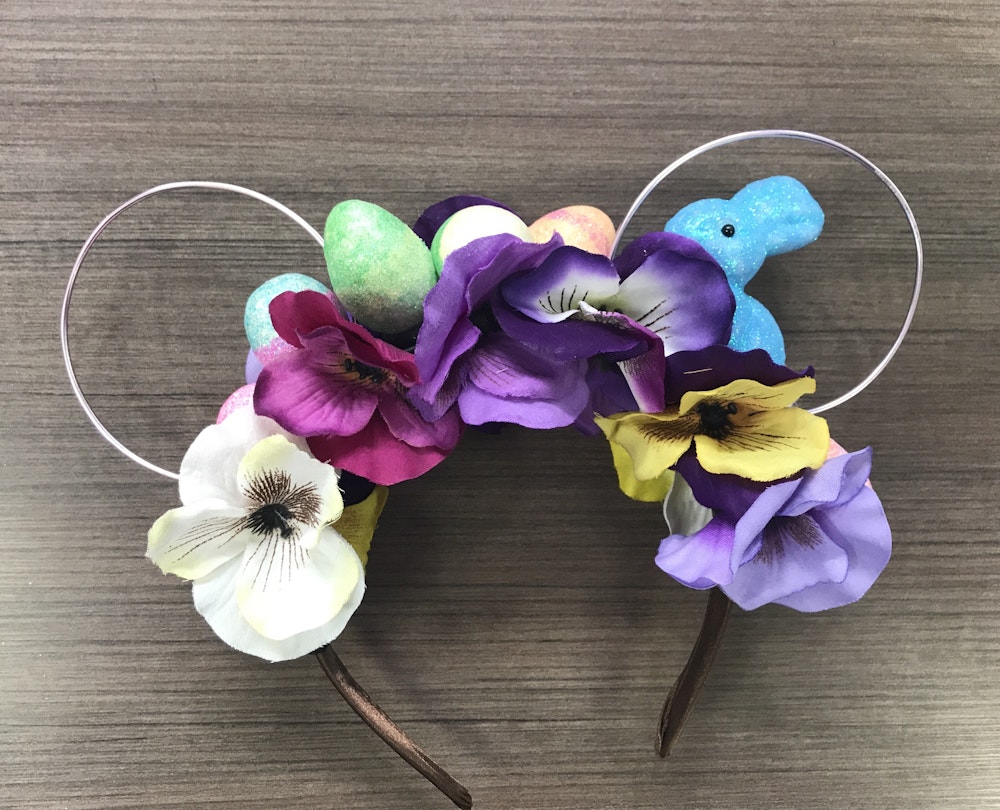
Now it’s time to decorate! You could just add a bow if you want simple ears. I am going to create a flower crown. You can use whatever flowers you want, whatever color scheme you want, and hot glue them to your headband. You can also use other elements to decorate, seashells, figurines, Easter eggs, etc. Glue on your decorations and cover the area of your headband surrounding your wire ears.
Step 5: Finishing Touches

Make sure to pull off the threads that hot glue leaves behind. Let the glue dry and you’re done! You can send me pictures of your ears at: colleen@wdwnt.com


Video Tutorial
In need of additional visual guides? You can watch the full tutorial video below and follow step by step on YouTube:


