Instead of buying a greeting card, make that special person a one of a kind pop-up greeting card! Since May 10th is Mother’s Day, I chose to make a Mother’s Day card.
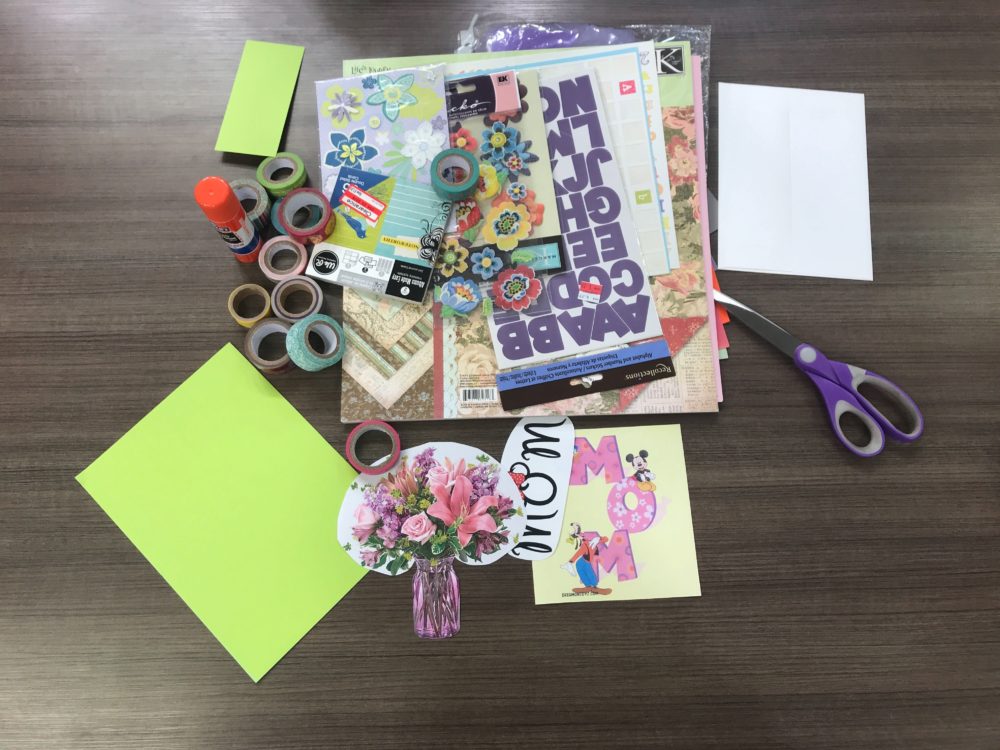
Supplies
- Paper
- Colored paper
- Image for the pop-up
- Glue Stick
- Scissors
- Decorations like stickers, washi tape, stamps, stencils, etc.
Step 1: Cut Out Your Card
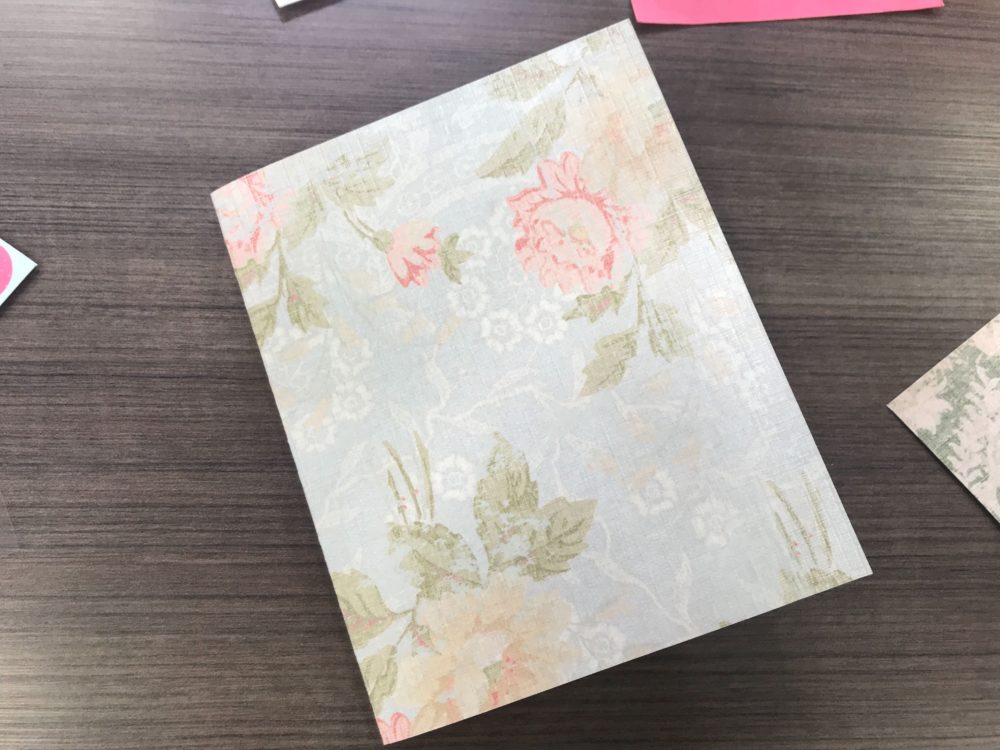
I suggest using cardstock or construction paper for the base of your card. Using an envelope as your size guide, fold your paper in half and cut it to the appropriately sized rectangle. If you only have regular paper, fold it in half and then fold it in half again, creating a card. Glue the two halves together for added sturdiness.
Step 2: Create Your Pop-Up
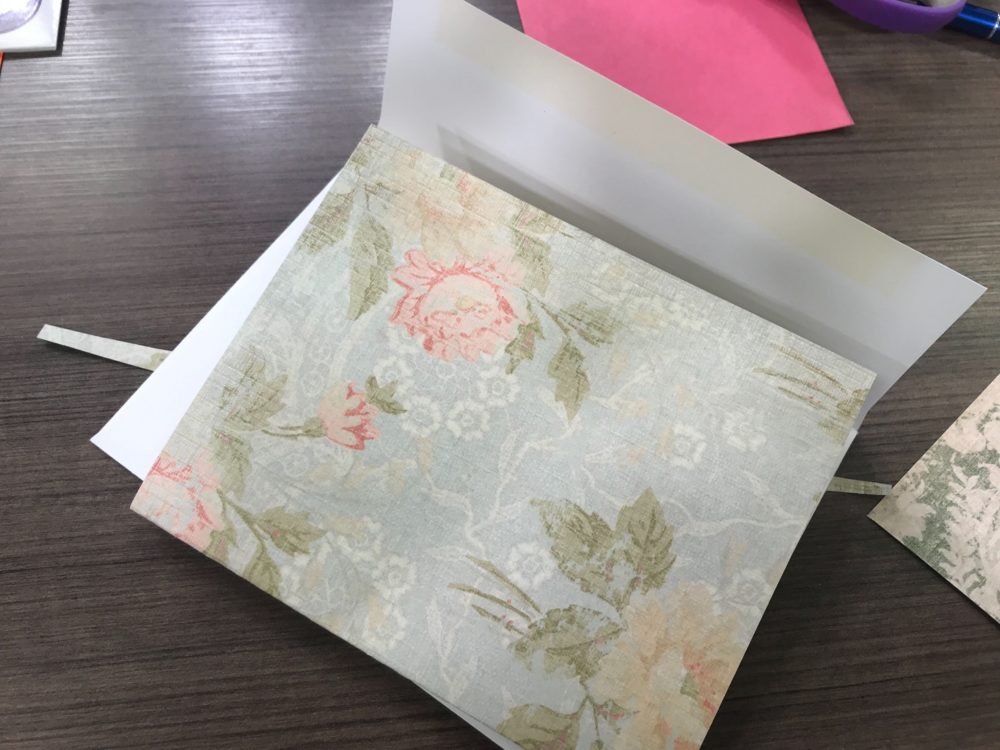
I looked online for some fun Mom themed images for the Mother’s Day card I was making. Once I printed out the image and cut it out, I folded it in half, with the image facing outward. Then, fold in a small portion on each end of the image. Fold towards the image. This creates the tabs that you will attach to the card. Line up your image with the centerfold matching the card’s centerfold. Glue the tabs down on either side. When you close the card, the image should be folding towards you.
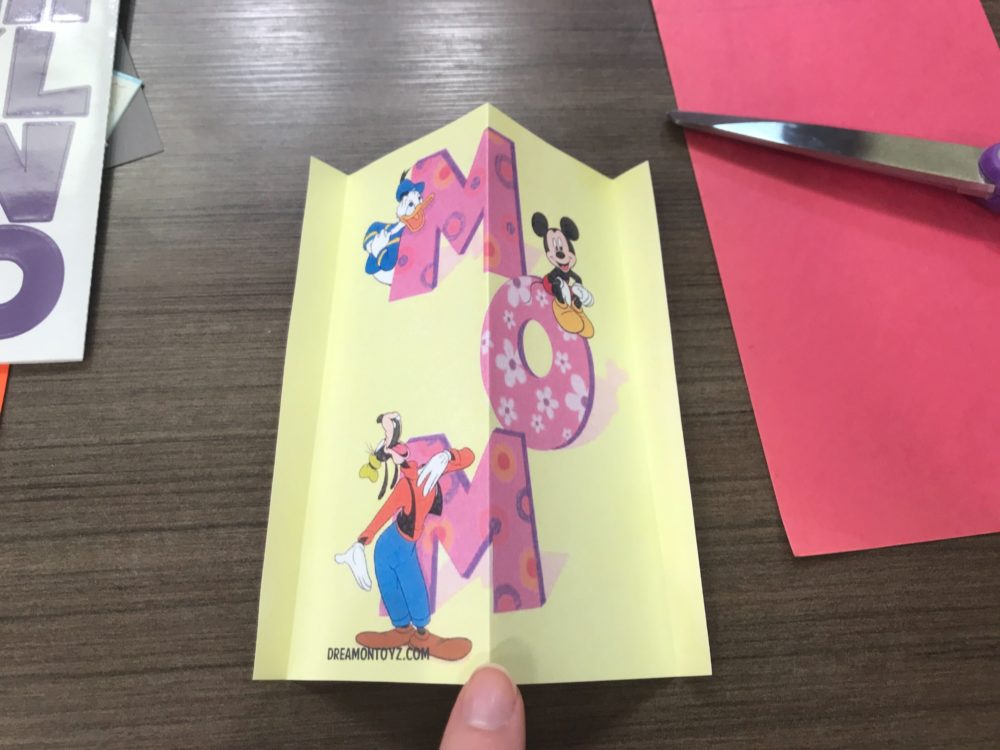
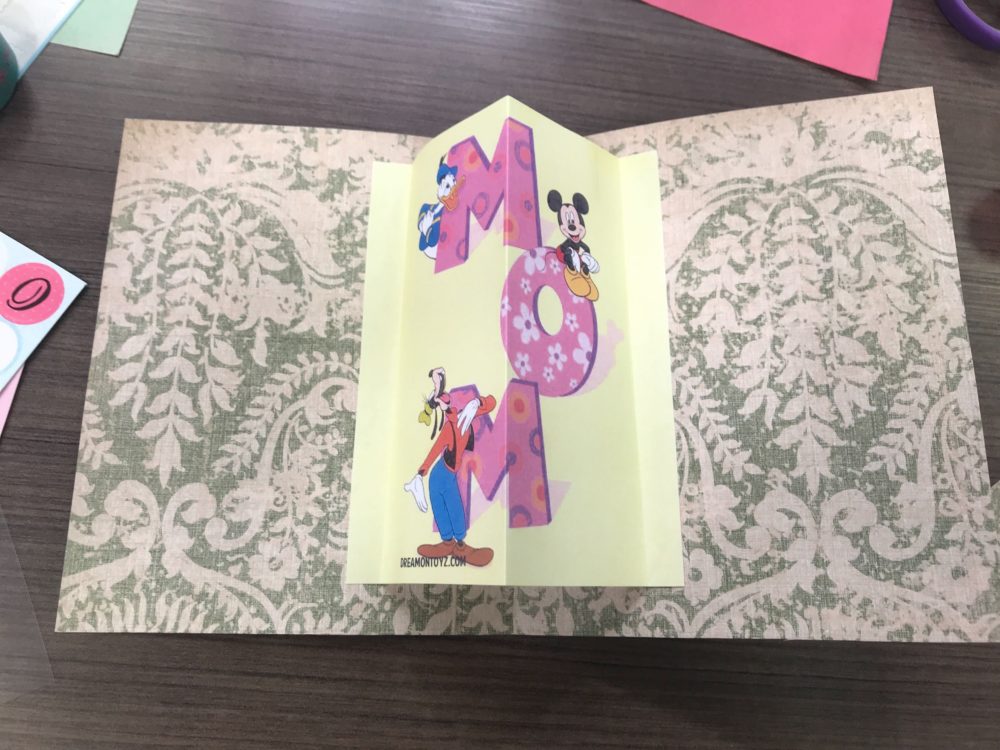
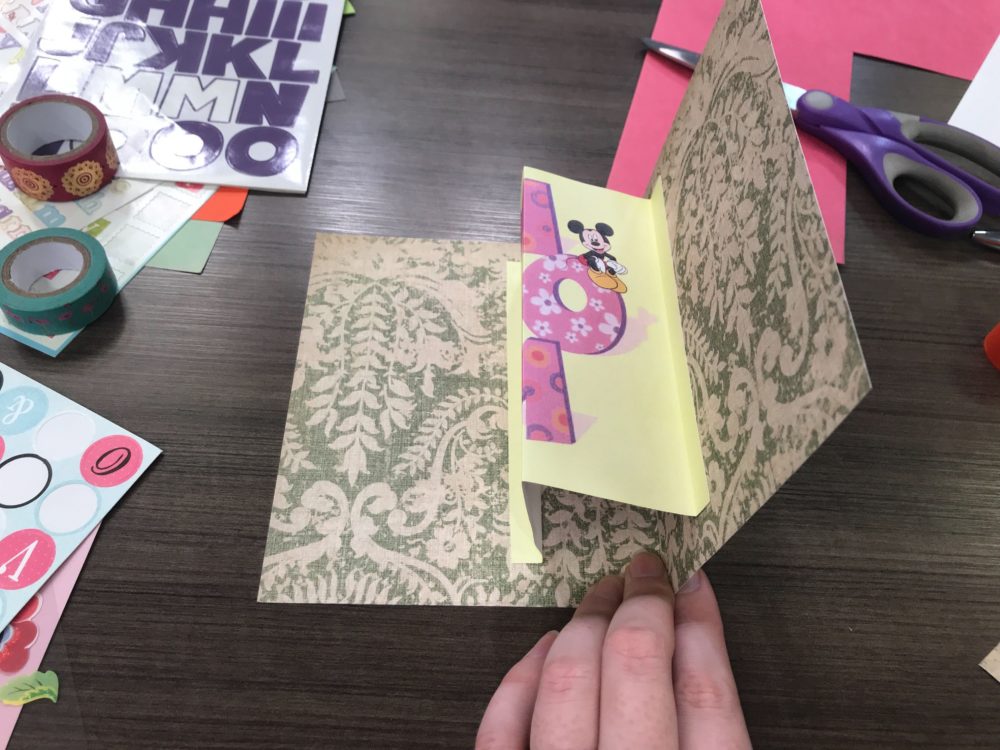
Watch the video below to see a different way to create the pop-up.
Step 3: Decorate!
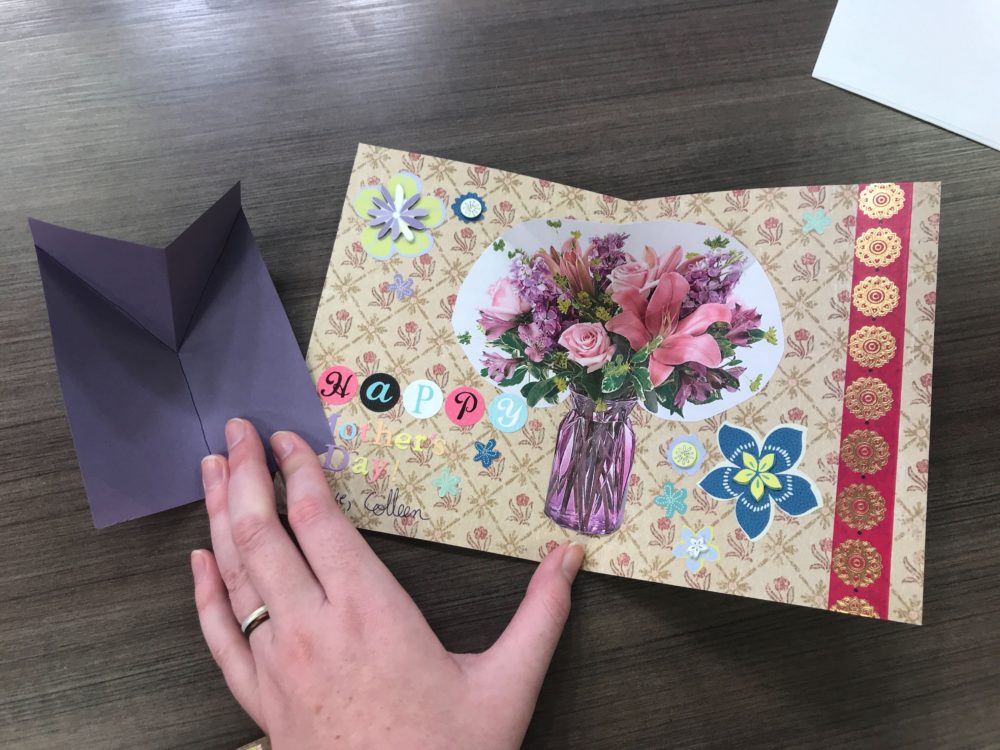
I don’t like my handwriting so I printed out text or used letter stickers. Decorate your card with stickers, washi tape, stamps, etc. I used some flower stickers, washi tape, and glued in a decorative memo card.
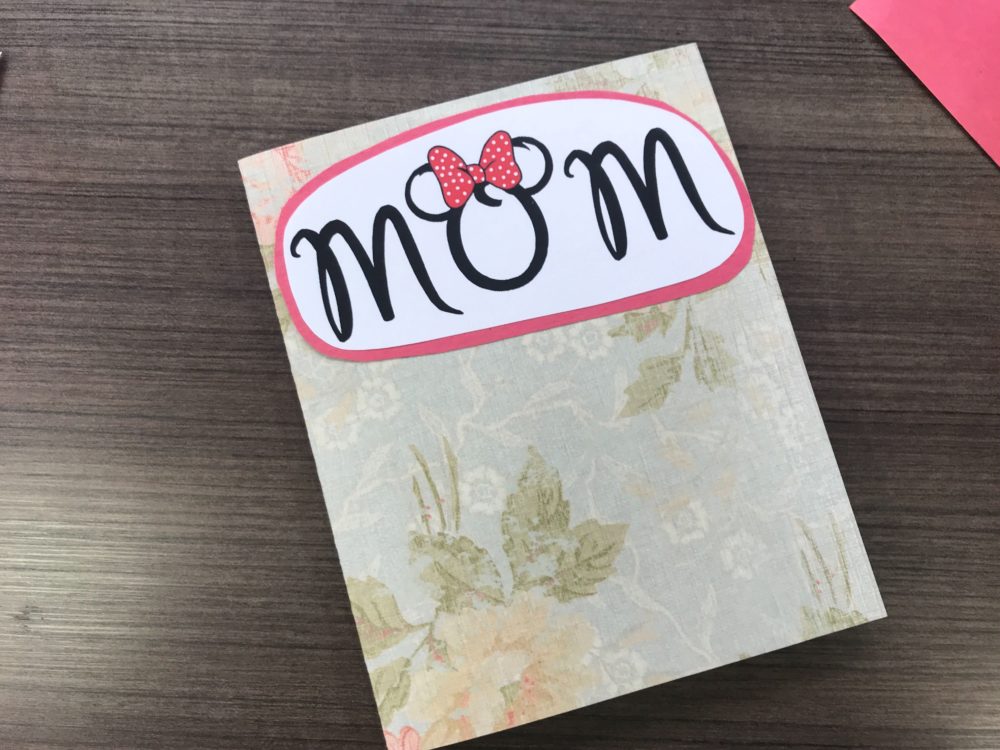
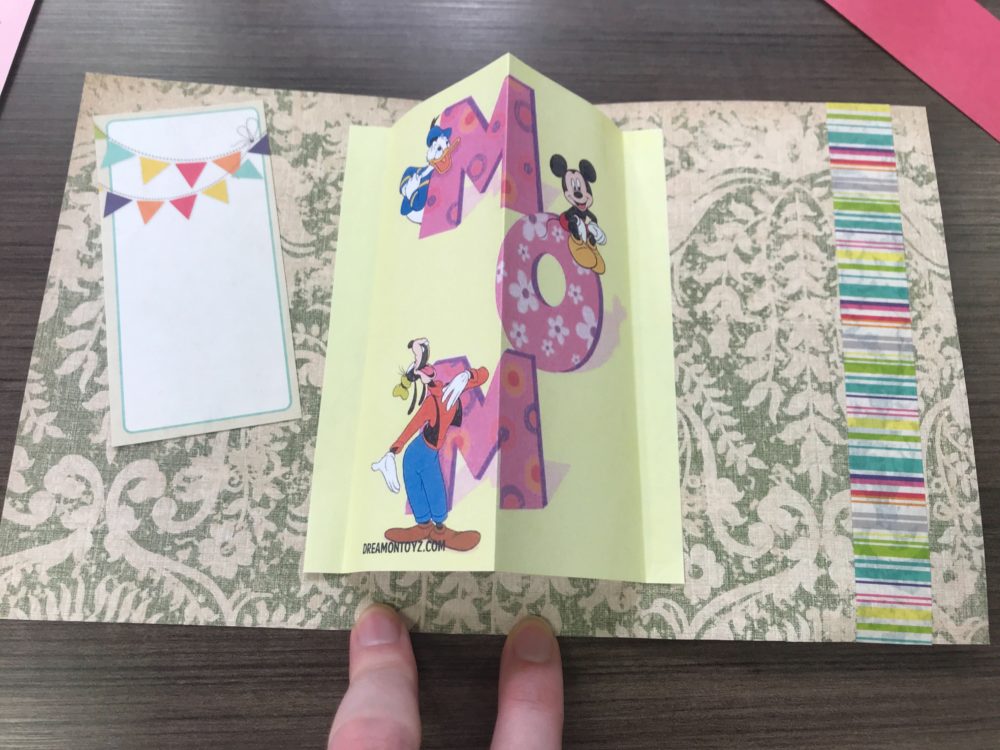
Step 4: Sign and Send
Sign your name, write a message and you are ready to send your card to that special person!
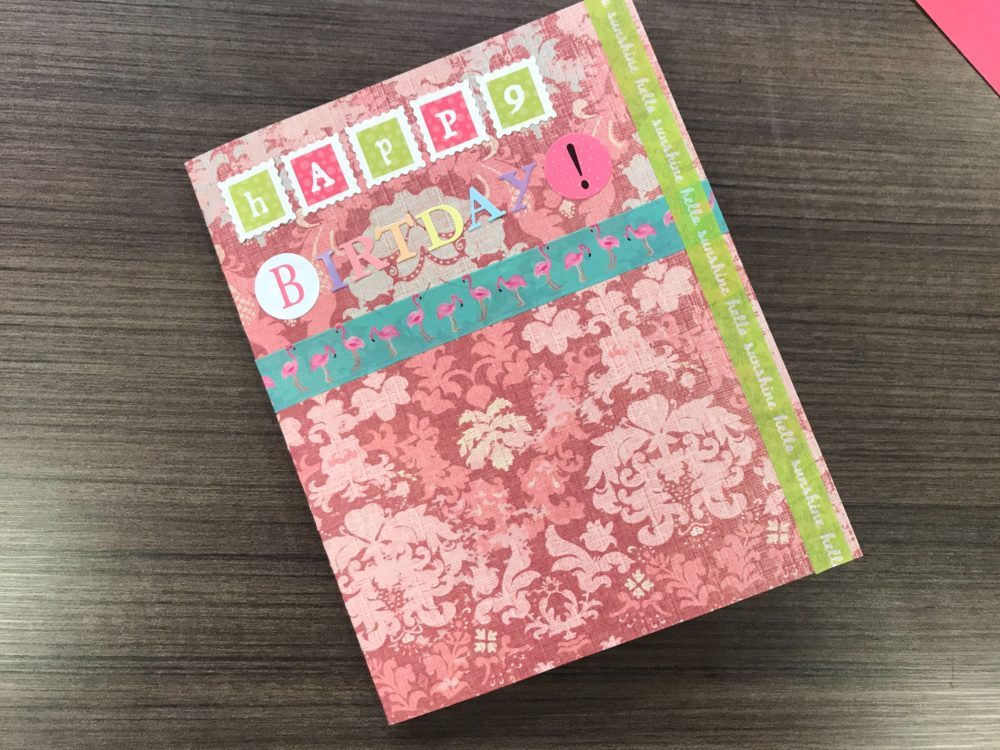
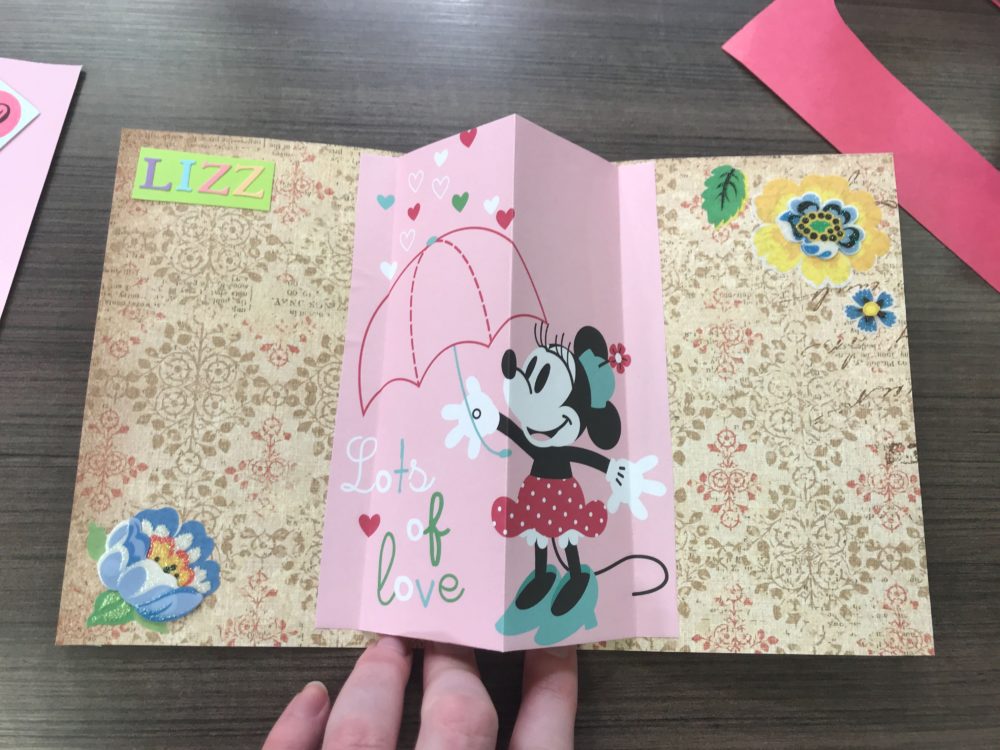
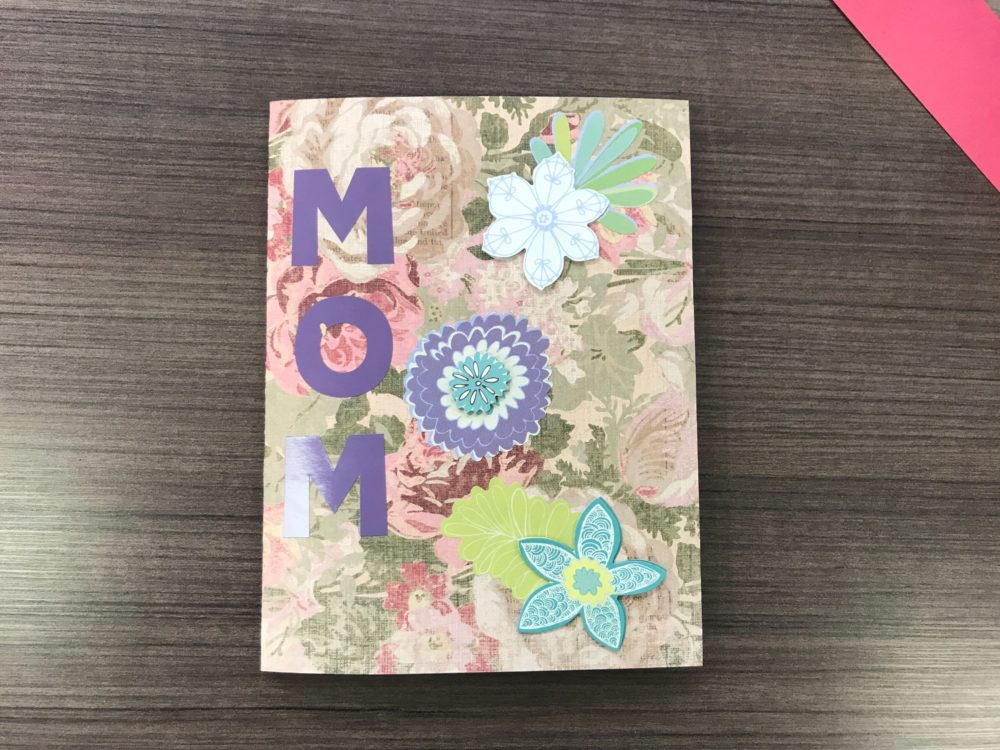
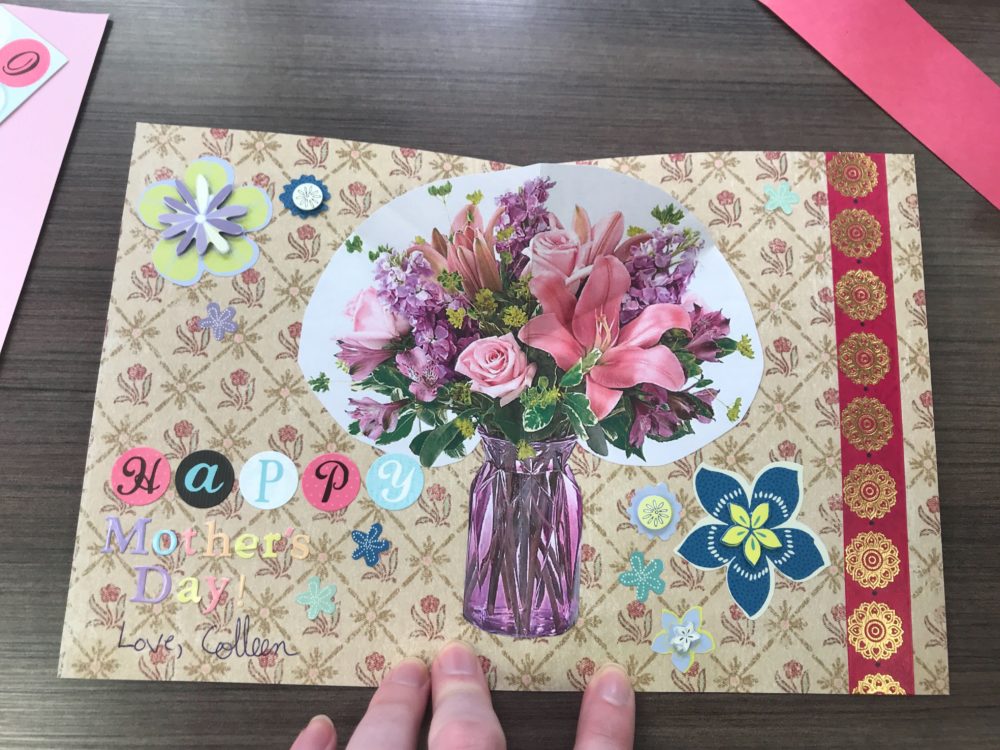
I would love to see a picture of the card you create! Send me a photo at colleen@wdwnt.com.
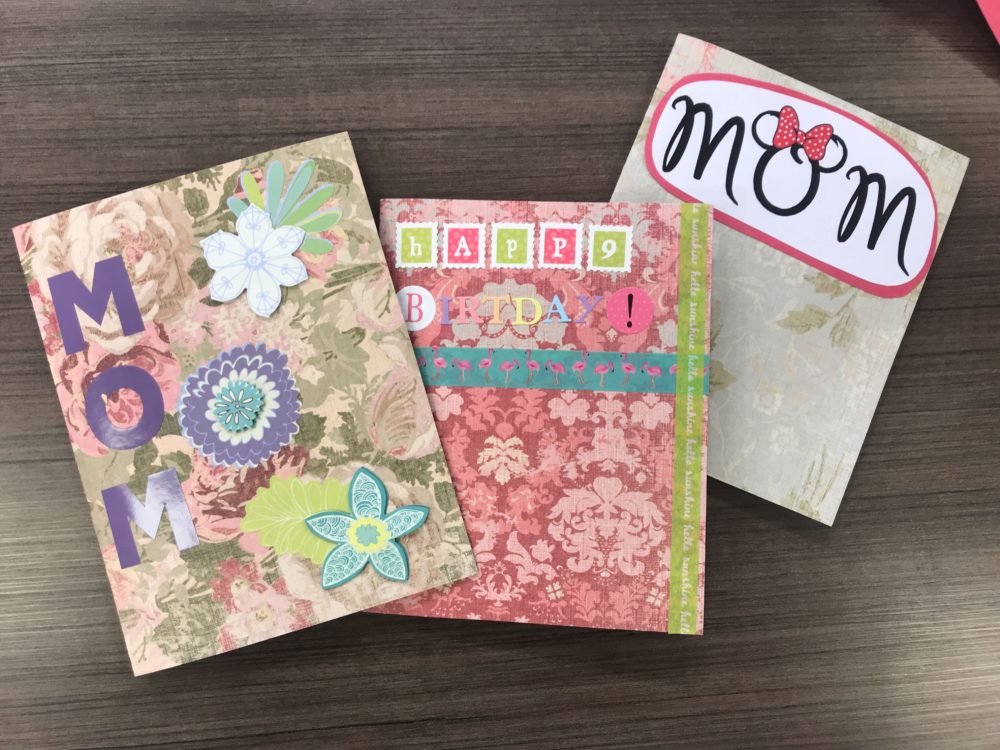
Video Tutorial
In need of additional visual guides? You can watch the full tutorial video below and follow along step-by-step on YouTube:
If you want to do more crafting, you can check out the tutorials for Scrapbook Pages, Sock Puppets, or DIY Mouse Ears.

