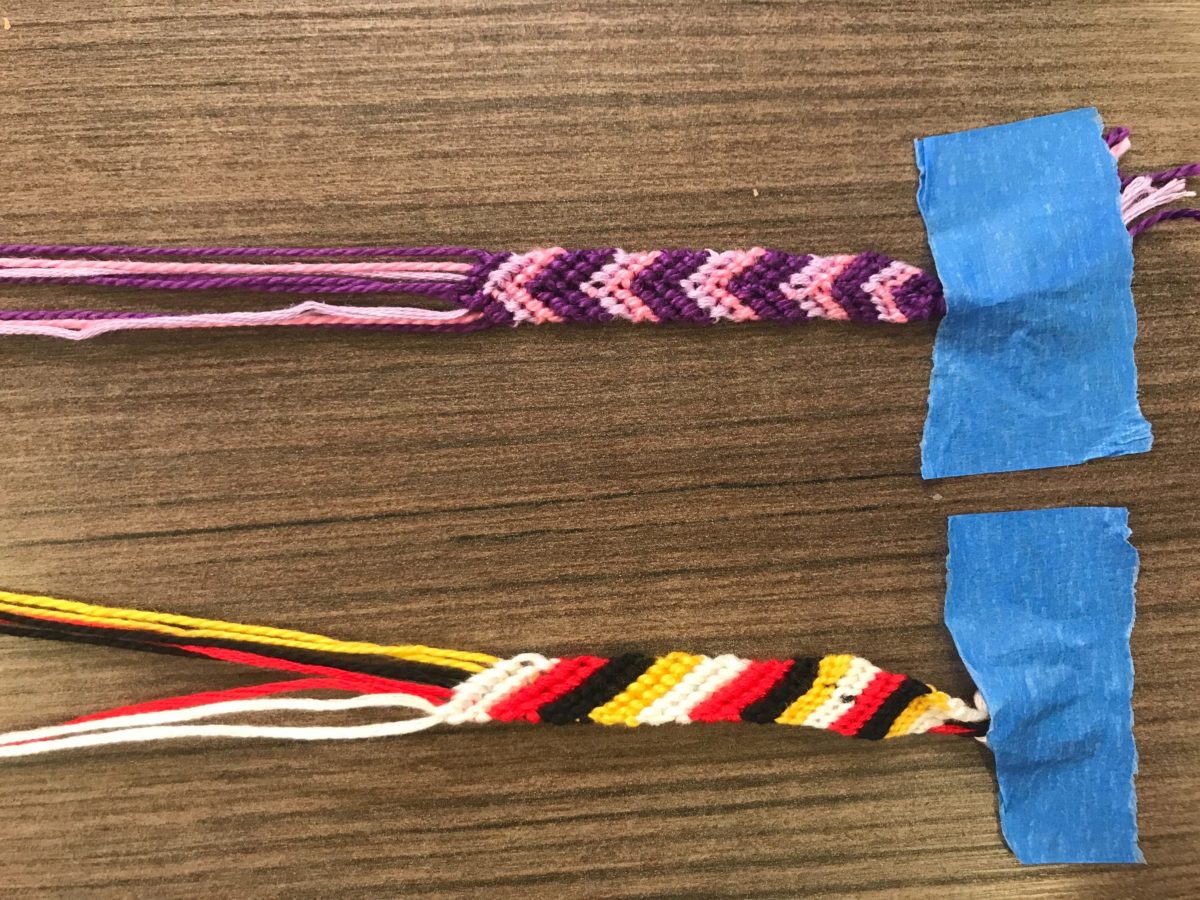
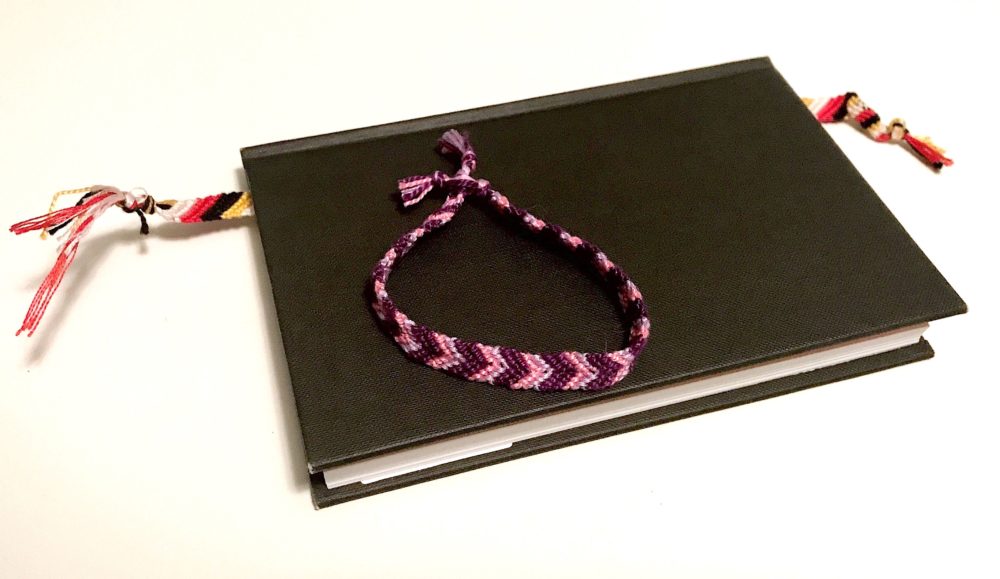
Make a friendship bracelet themed to your favorite Disney character! I picked colors that remind me of Mickey Mouse and Rapunzel. Follow the instructions below to make two different patterns! These also work great as bookmarks.
Supplies:
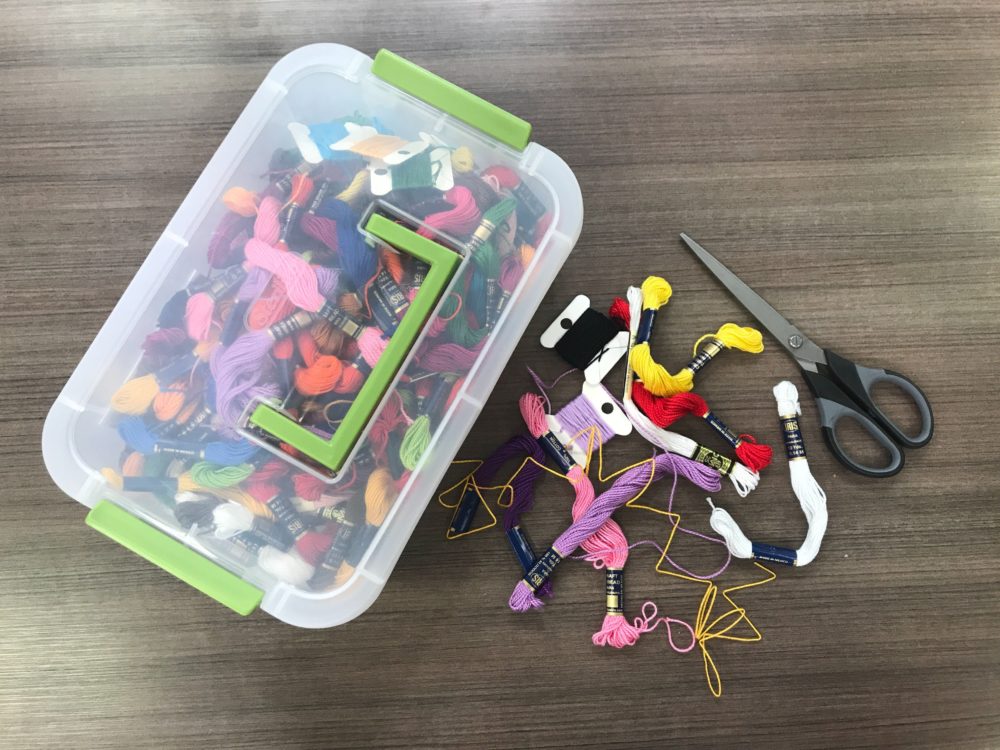
- Embroidery Thread or Baker’s Twine (you can use almost any kind of string)
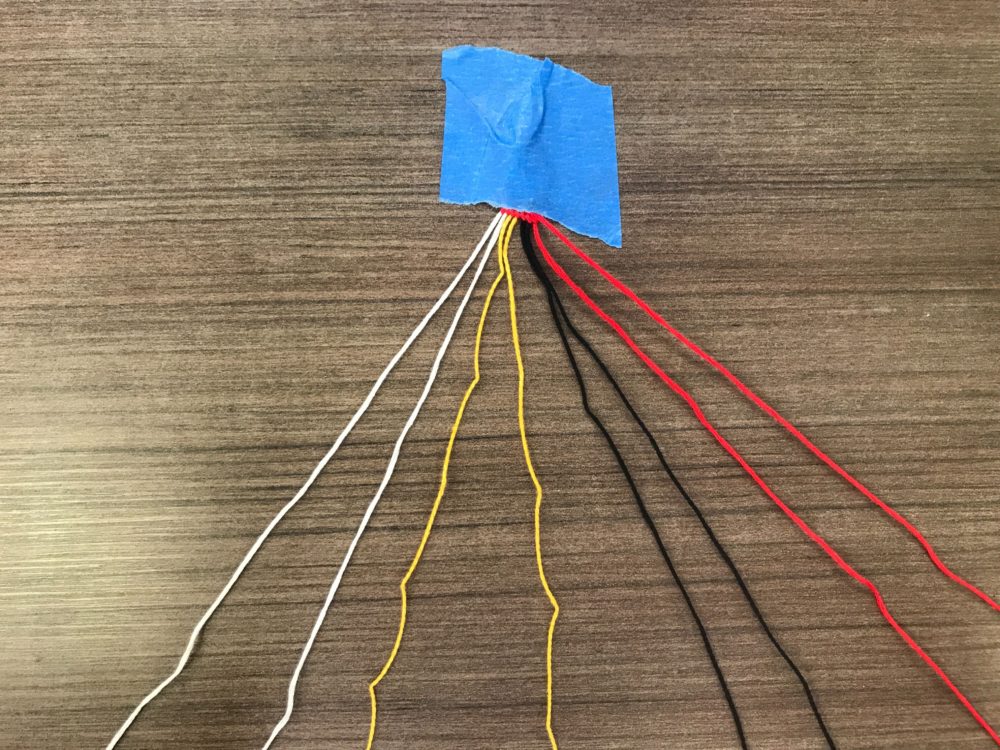
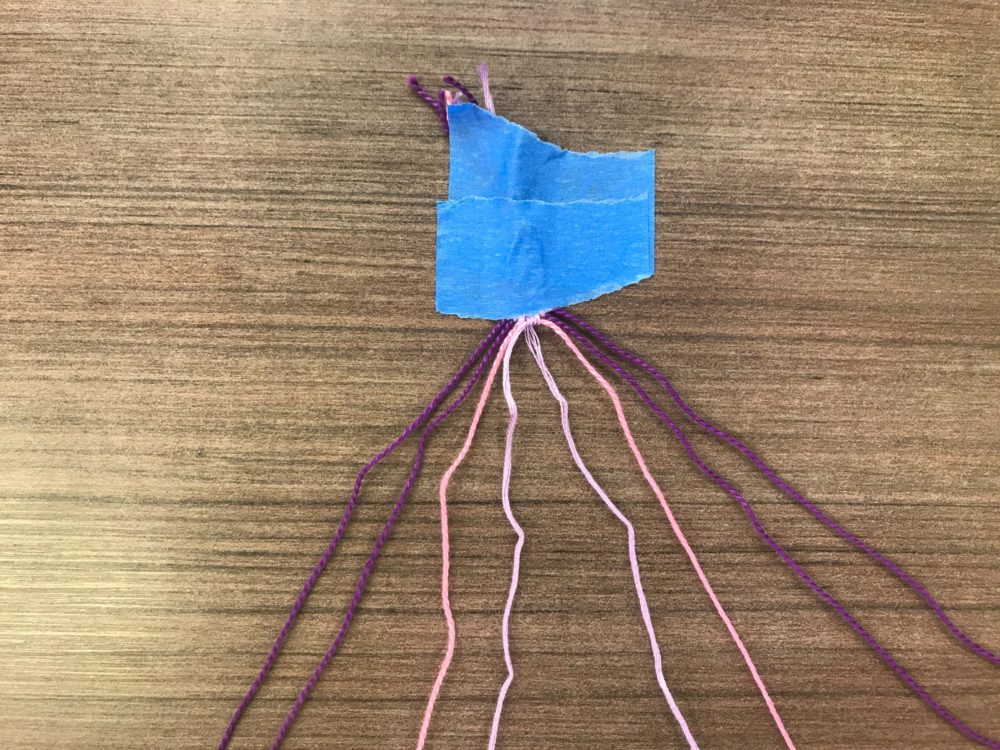
Step 1: Prepare Your Strings
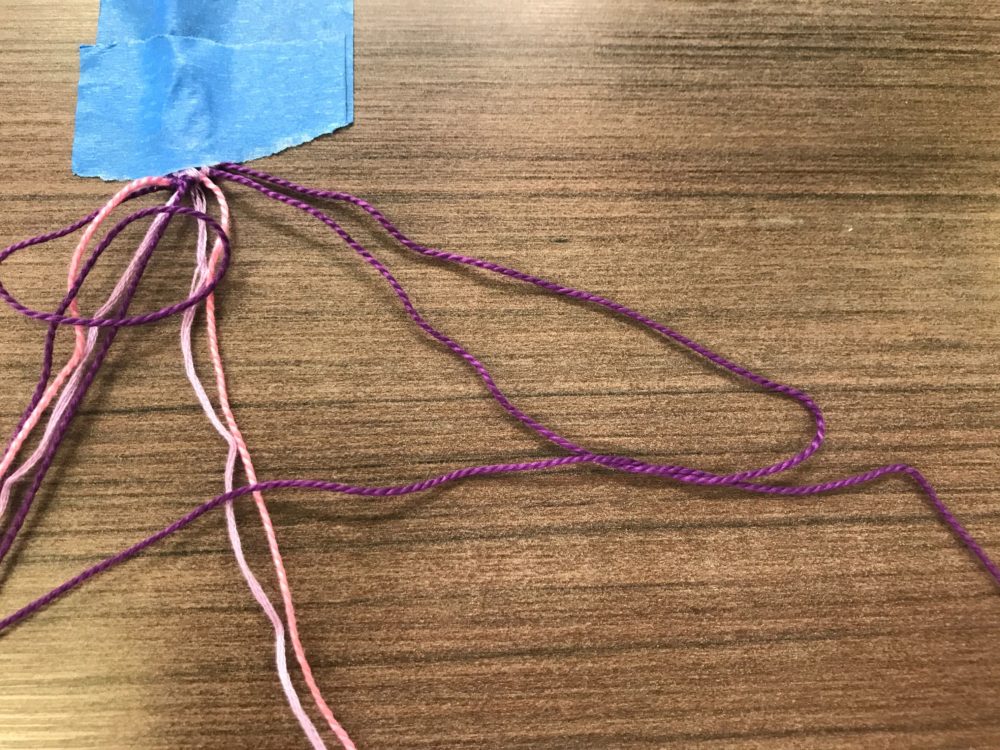
Pick out what colors you would like your bracelet to be. You need at least 6 pieces of string, but you can have more. Cut a long length of string, better too long than too short. Tie your pieces together in a knot at one end. I suggest taping the strings to a table or notebook or clip them on a clipboard. This will make it easier to create your knots.
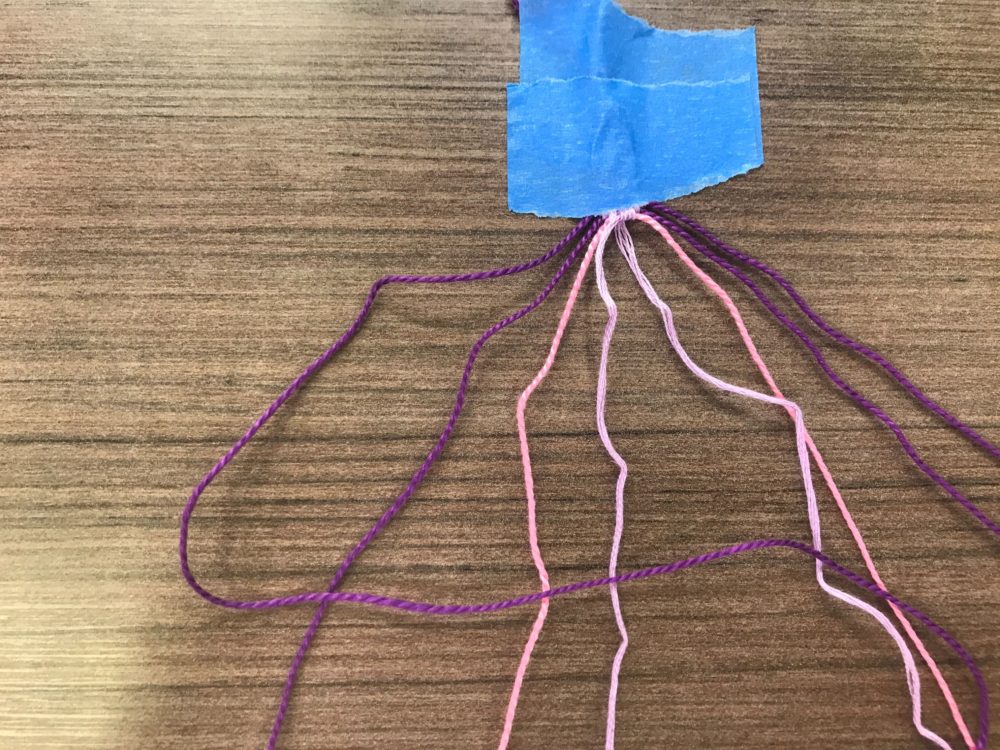
Step 2: Starting Knotting
After you tape down your strings, separate them out into the order you would like the stripes to be. Take your first string and lay it over the second string, making a backward 4 shape.
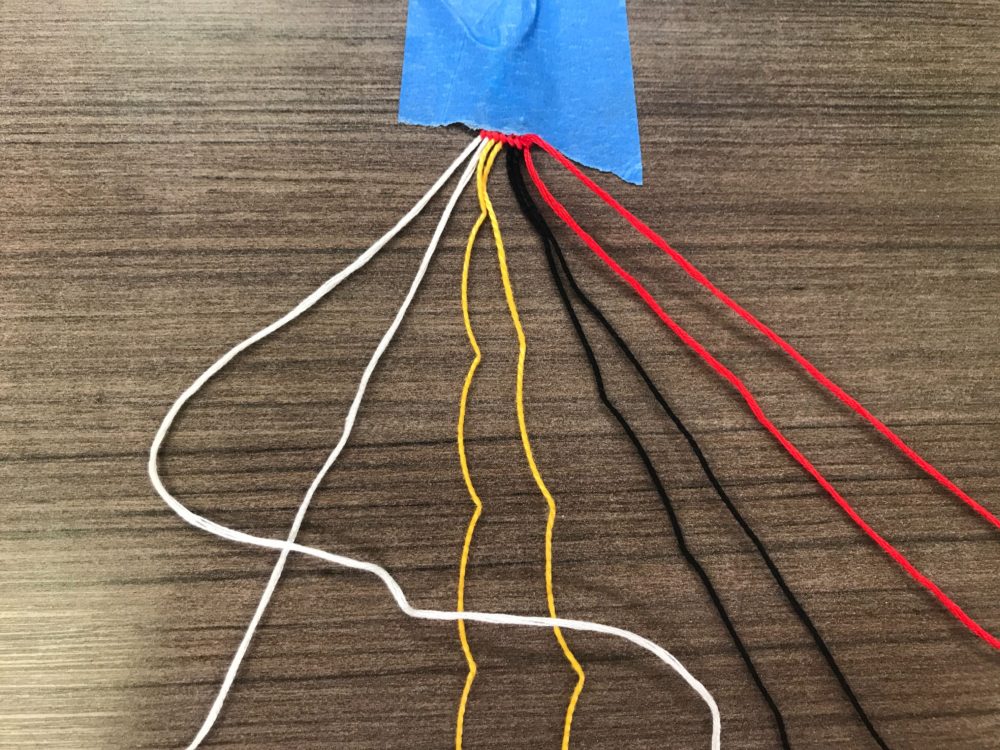
Using the first string, tie a knot around the second string and slide the knot to the top.

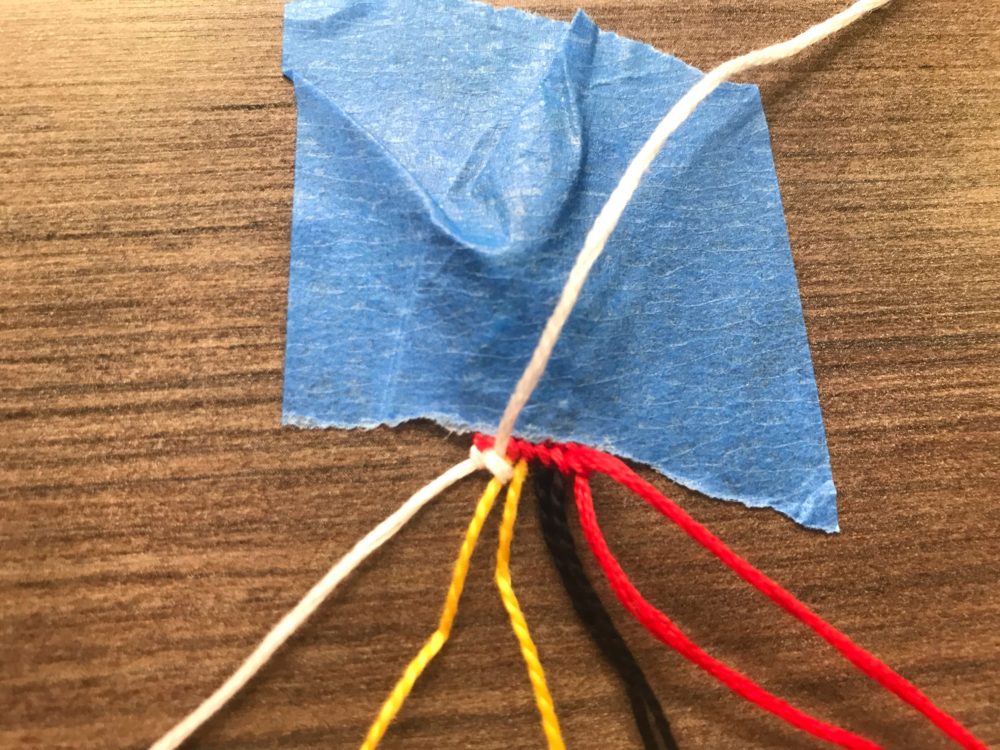
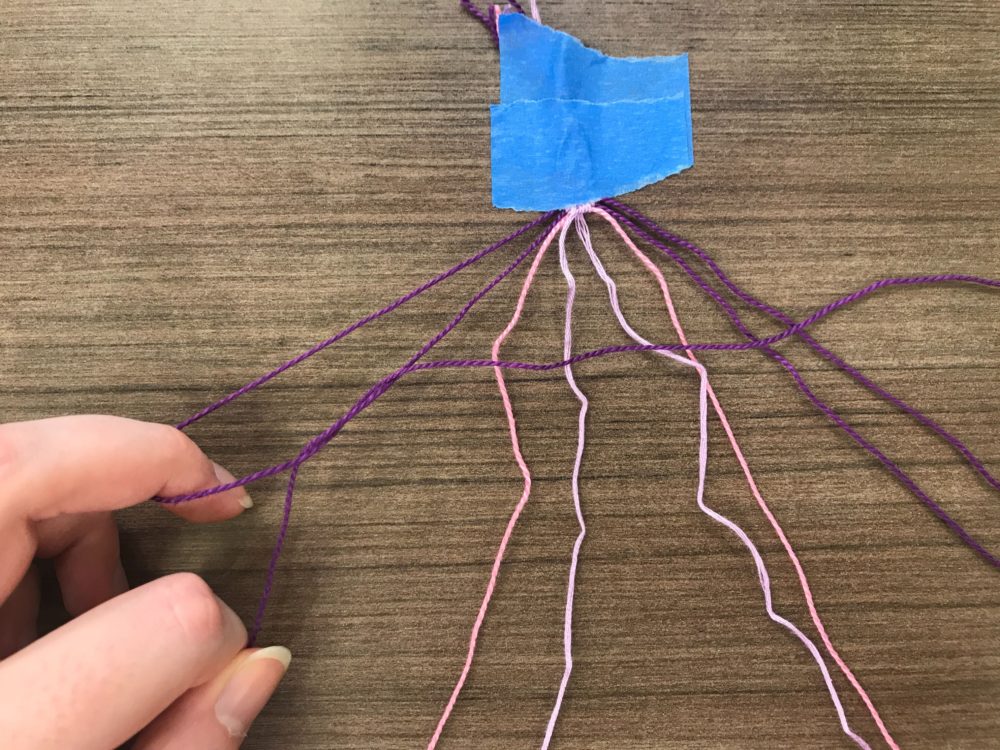
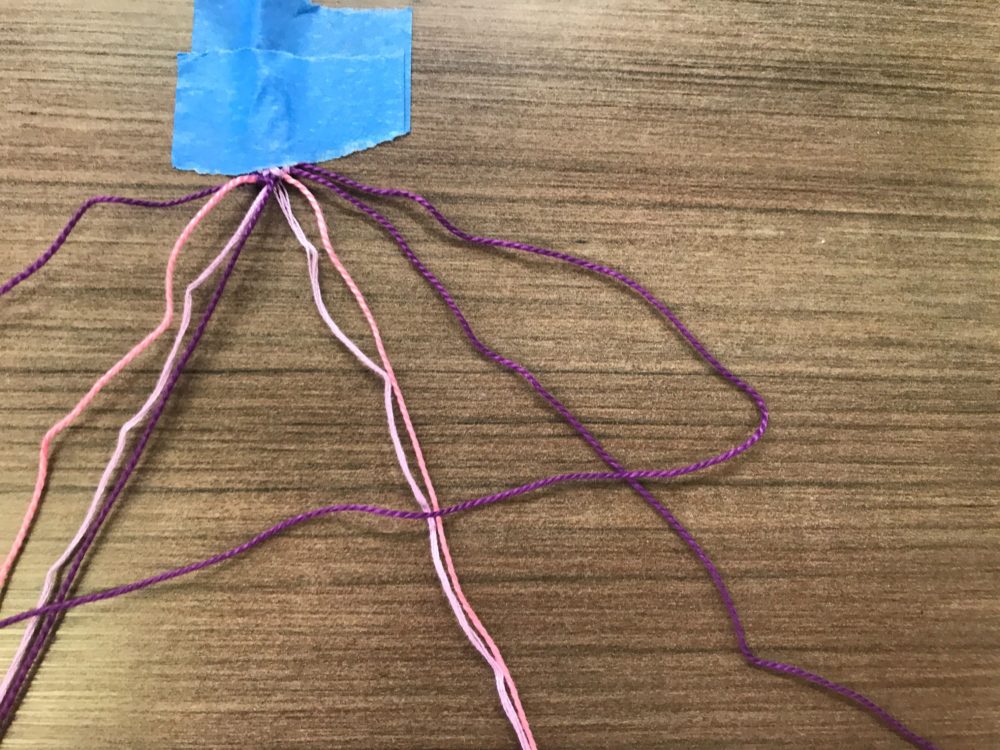
Step 3: Keep Tying Knots
Continue tying knots until the first string becomes the last string. Then start the process over with what is now the first string. This will create stripes. Continue until the bracelet is the desired length.

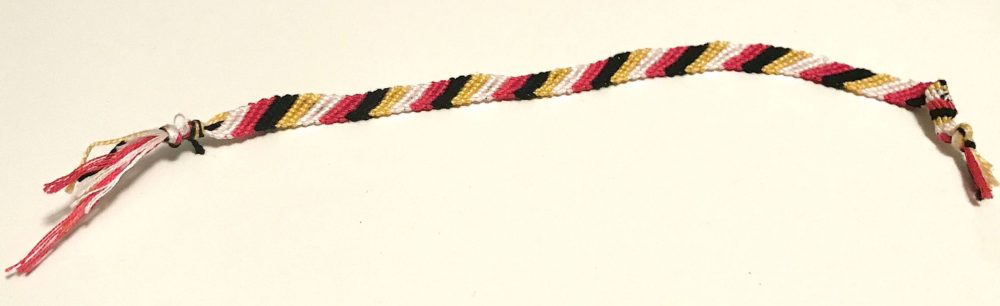
Once you are finished tie another big knot with all your strings. Tie the ends together and you have a bracelet!
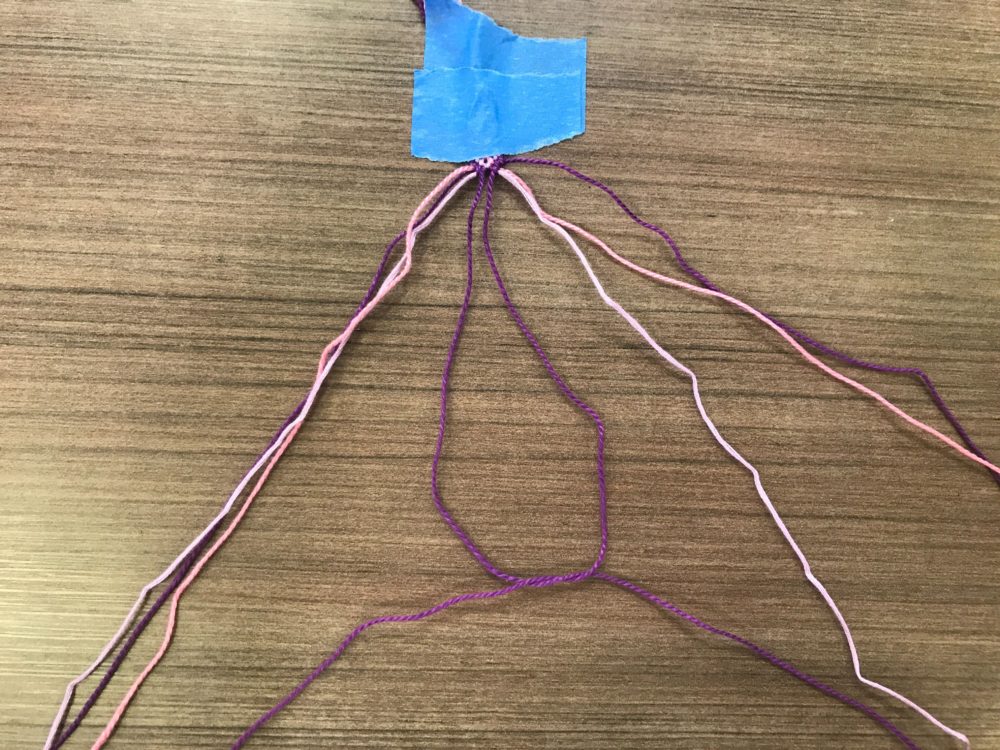
Chevron Pattern – Step 1: Left Side
To create a chevron pattern you want at least 8 pieces of string. Follow the same preparation as the striped pattern.
Divide your strings in half to create the two halves of the chevron. You could do this with a different color on each side. Start on the left and follow the same knotting pattern until you get to the middle.
Chevron Pattern – Step 2: Right Side
Now move to the left side. You will be doing the same 4 shape and knot pattern that you did on the left side, only backward. Continue knotting until you reach the middle.
Chevron Pattern – Step 3: Middle
Once you reach the middle from both sides tie the two strings together.
Chevron Pattern – Step 4: Continue
Continue doing this knotting pattern, coming from the left and then the right until you reach the desired length. Tie a final knot at the end.
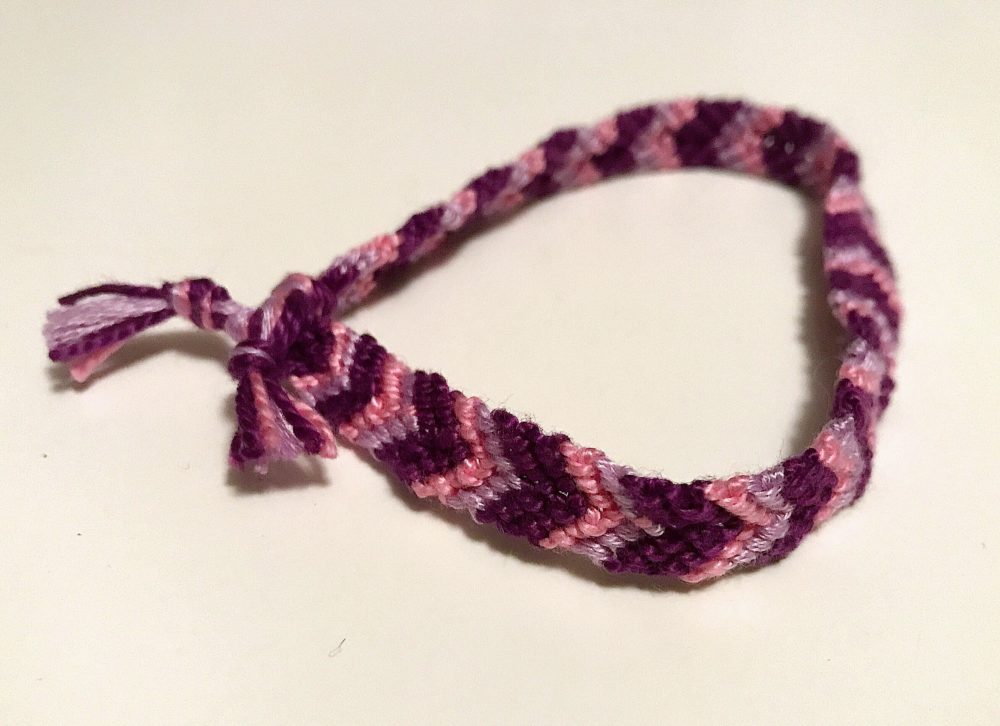
Now you have a bracelet themed to your favorite character! You can do any combination of colors, and add more strings if you want a wider bracelet. Did you make a bracelet? Send me a picture at [email protected].
Video Tutorial
In need of additional visual guides? You can watch the full tutorial video below and follow step by step on YouTube:
If you want to do more crafting, you can check out our tutorials for DIY Mouse Ears, Scrapbook pages, or Sock Puppets.